


LOOKING BACK ON OUR INITIAL GOALS AND EXPECTATIONS
Finally.....
The whole process from when we signed the lease until completion was around 3 1/2 months. One thing that became very apparent is that just like in music (and everything in life, I suppose), the devil is in the details. Framing and drywall is all pretty straight forward. It was all the little things that took so long. Figuring out what door handles we wanted, what kind of light switches, where we wanted every little thing to go. All of that took a long time. And when I say the whole build out took 3 1/2 months, that's not entirely accurate. Once we got the studio to a point where it was barely functional, we really wanted to move in and begin working. Things like the Kitchen and Bathroom didn't get finished for another month or two.
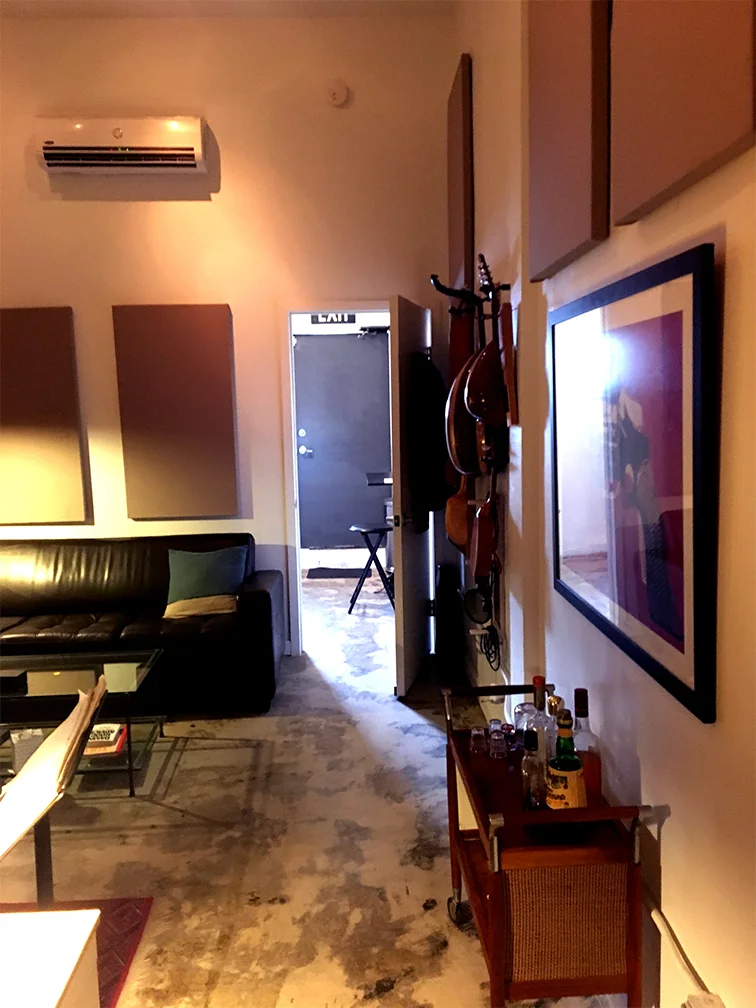
GOALS: Mostly everything we initially wanted ended up working out. We do have a little bit of bleed from the live room into the production suites, but it's quite manageable . If both Dario and I are in our respective rooms blasting music at an ear popping volume, we won't hear each other. If, however, there is a drummer in the live room doing his best John Bonham impression, then we will hear that. It's not awful by any means and we can deal with it. The little natural light that we left in the front room where the wall stopped just short of the ceiling ended up being a source of sound leak. We ended up having to seal that wall and lose the natural light.
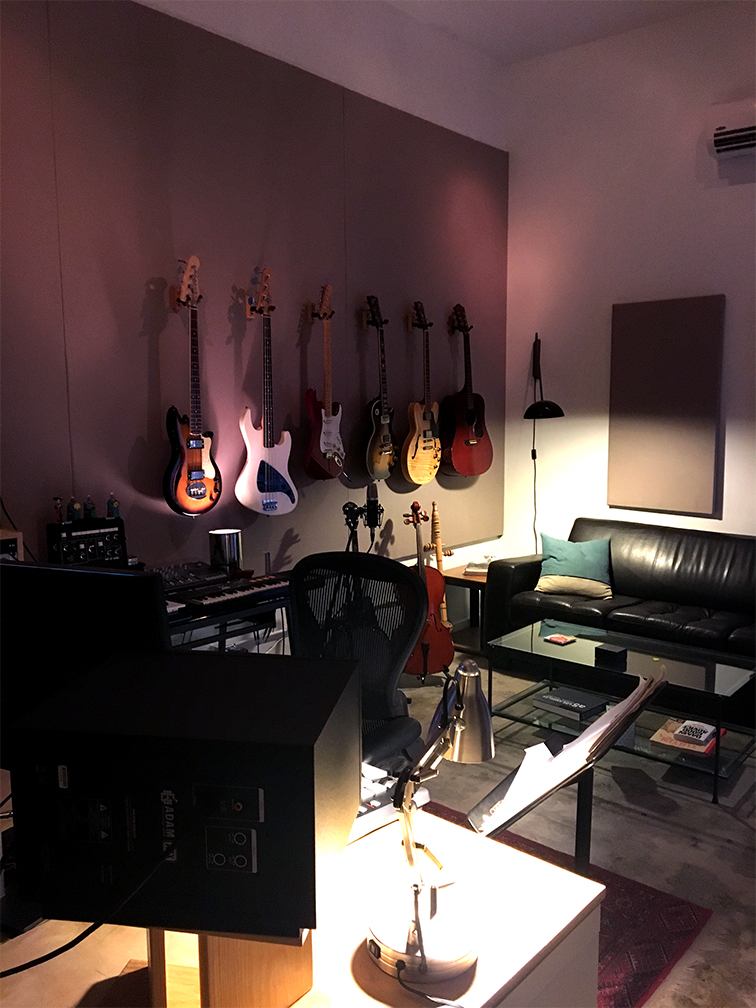
One unexpected bonus that we didn't predict is our live room sounds fantastic. We've recorded every type of instrument in there and it is really sweet sounding. Not to dry, but not too reflective. I think it's a combination of the 12ft ceilings with some of the reflection off of the concrete. Additionally, the kitchen area which has no acoustic treatment at all and is super reflective is a great wet space.
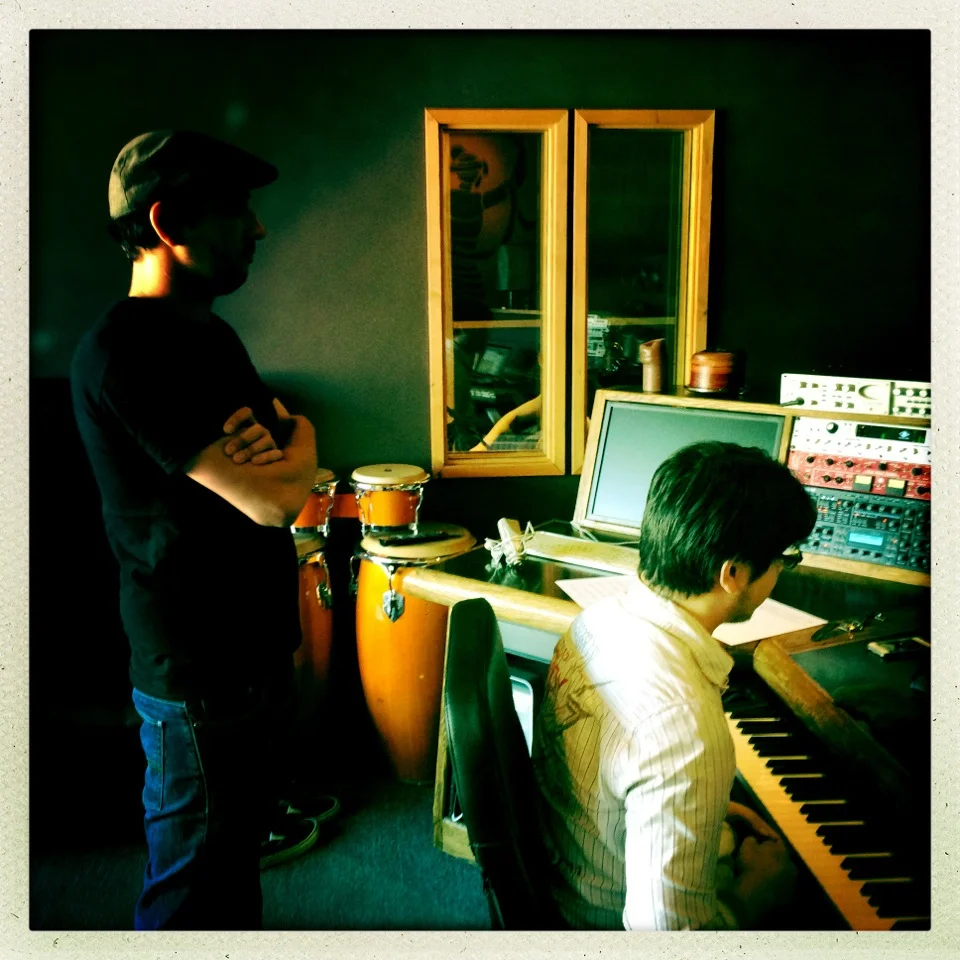
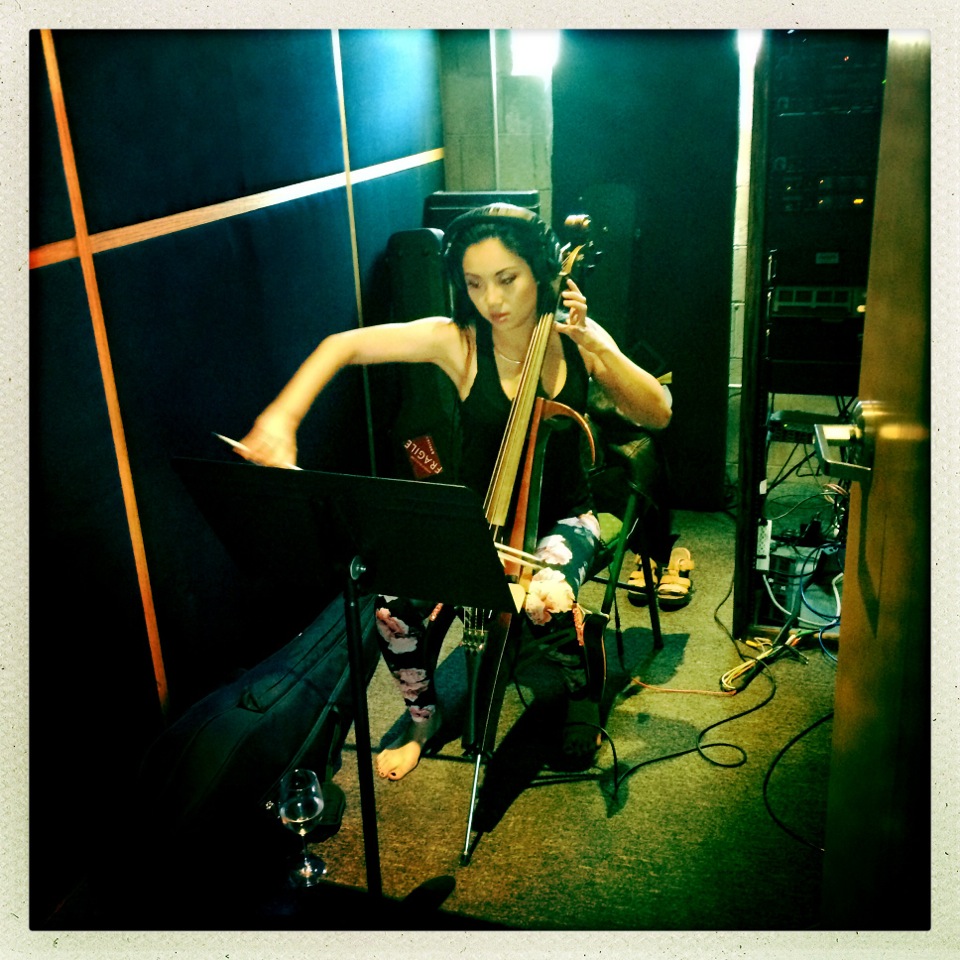
Warner Chappell/Glory Oath and Blood
Had a nice recording session today at Rob Bennett's studiofor an upcoming release. Tina Guo on cello.
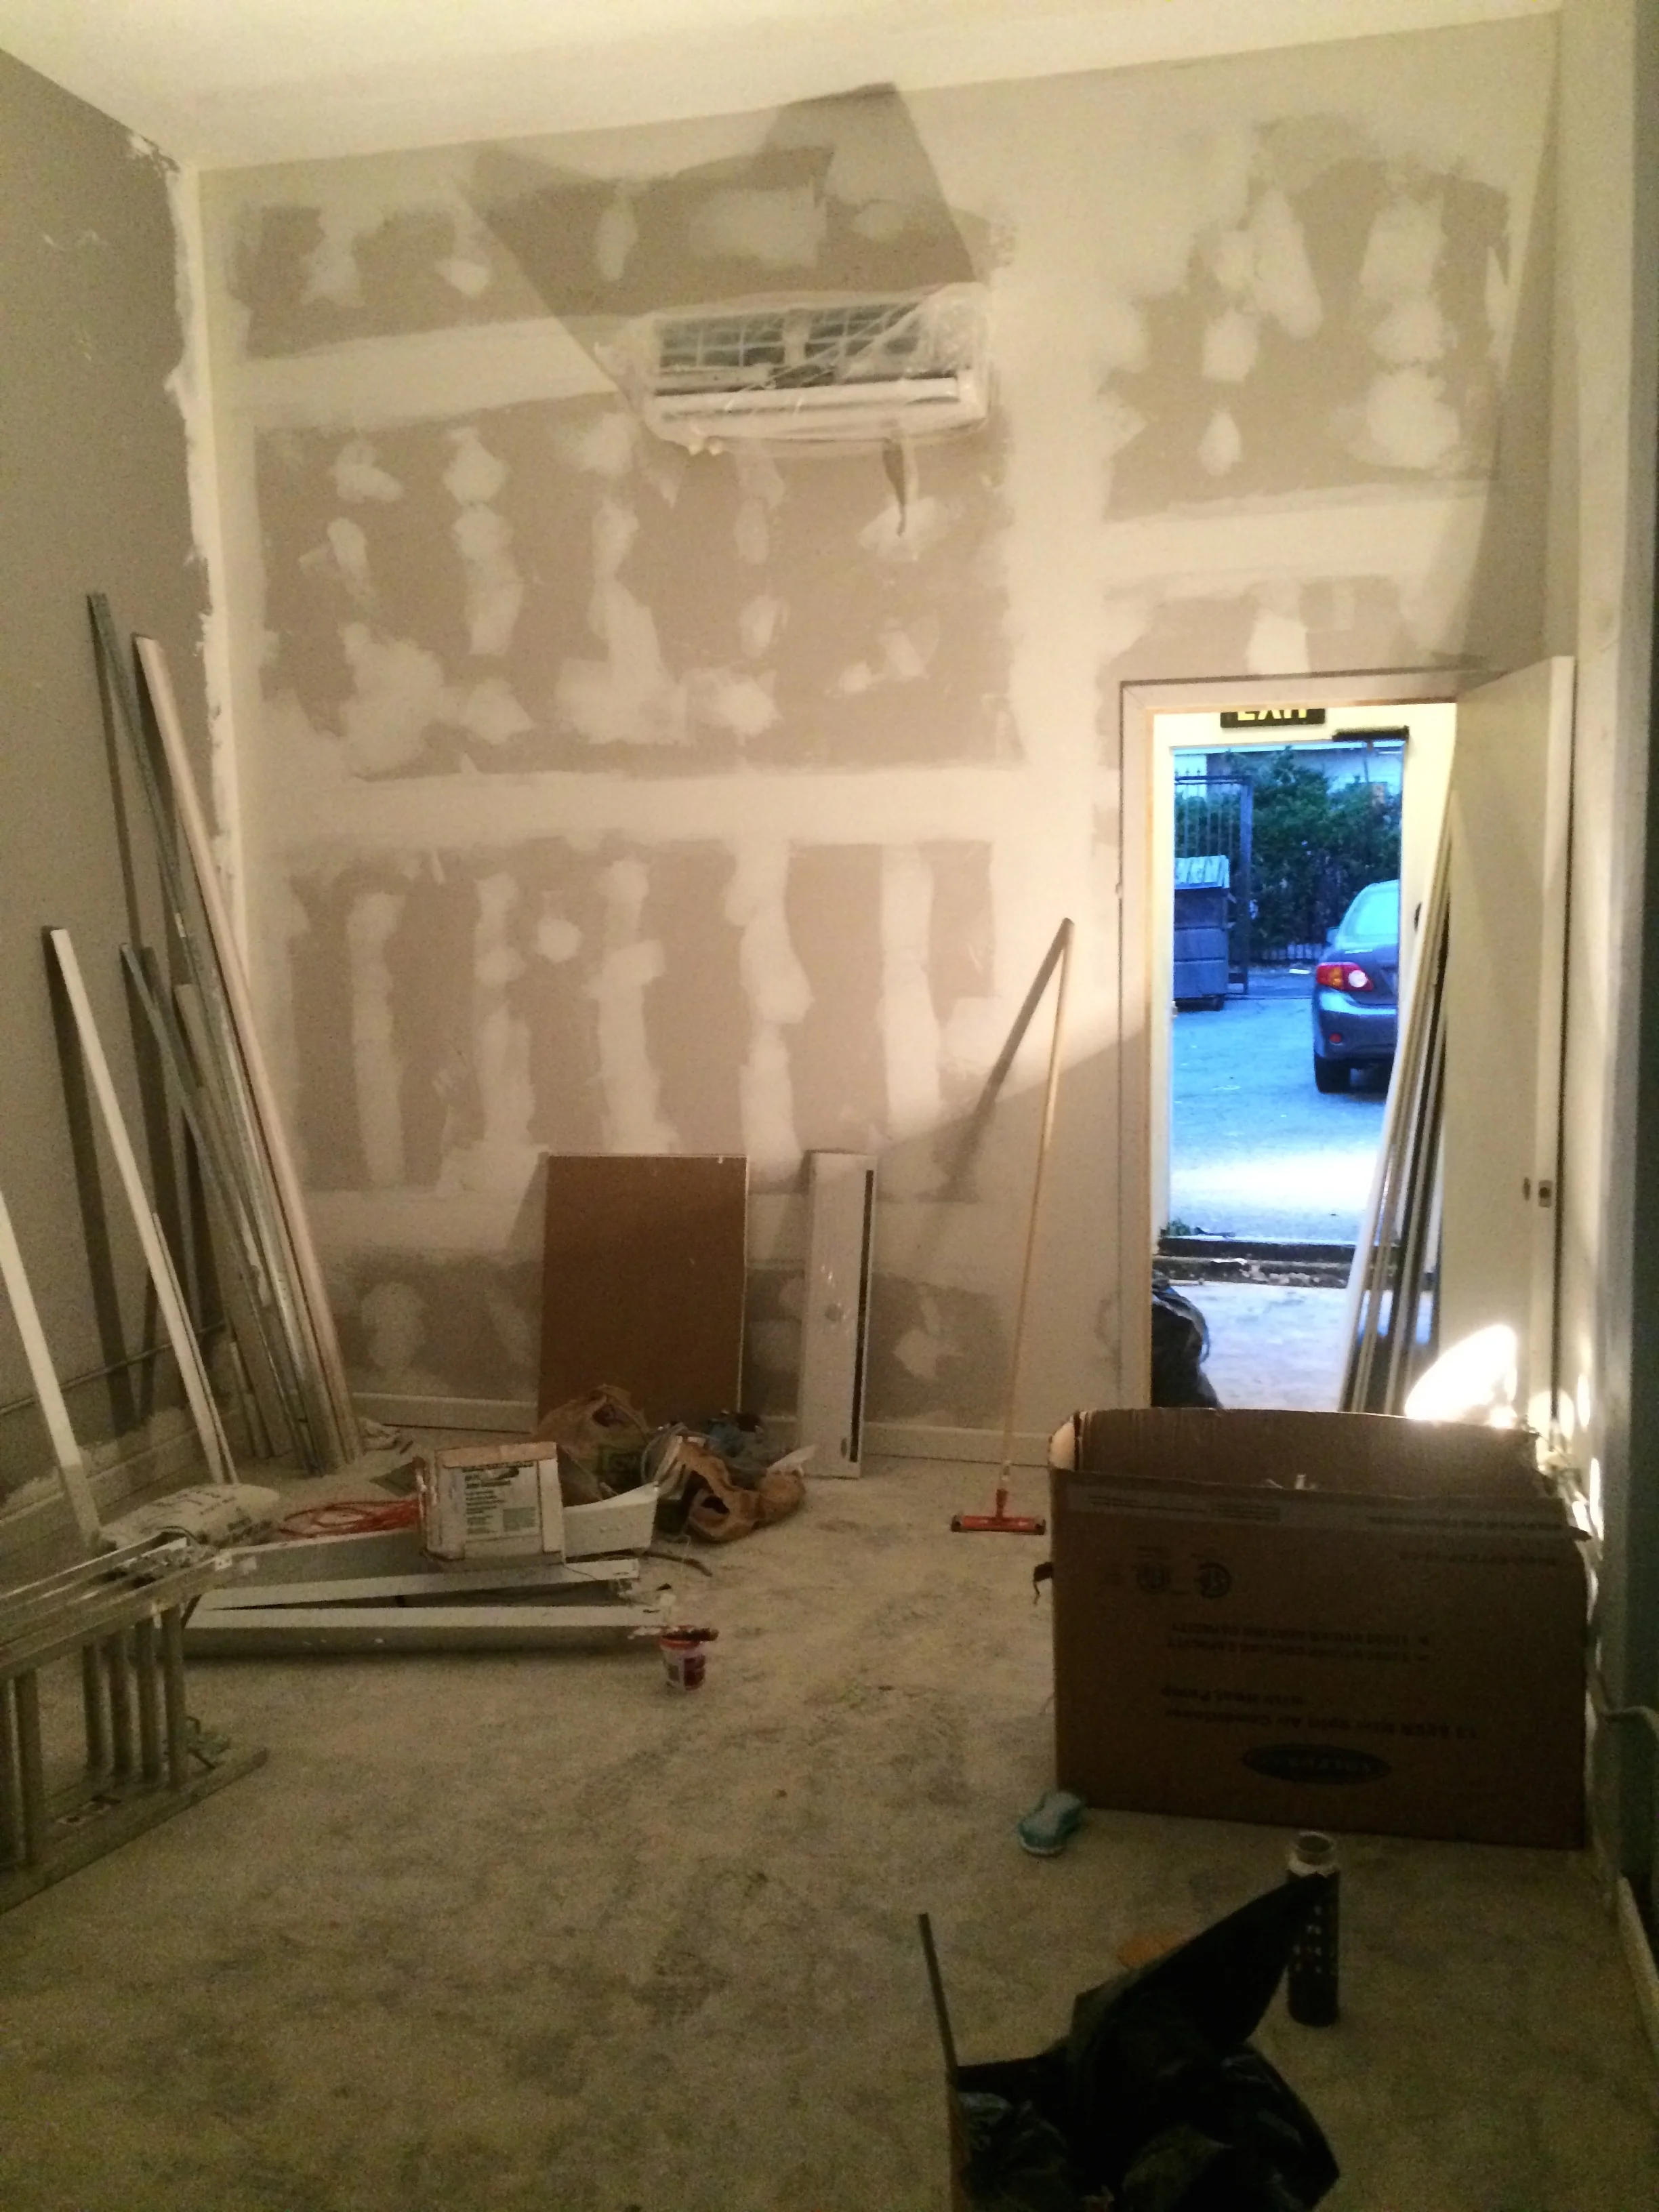
ACOUSTIC TREATMENT
I'm skipping a bunch of things here. Paint, door finishes, trim etc. All that stuff is pretty boring. Sorry, door handle aficionados...
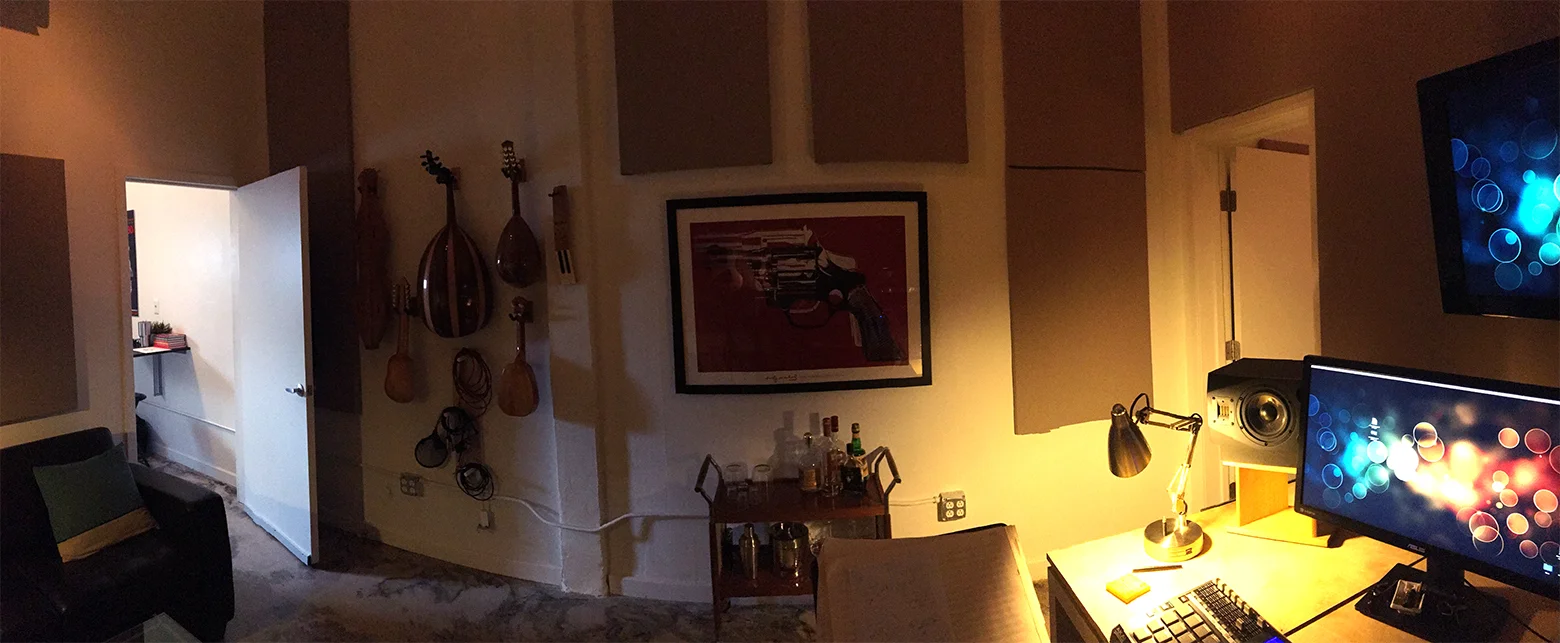
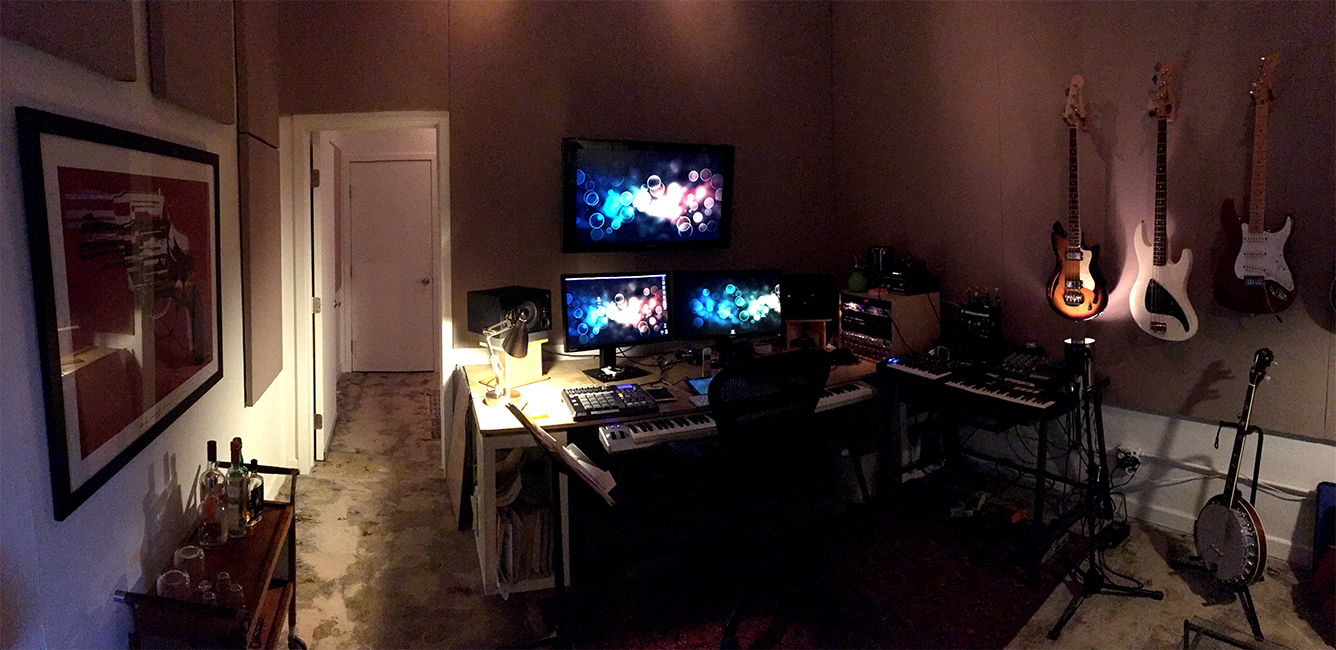
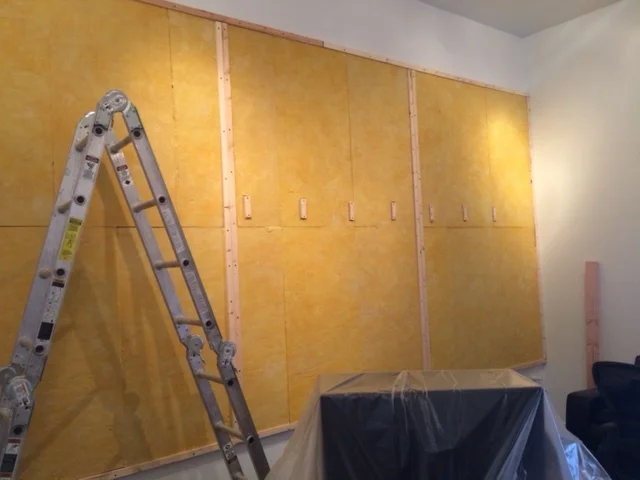
Re: Acoustic Treatment, we put all of this effort into building rooms that wouldn't let sound in or out. But none of that helps the sound in the actual room. Essentially, with four naked walls and concrete floor, the rooms were all big echo chambers. To remedy that, we installed wall to wall acoustic treatment on two adjoining walls and used some spot acoustic panels on the opposite walls.
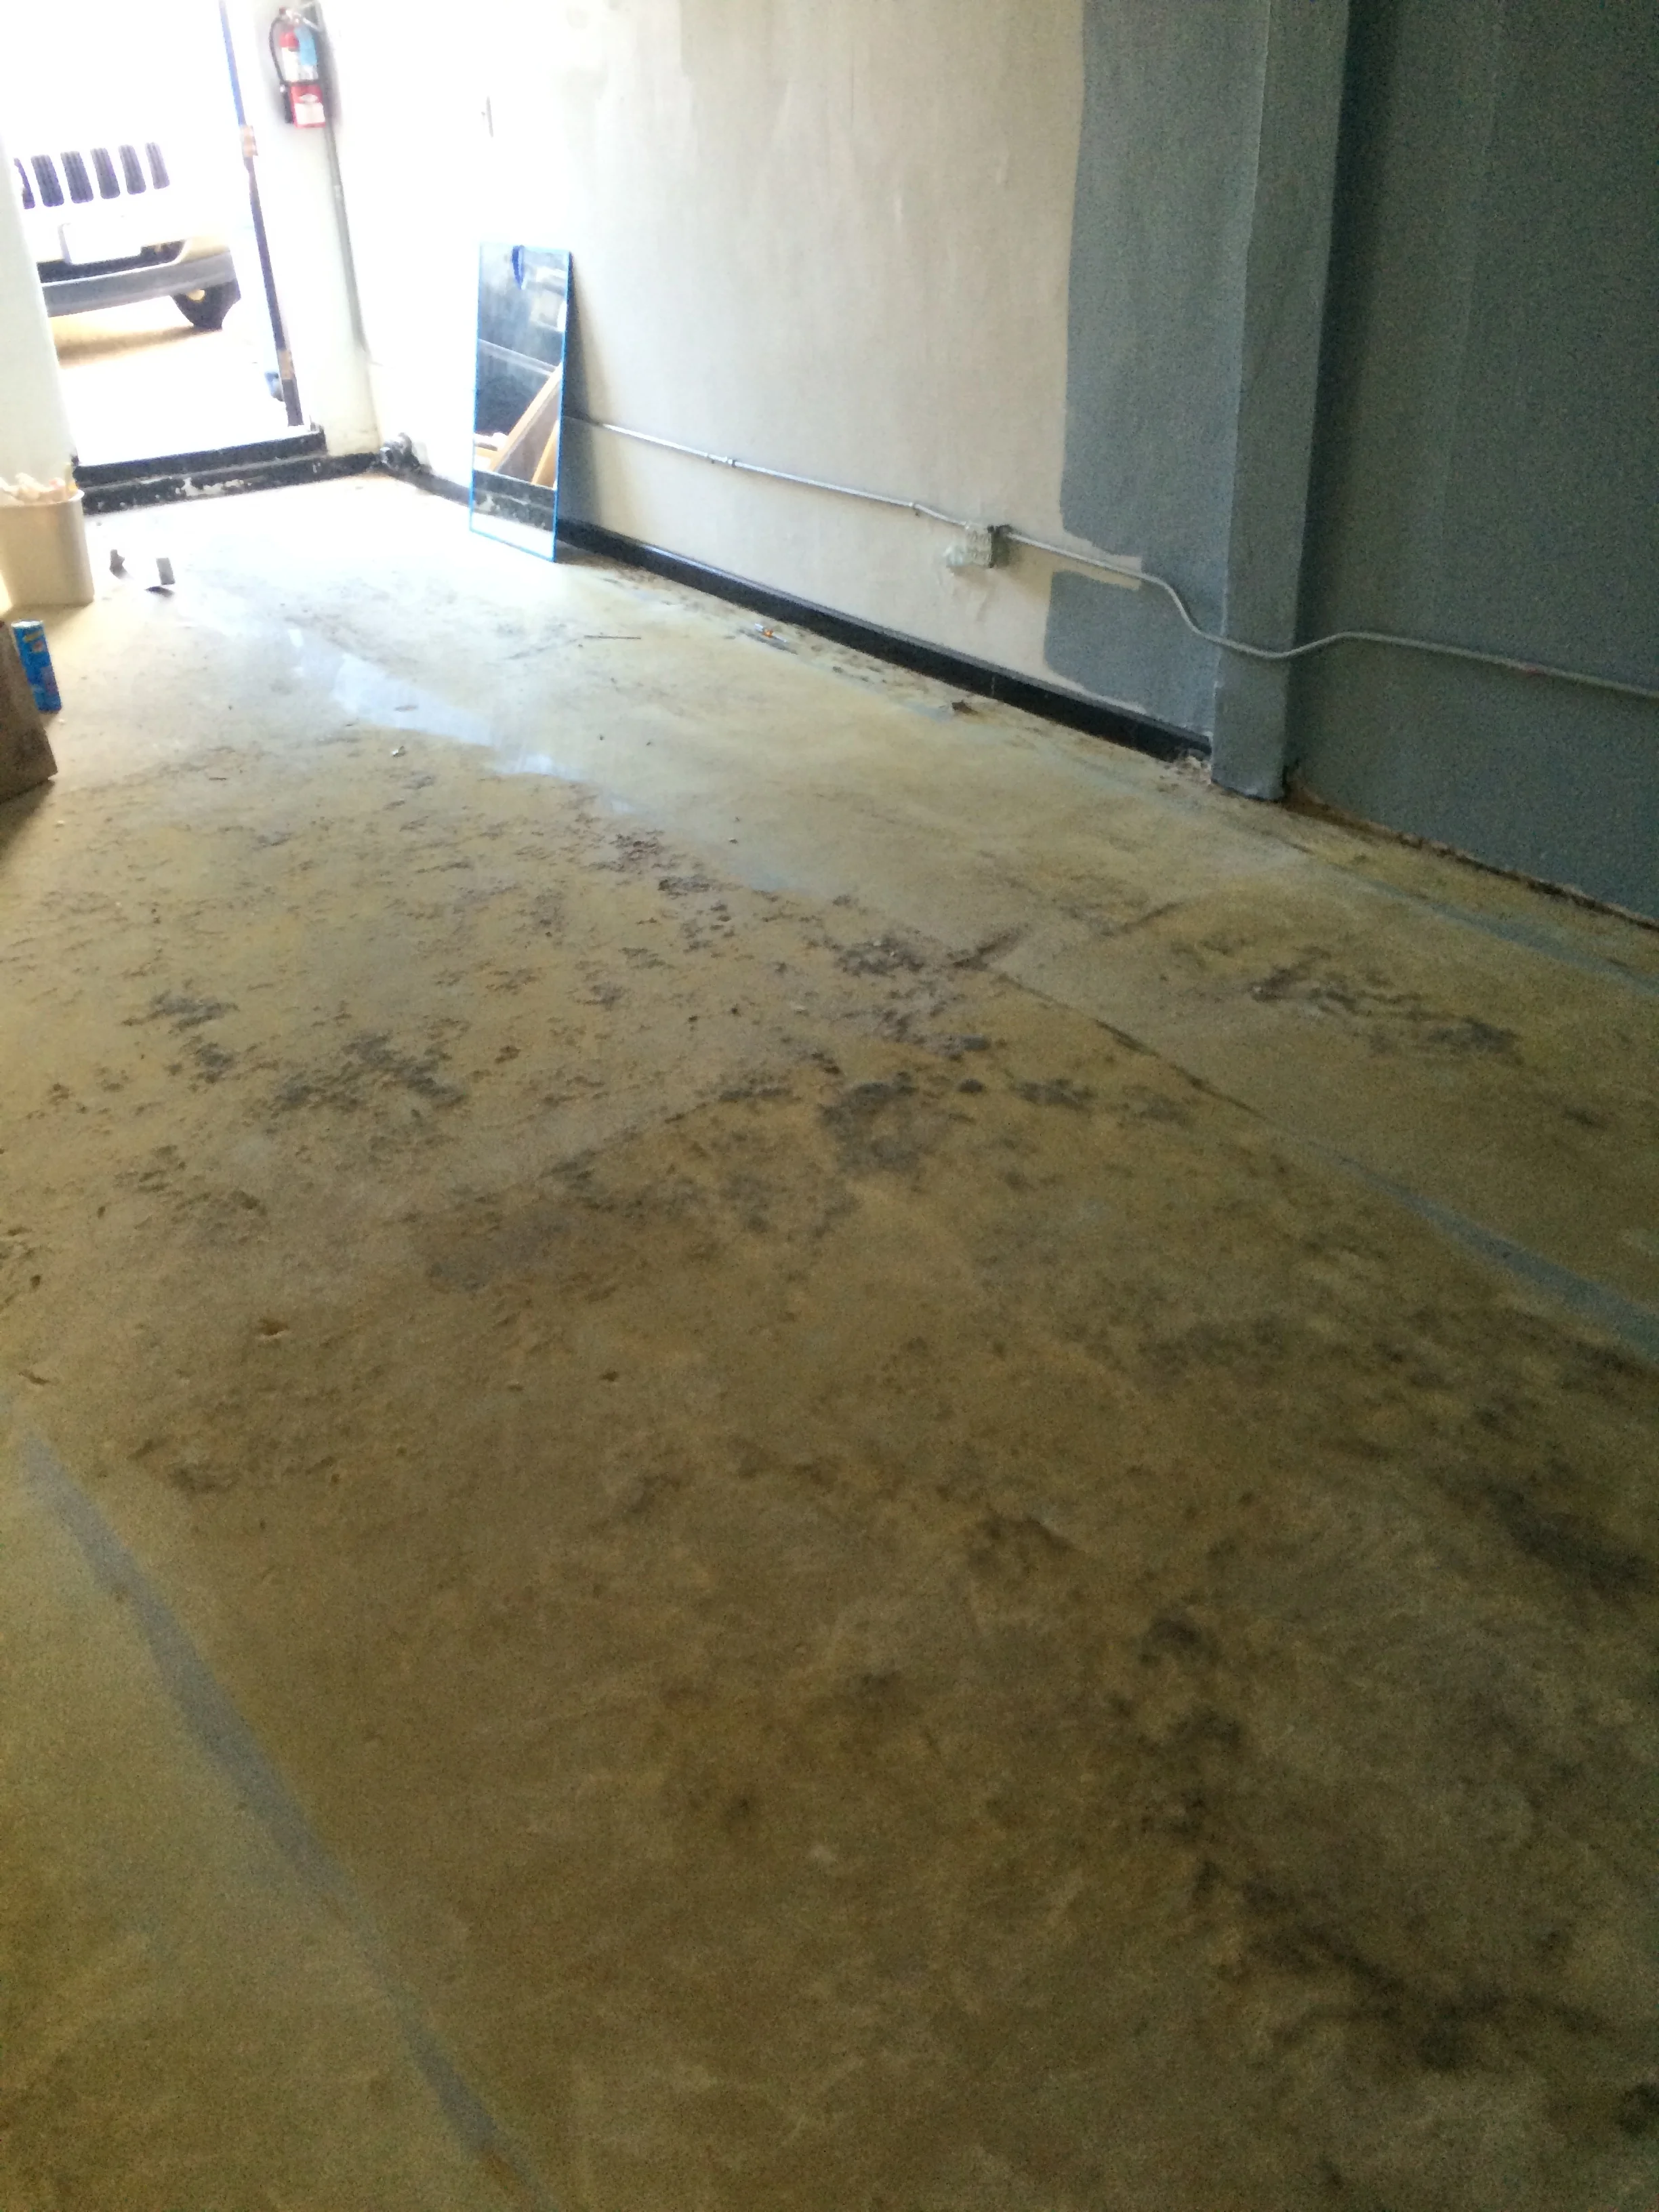
FLOOR
We're approaching the finish line. The next task was to finish the floor. A couple coats of a semigloss clear coat, and it looked like this.

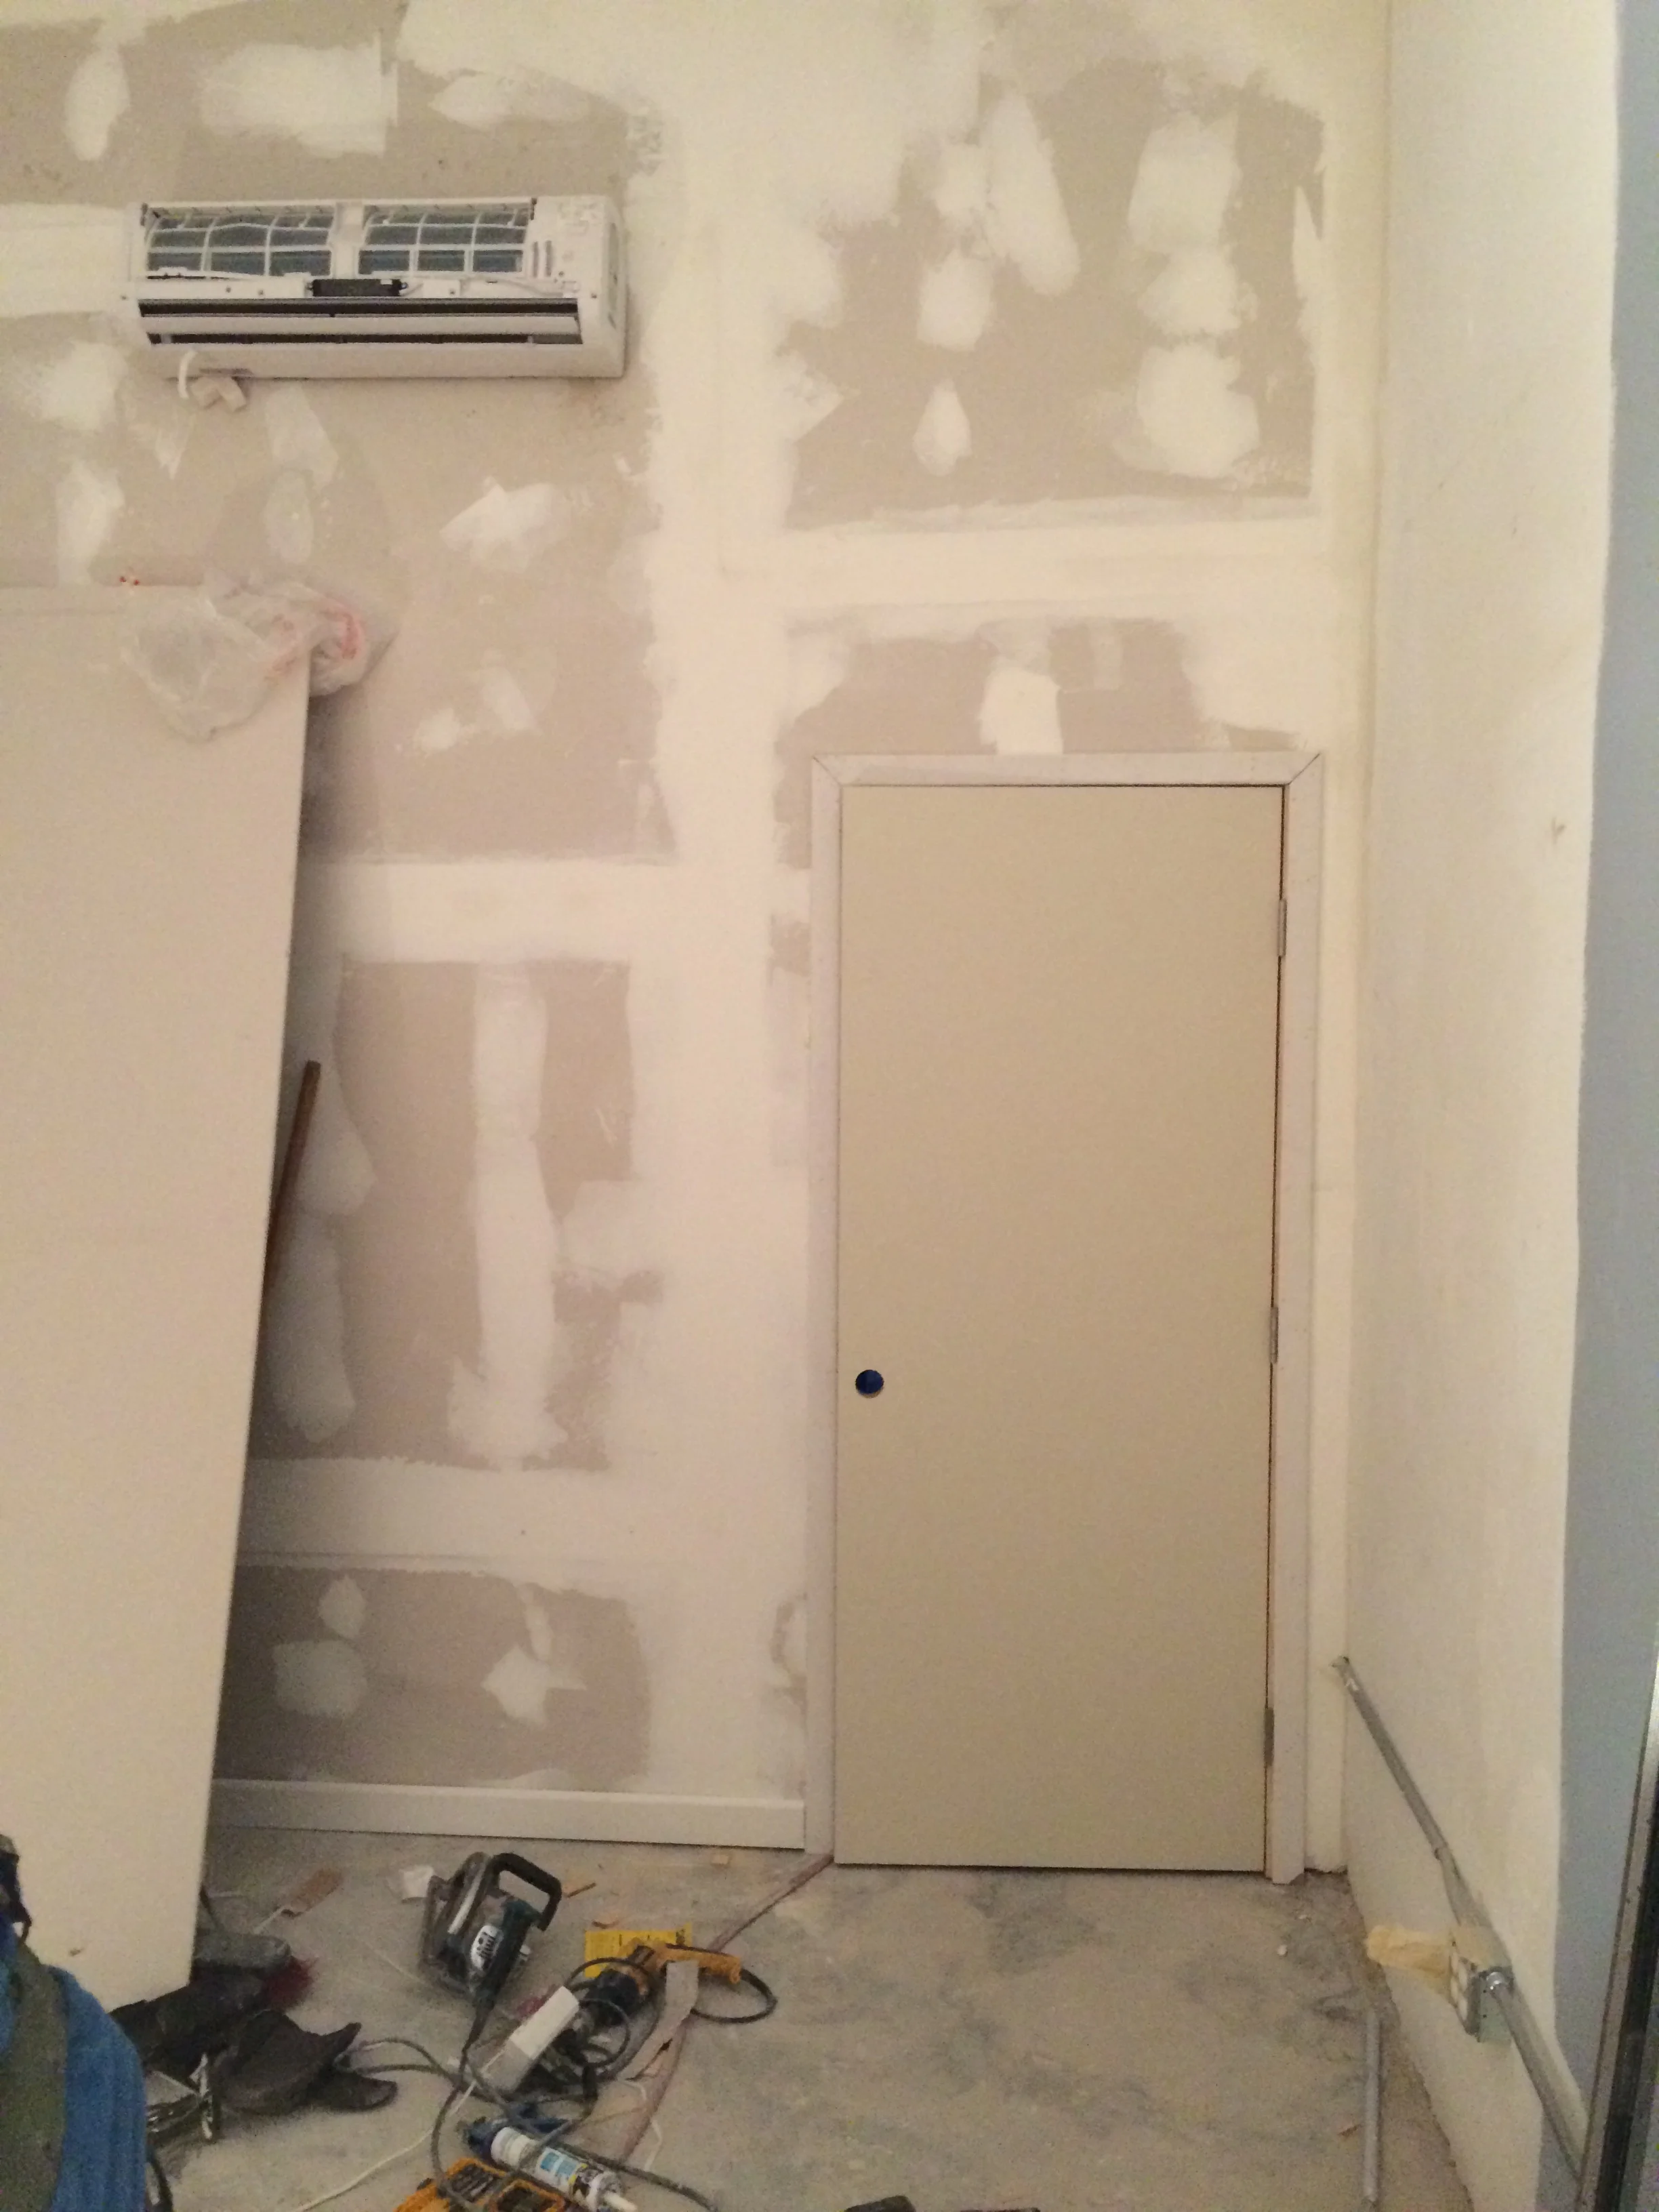
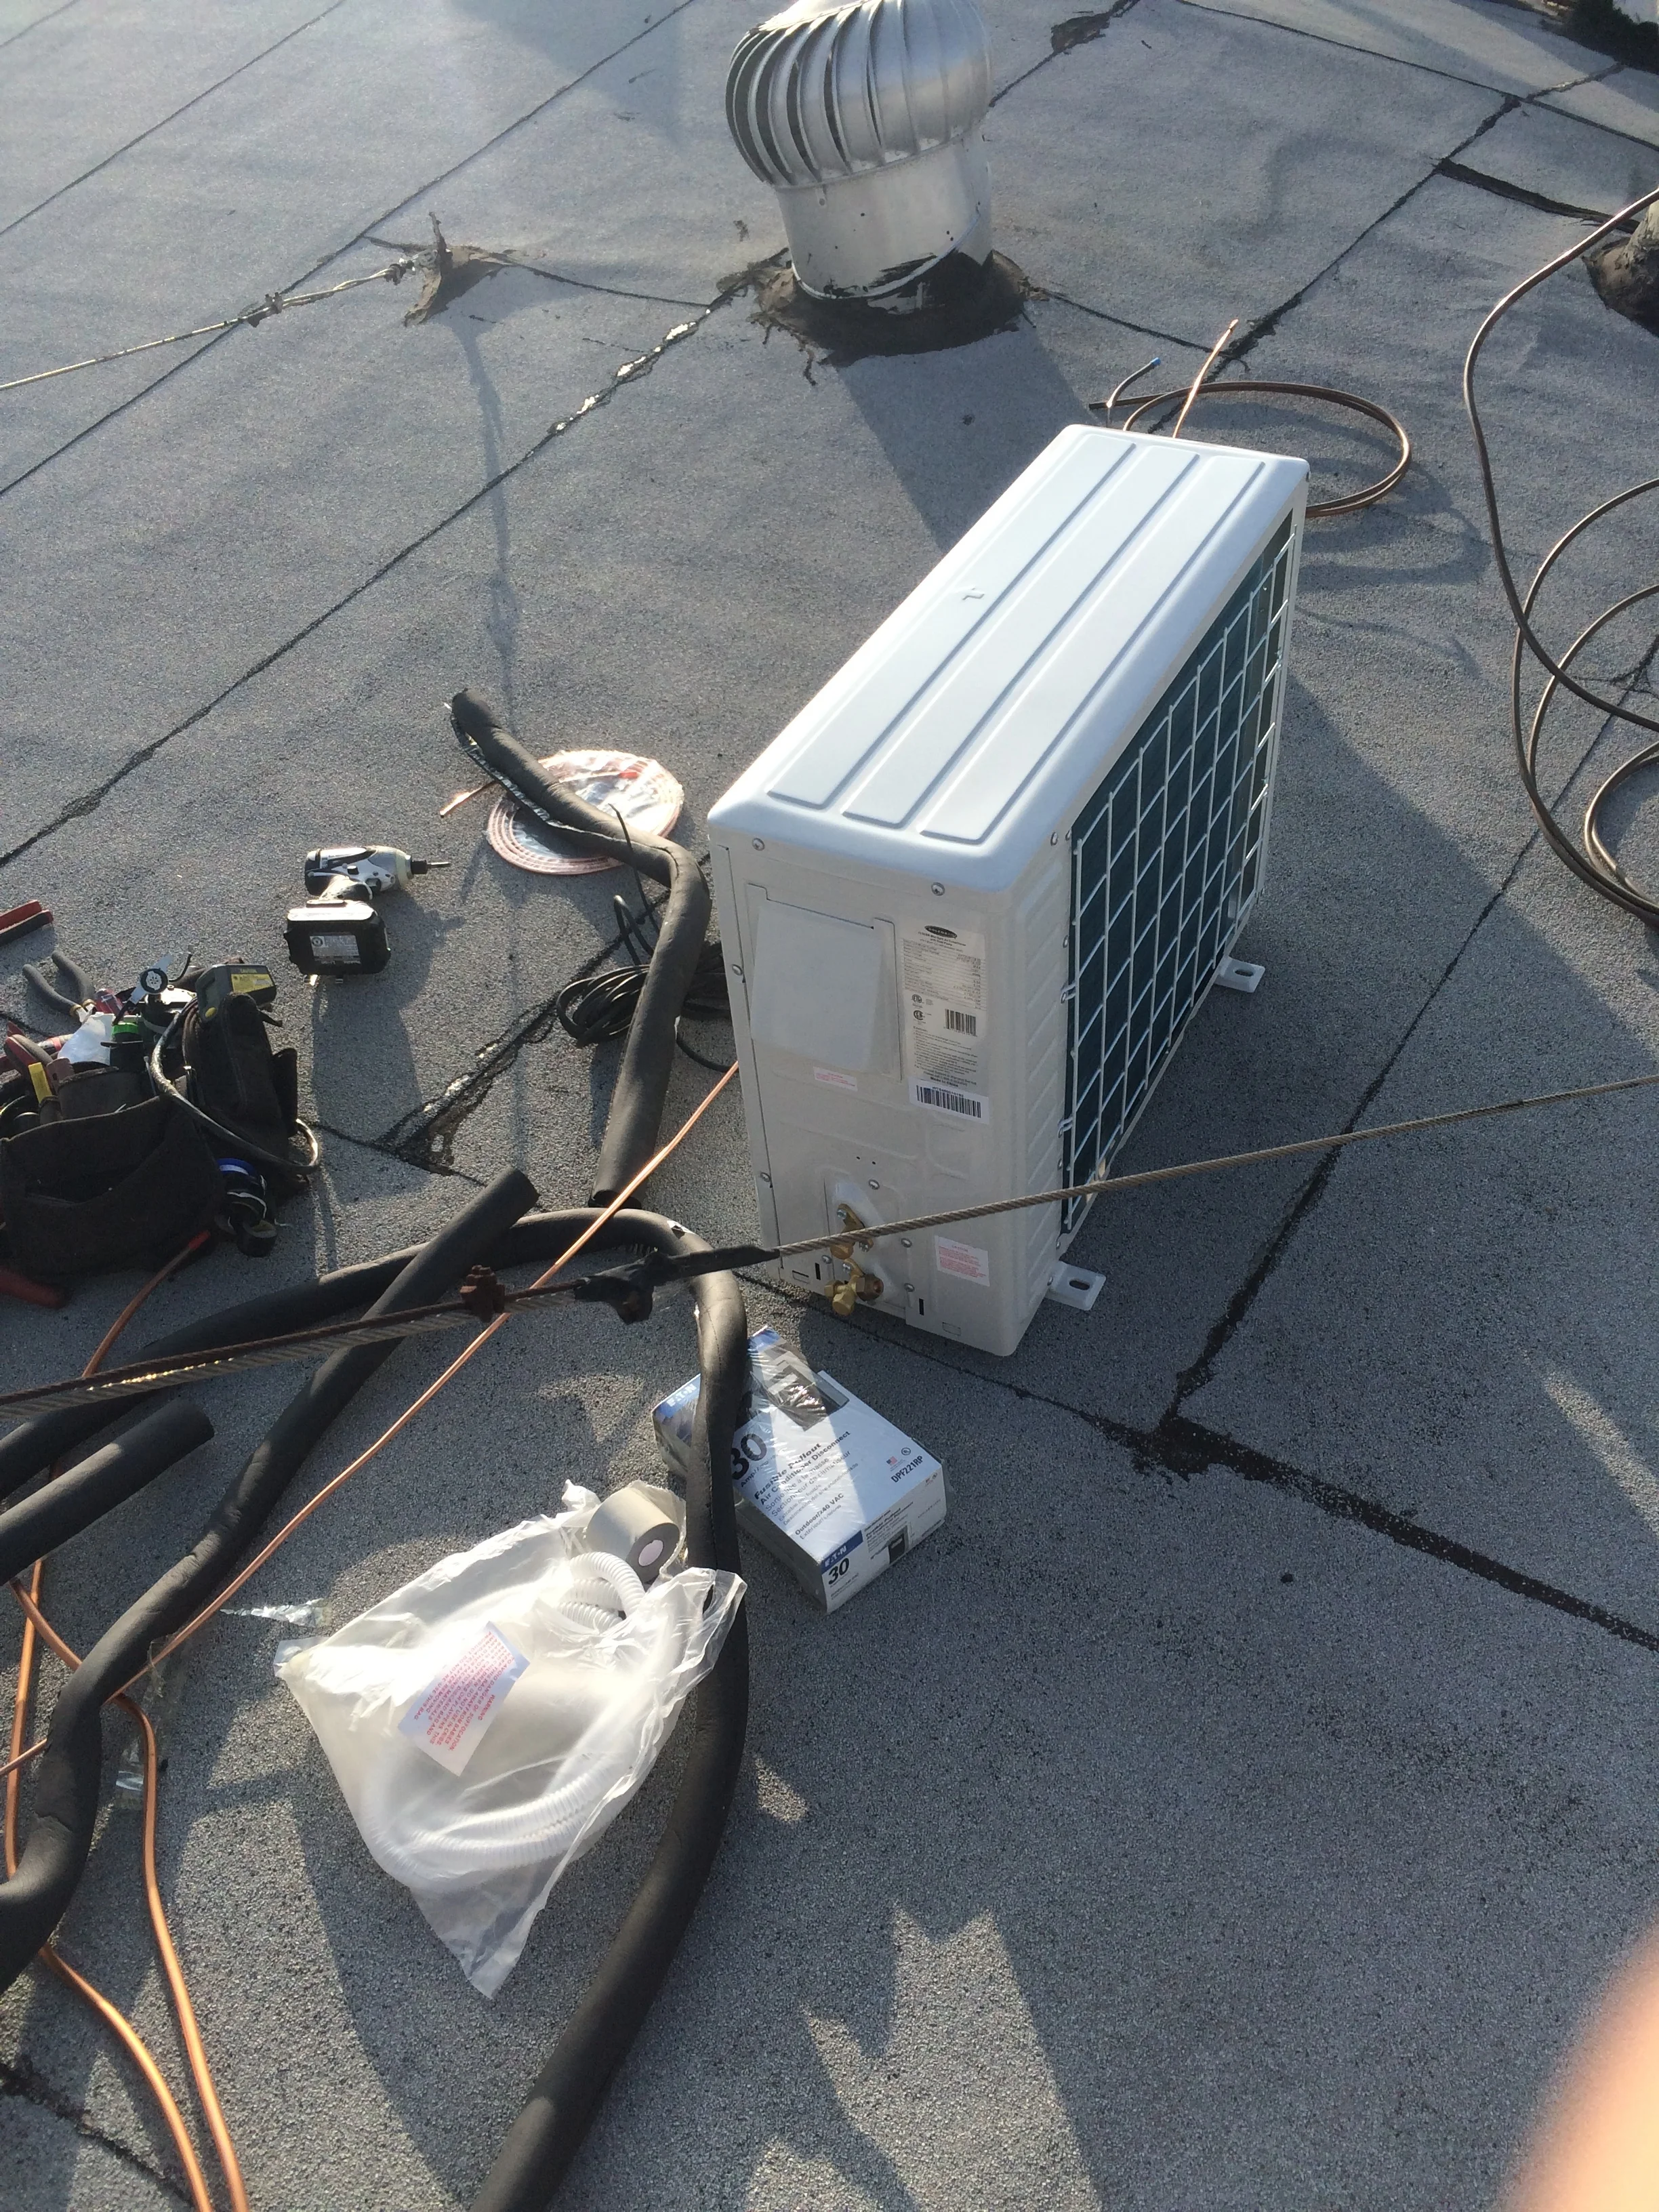
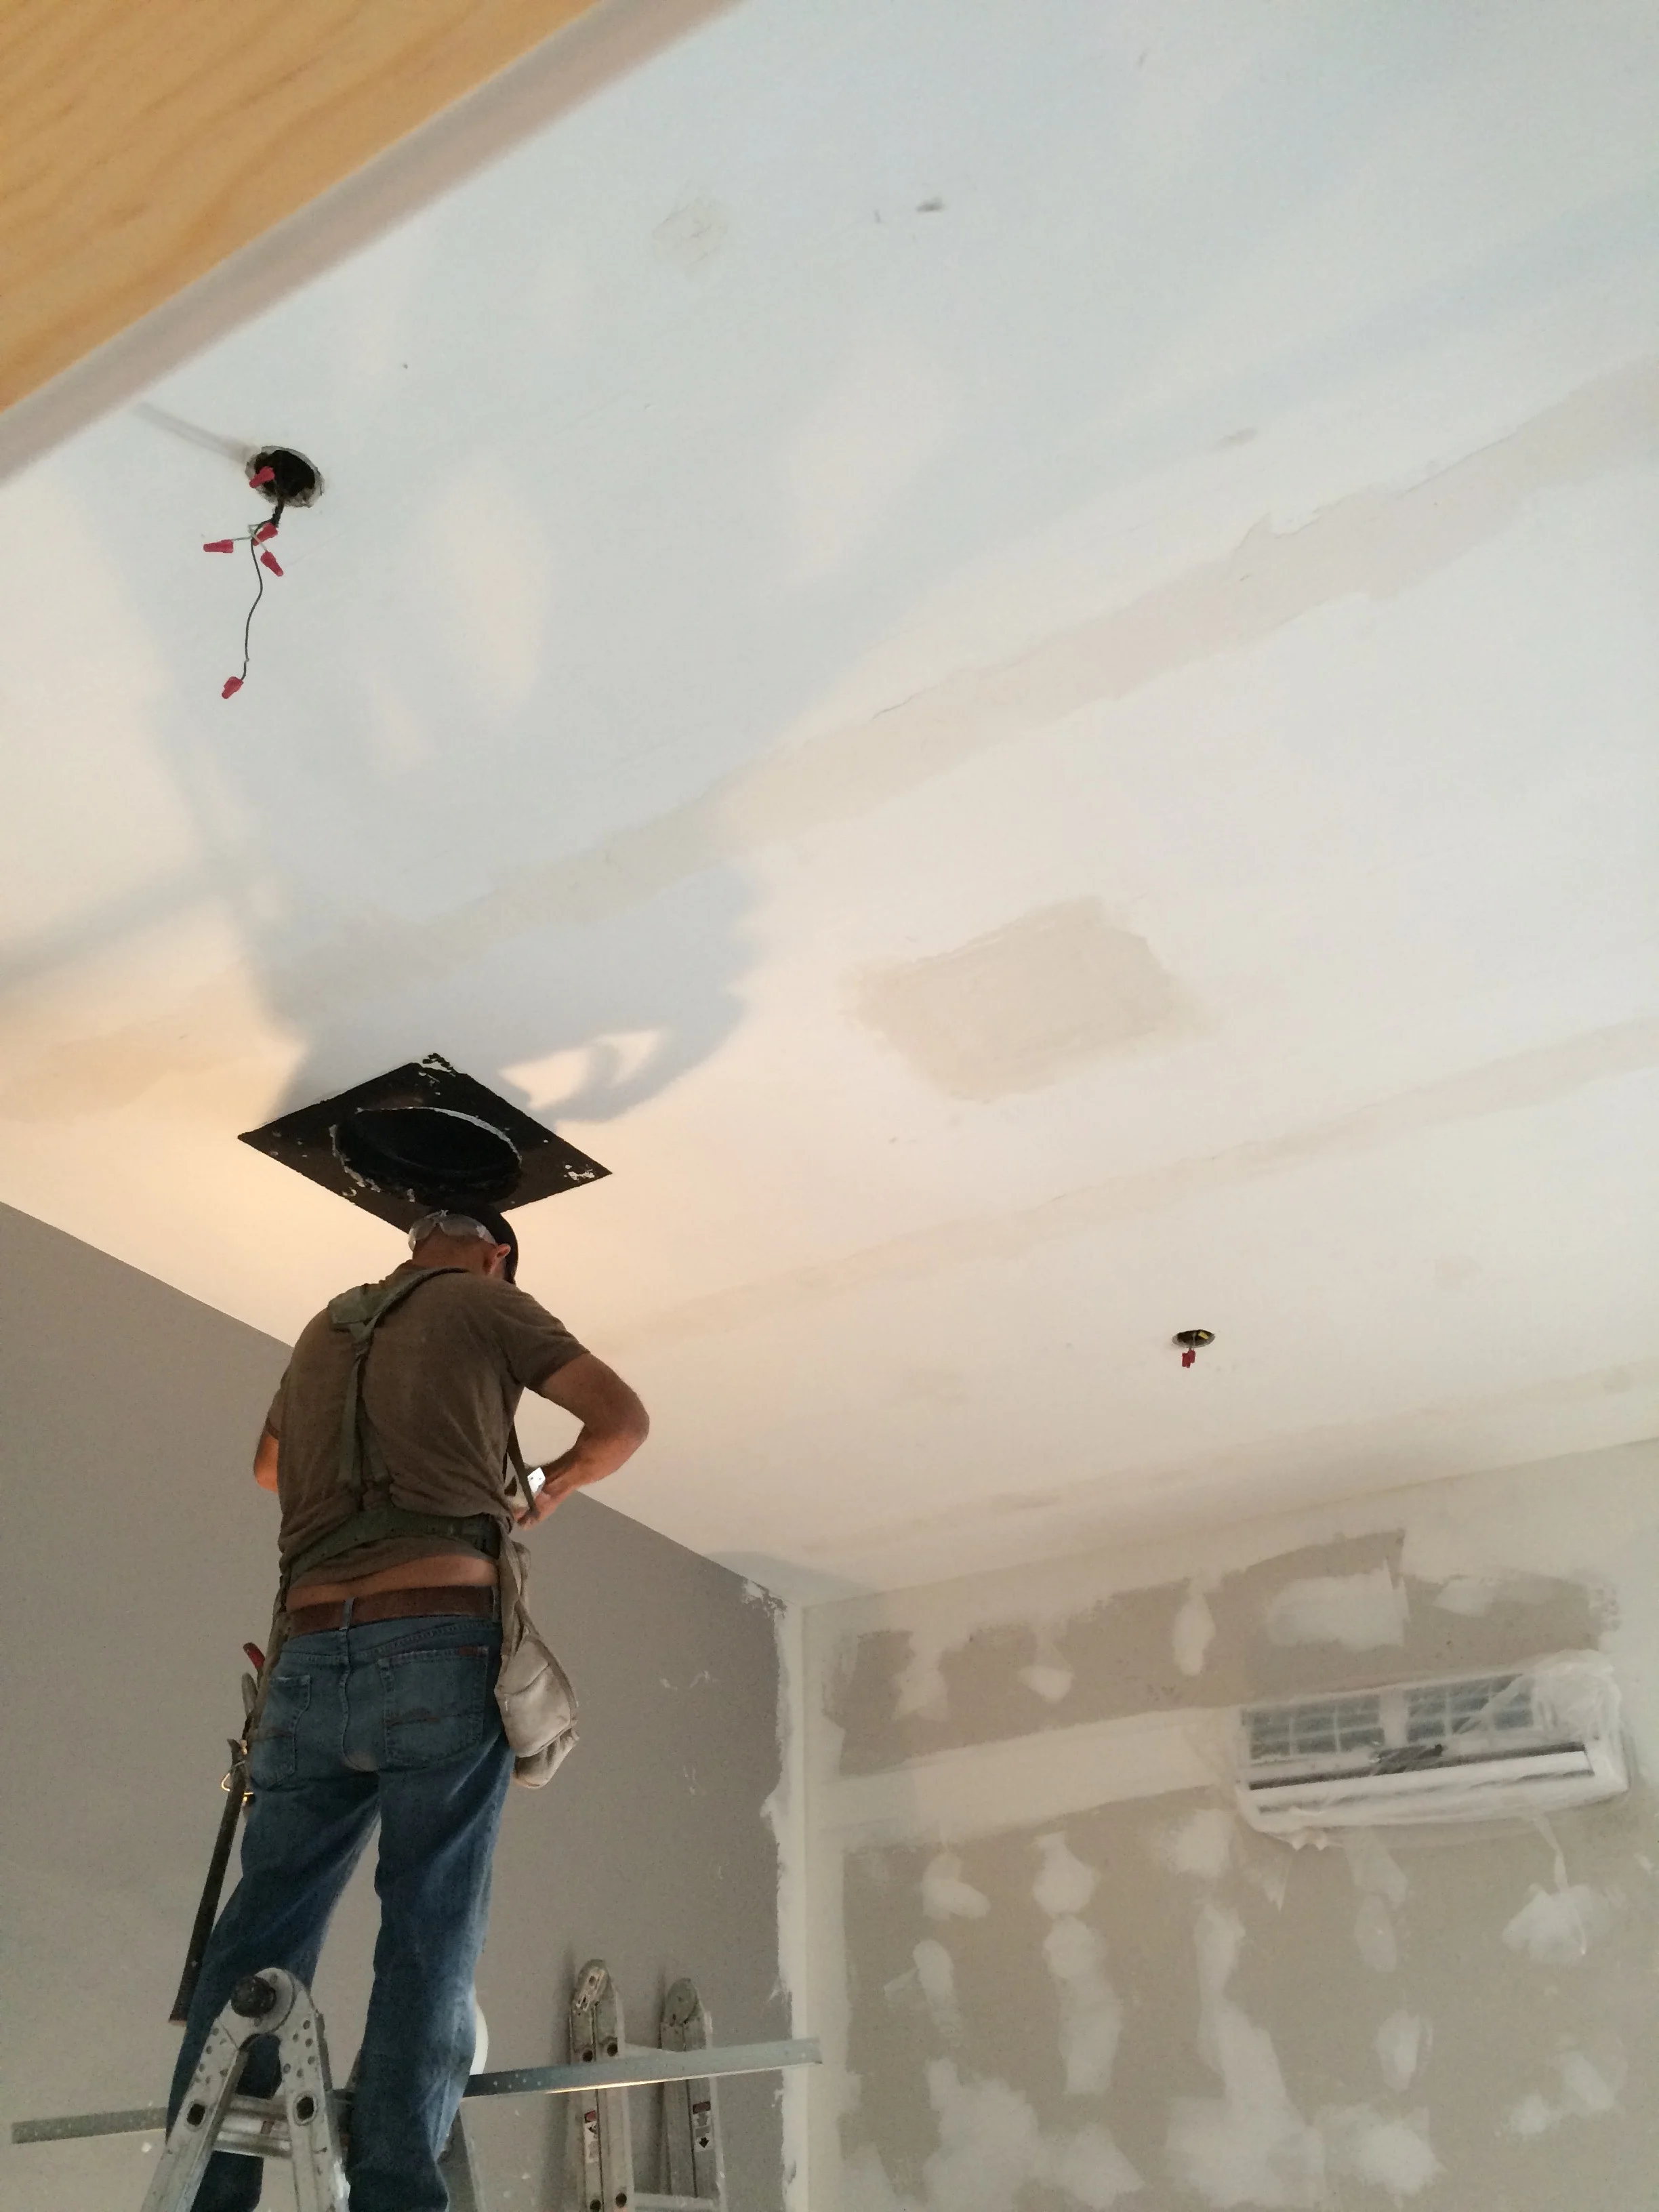
ELECTRICAL, A/C, DOORS
I was real bad about documenting the electrical. Basically both production suites and the live room are all separated on the electrical panel. That's about all there is there.
For cables, each production suite has a snake sending audio, video and cat6 back and forth.
For A/C, we decided to go with Mini Split systems.
For doors, we went with solid core wood with door drops on the bottom.
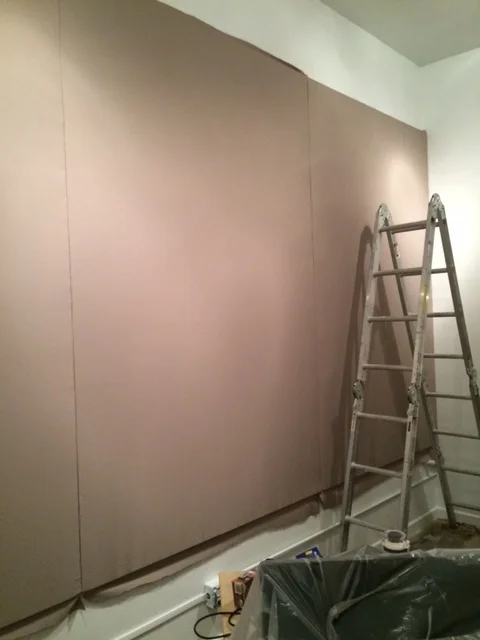
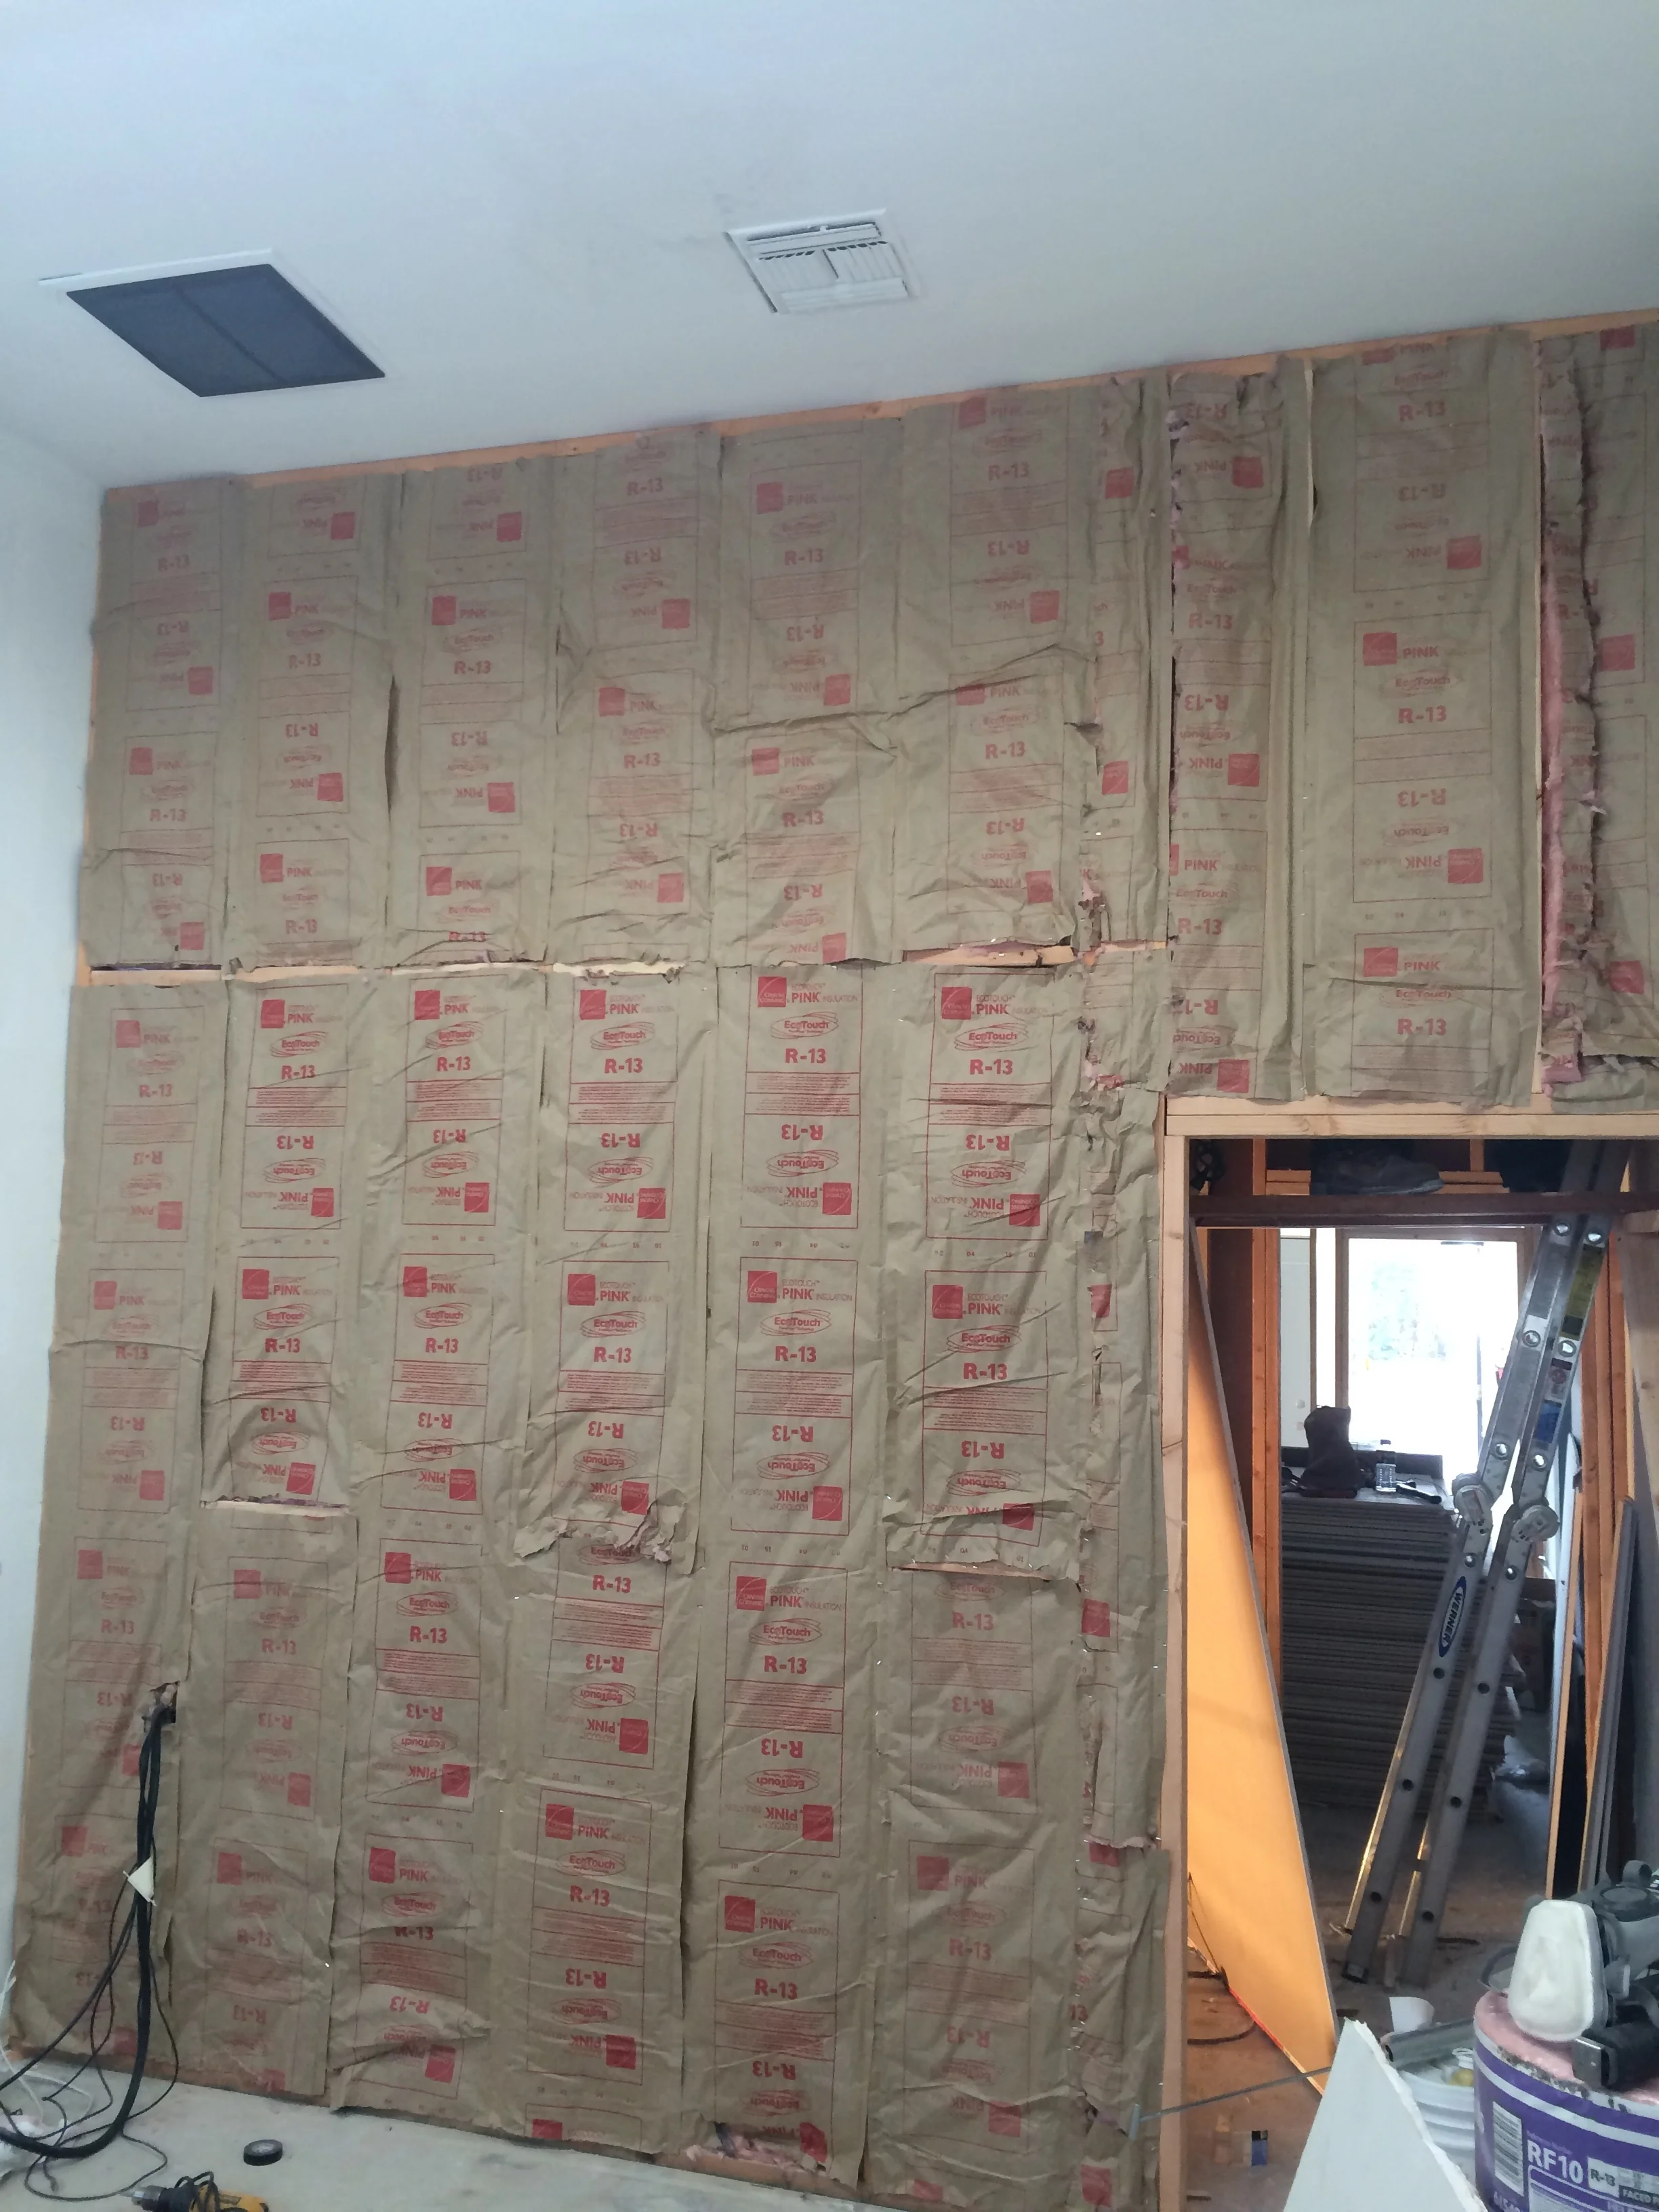
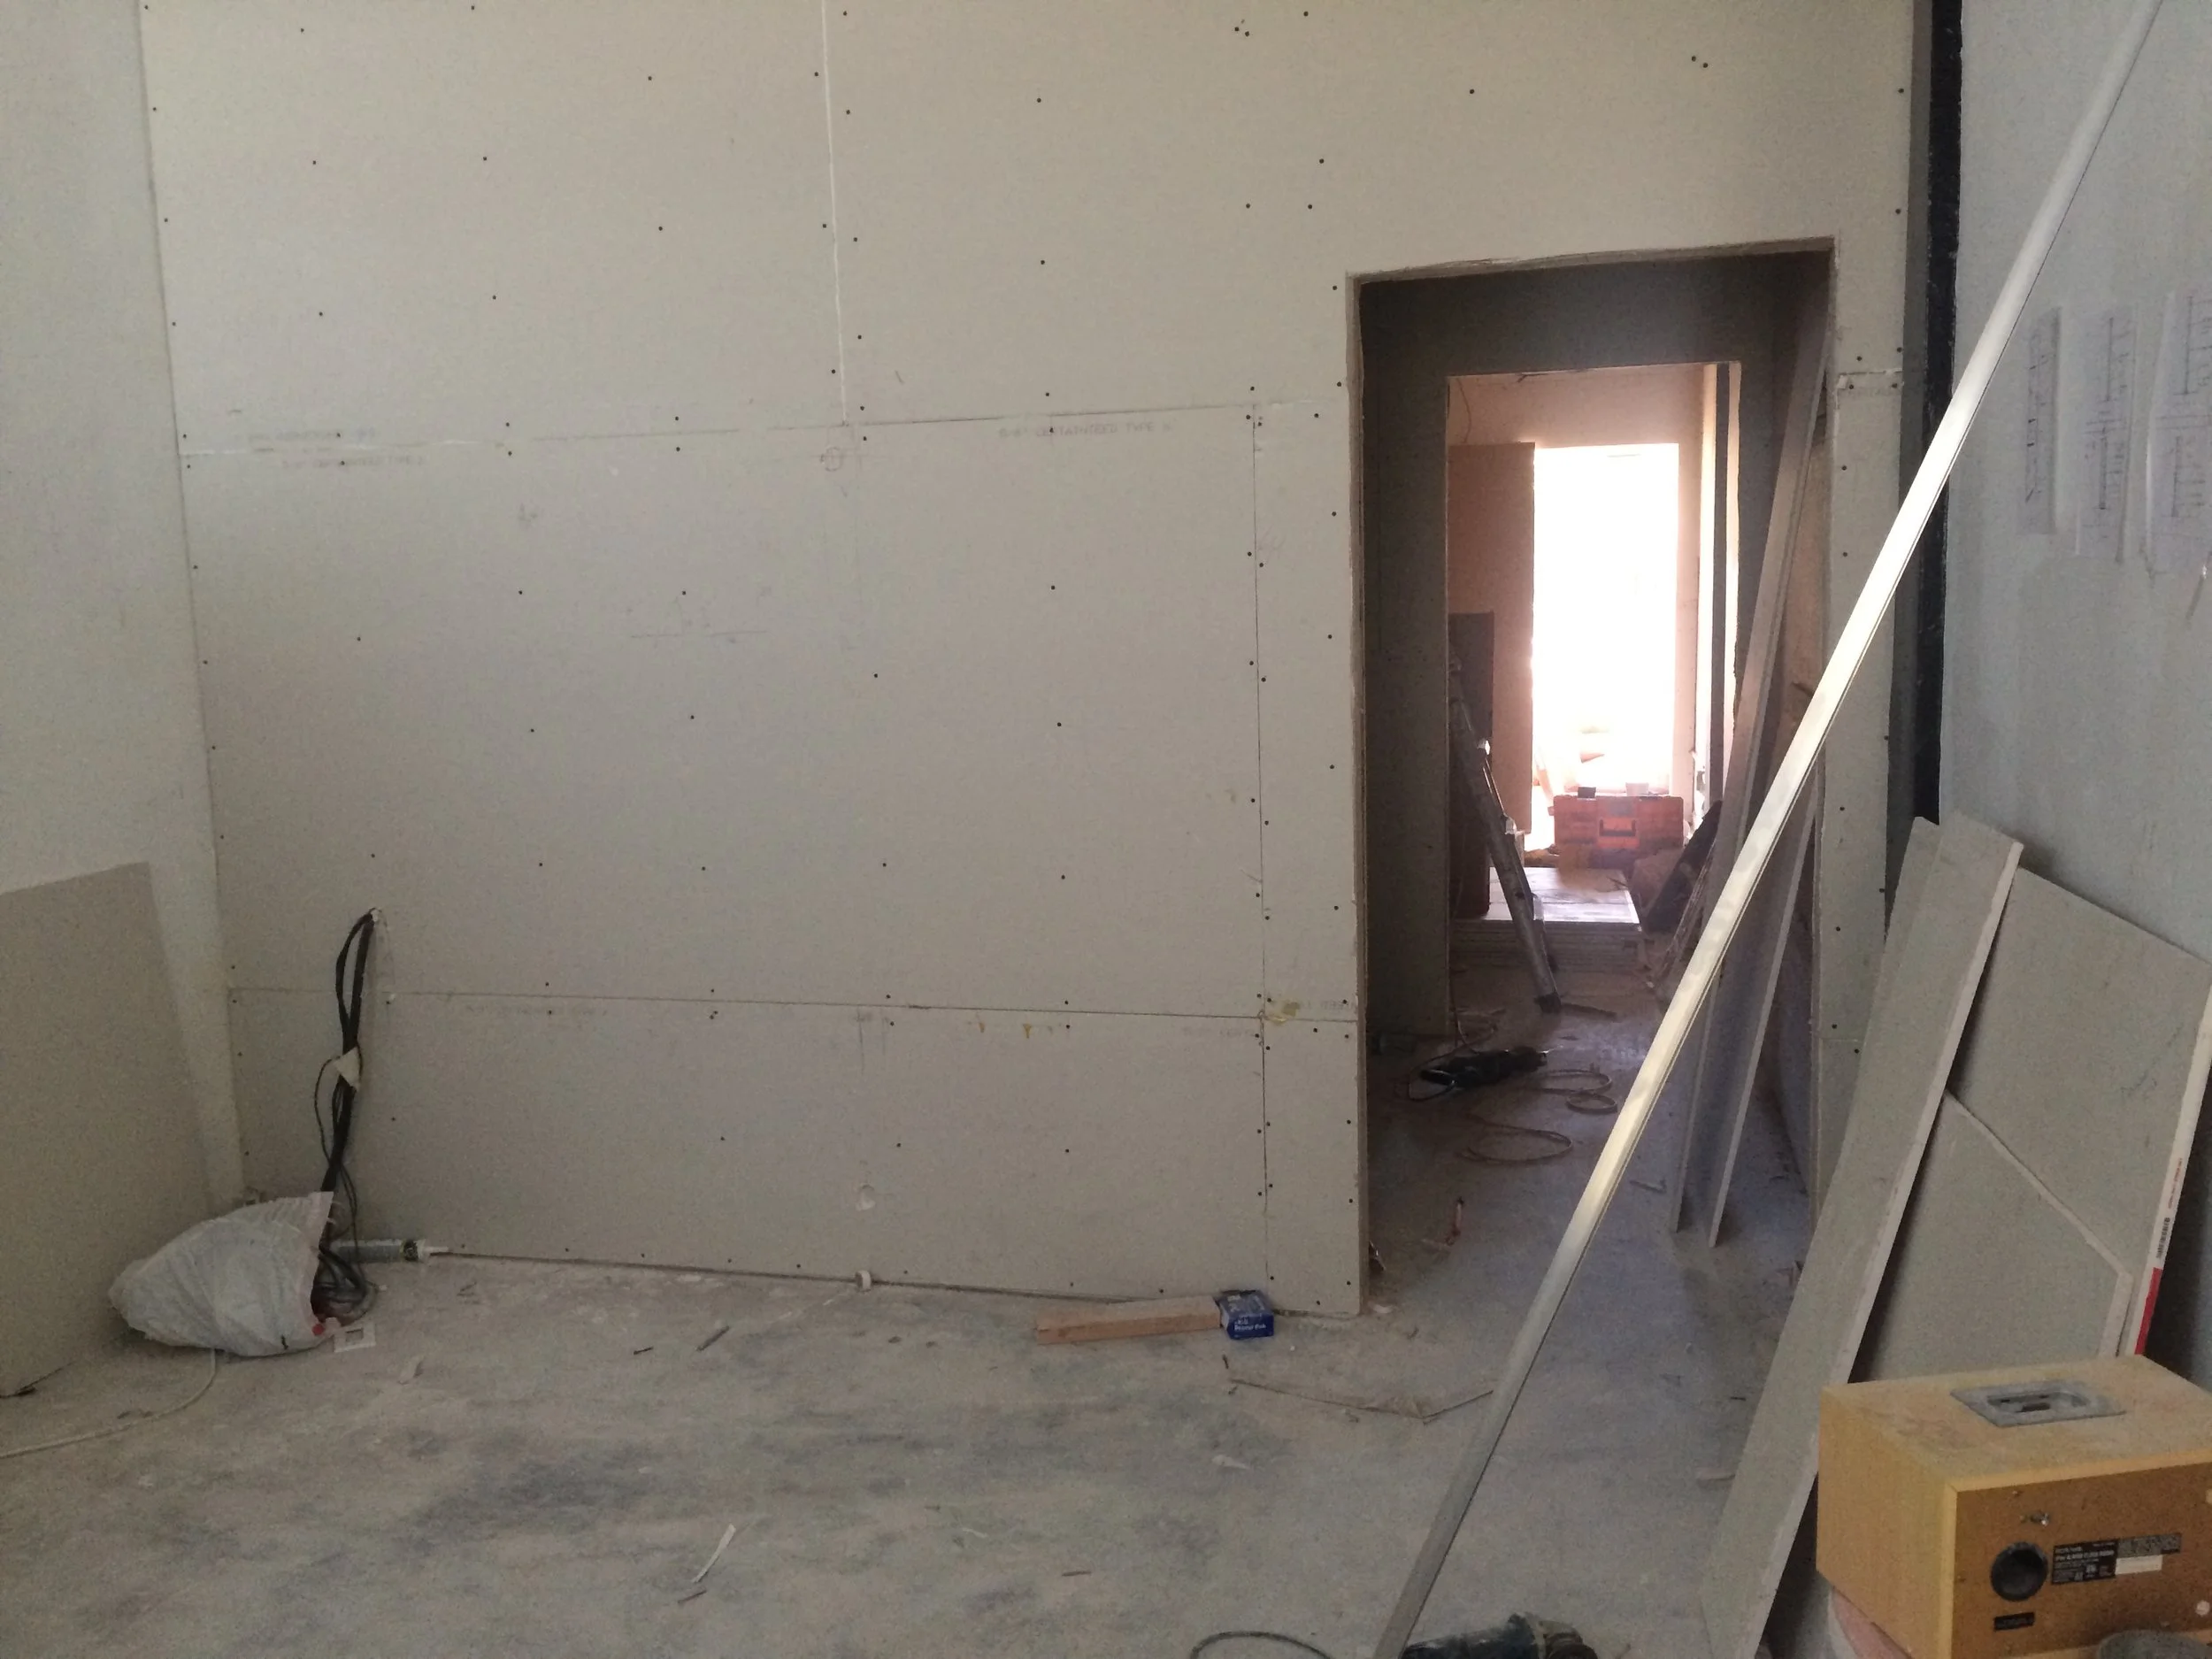
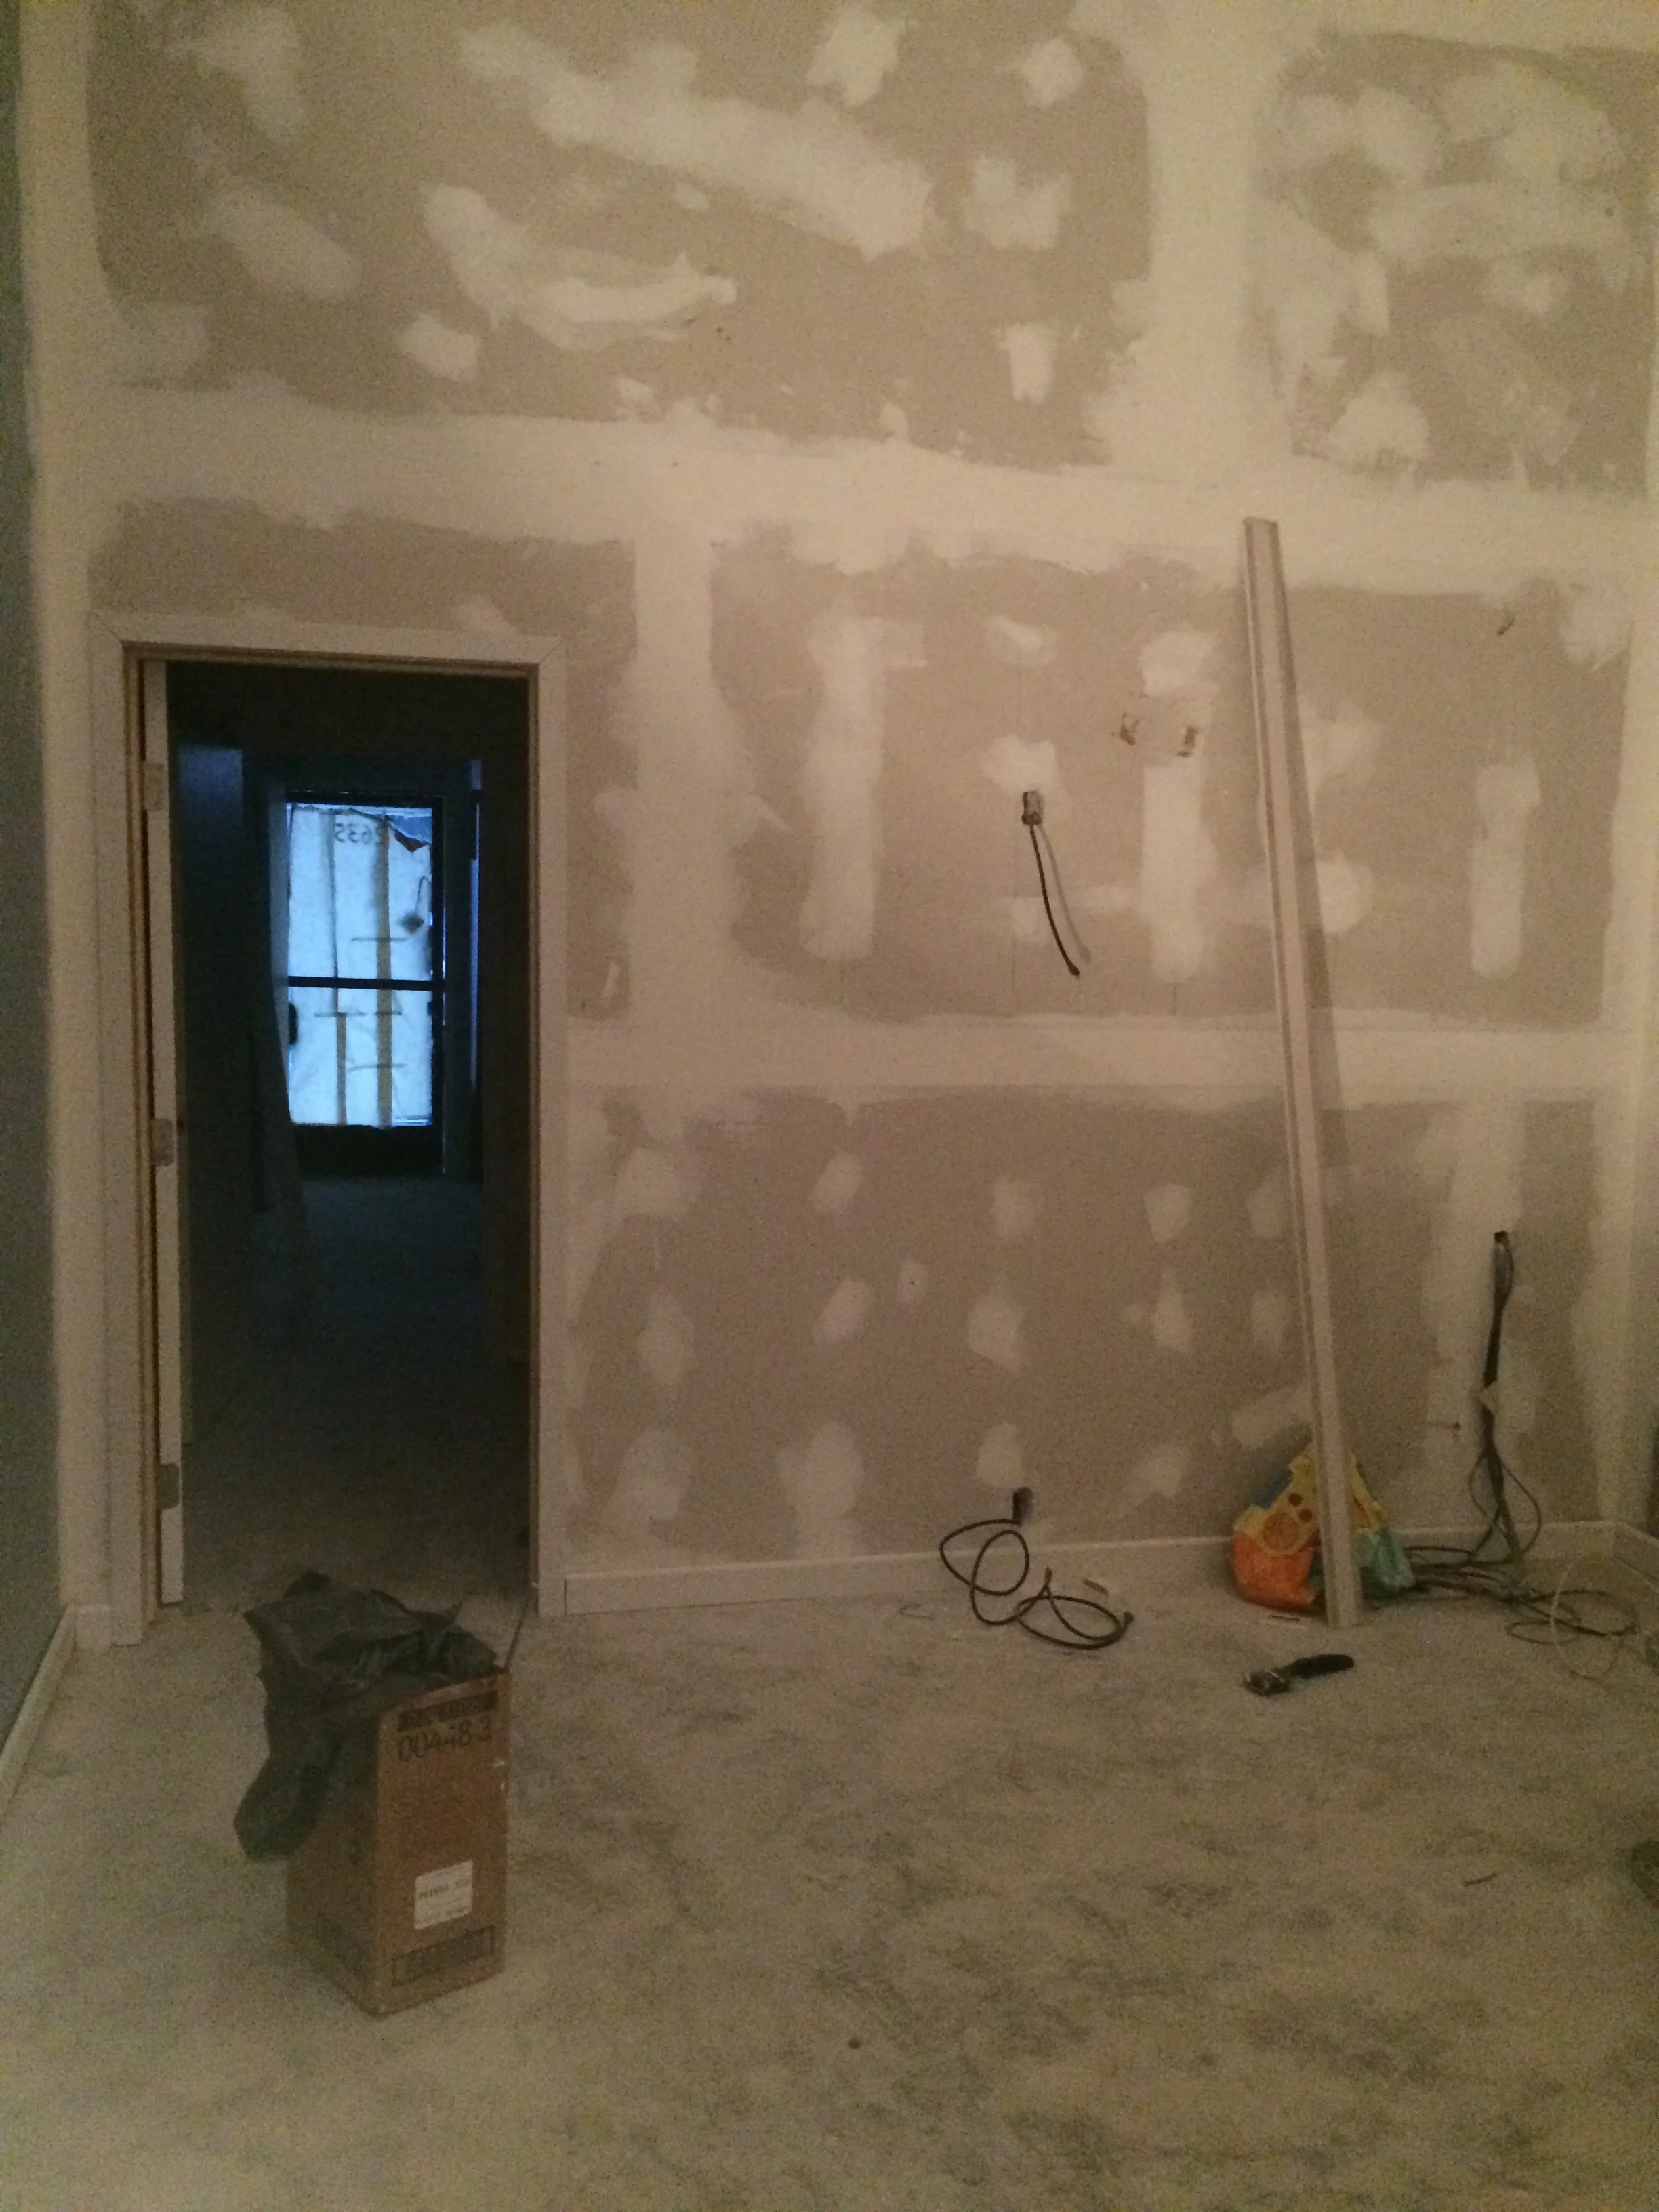
WE HAVE WALLS!
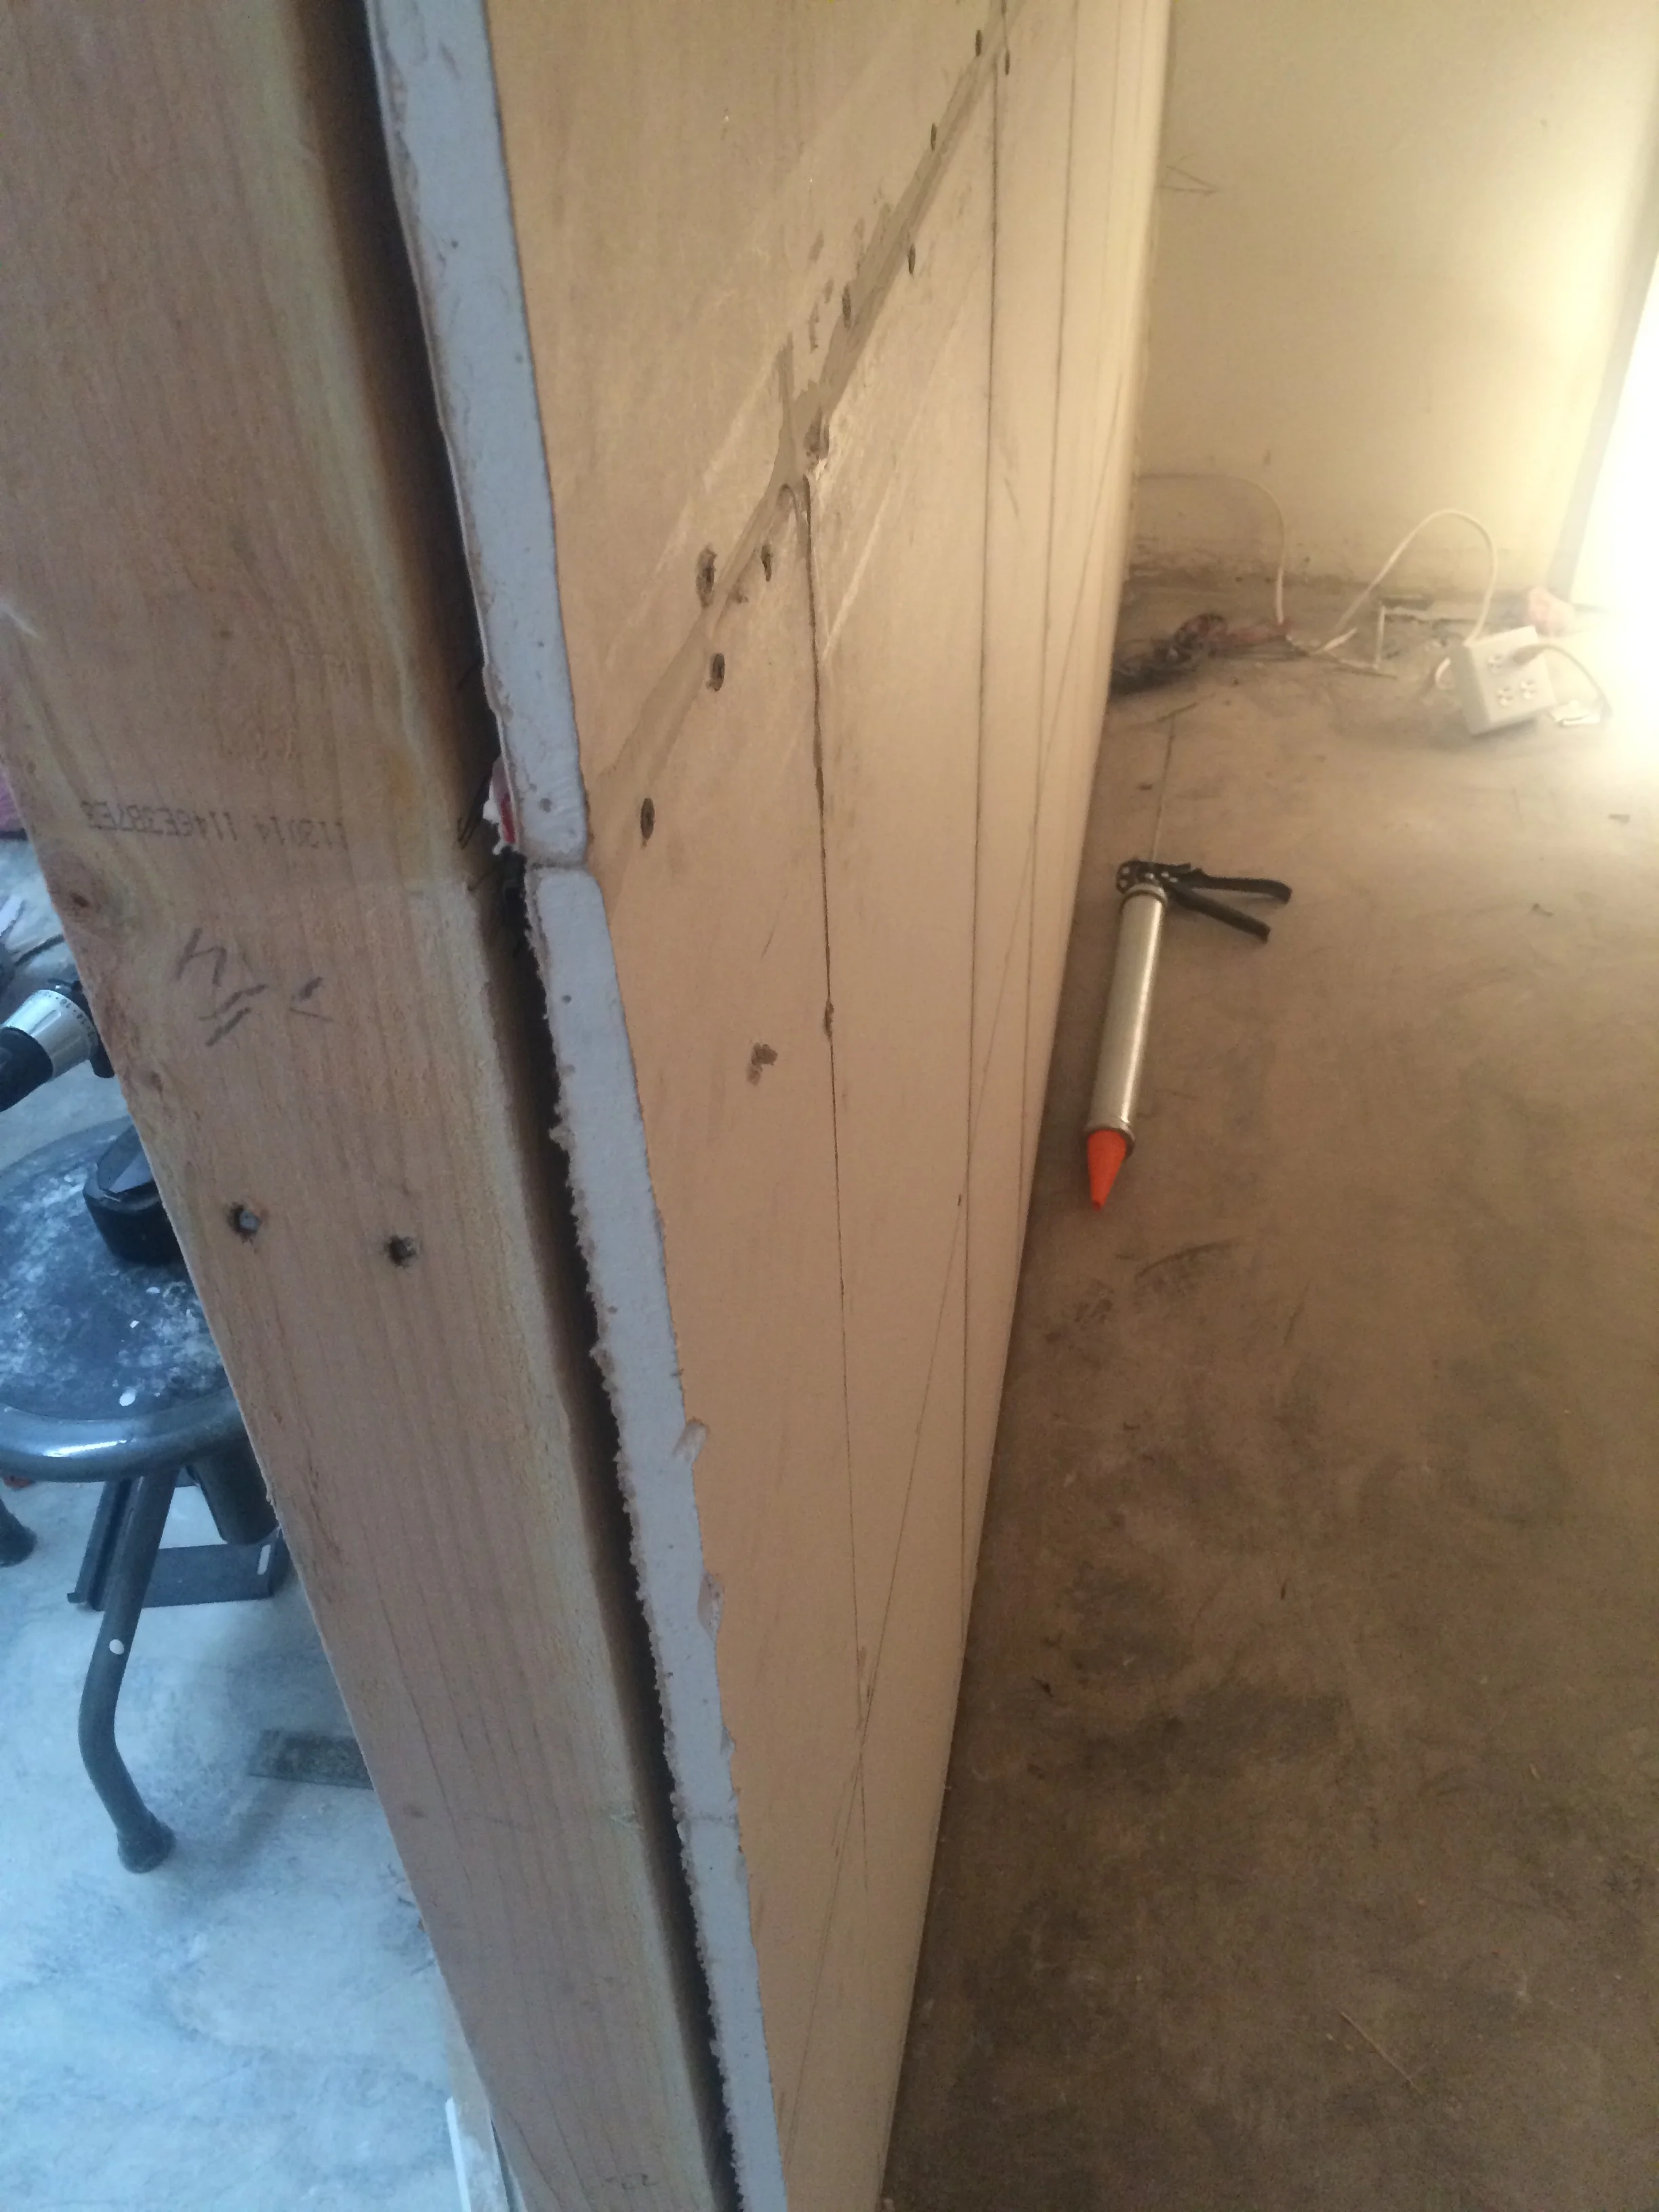
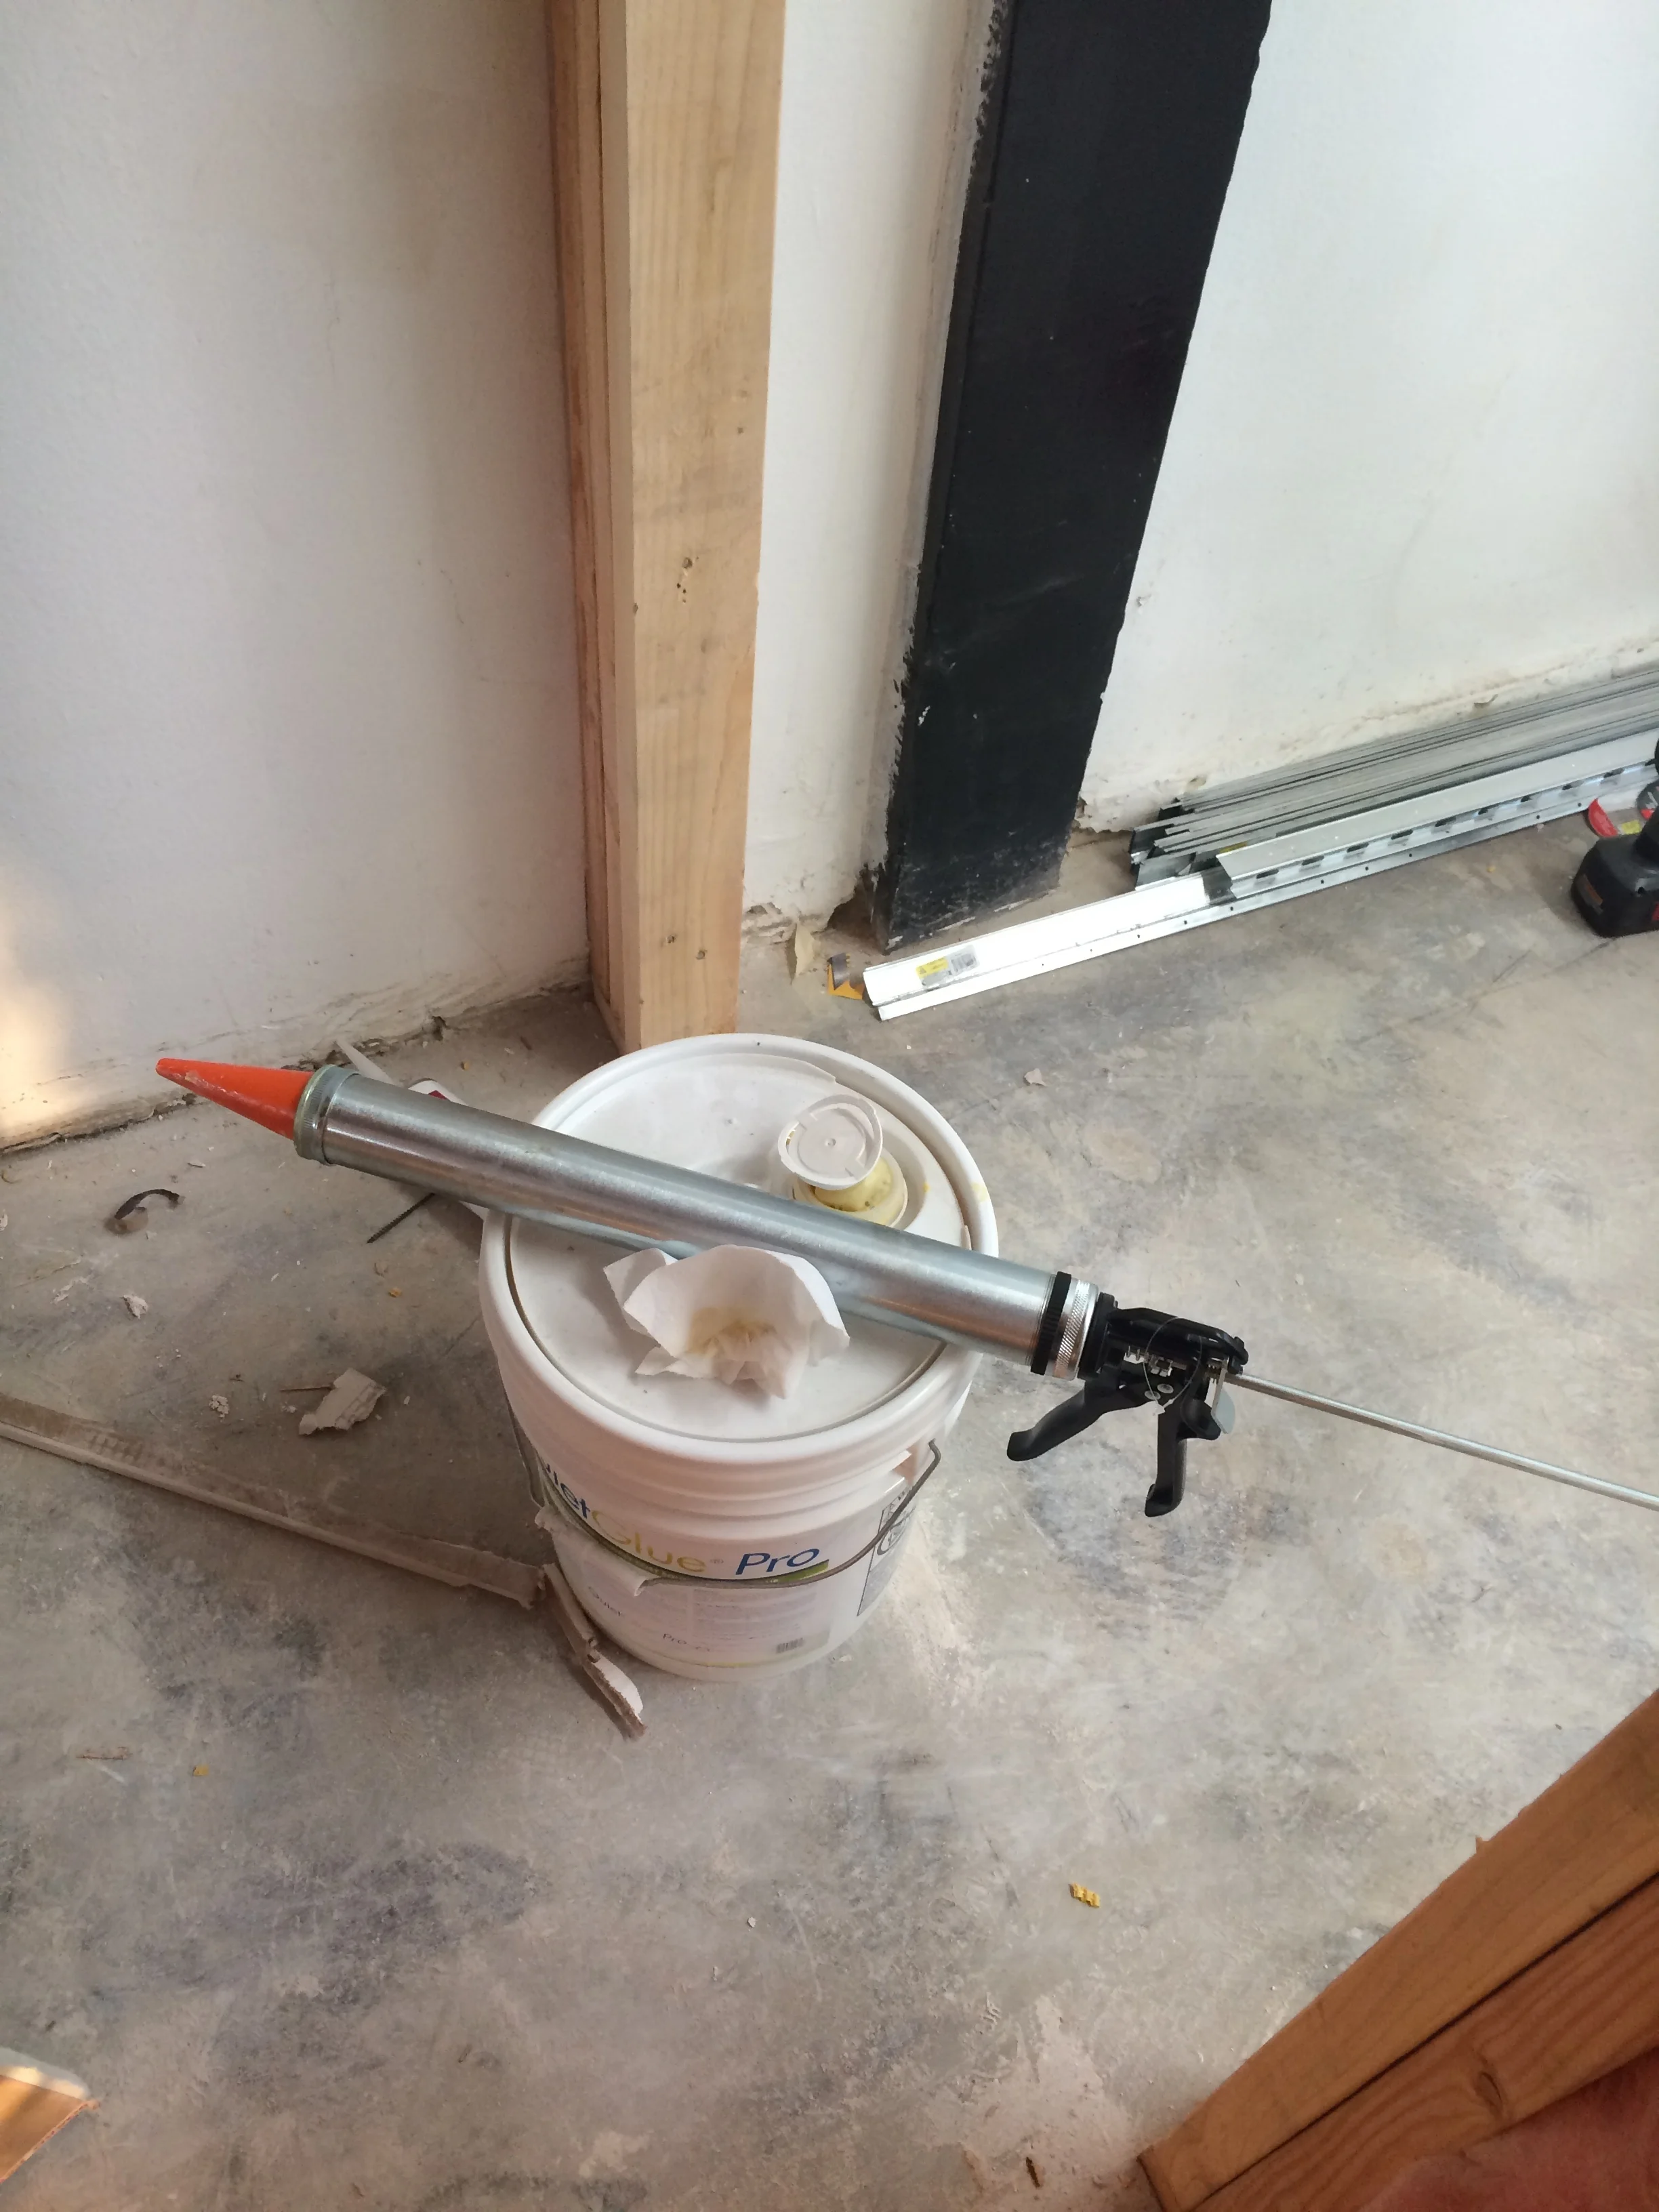
Insulation, Resilient Channels, Drywall, Sound Insulating Glue, Drywall. That pretty much sums up everything in this entry...
Notice the big stack of drywall in the background of the first picture. Also, the cables pre-wired at the bottom left corner.
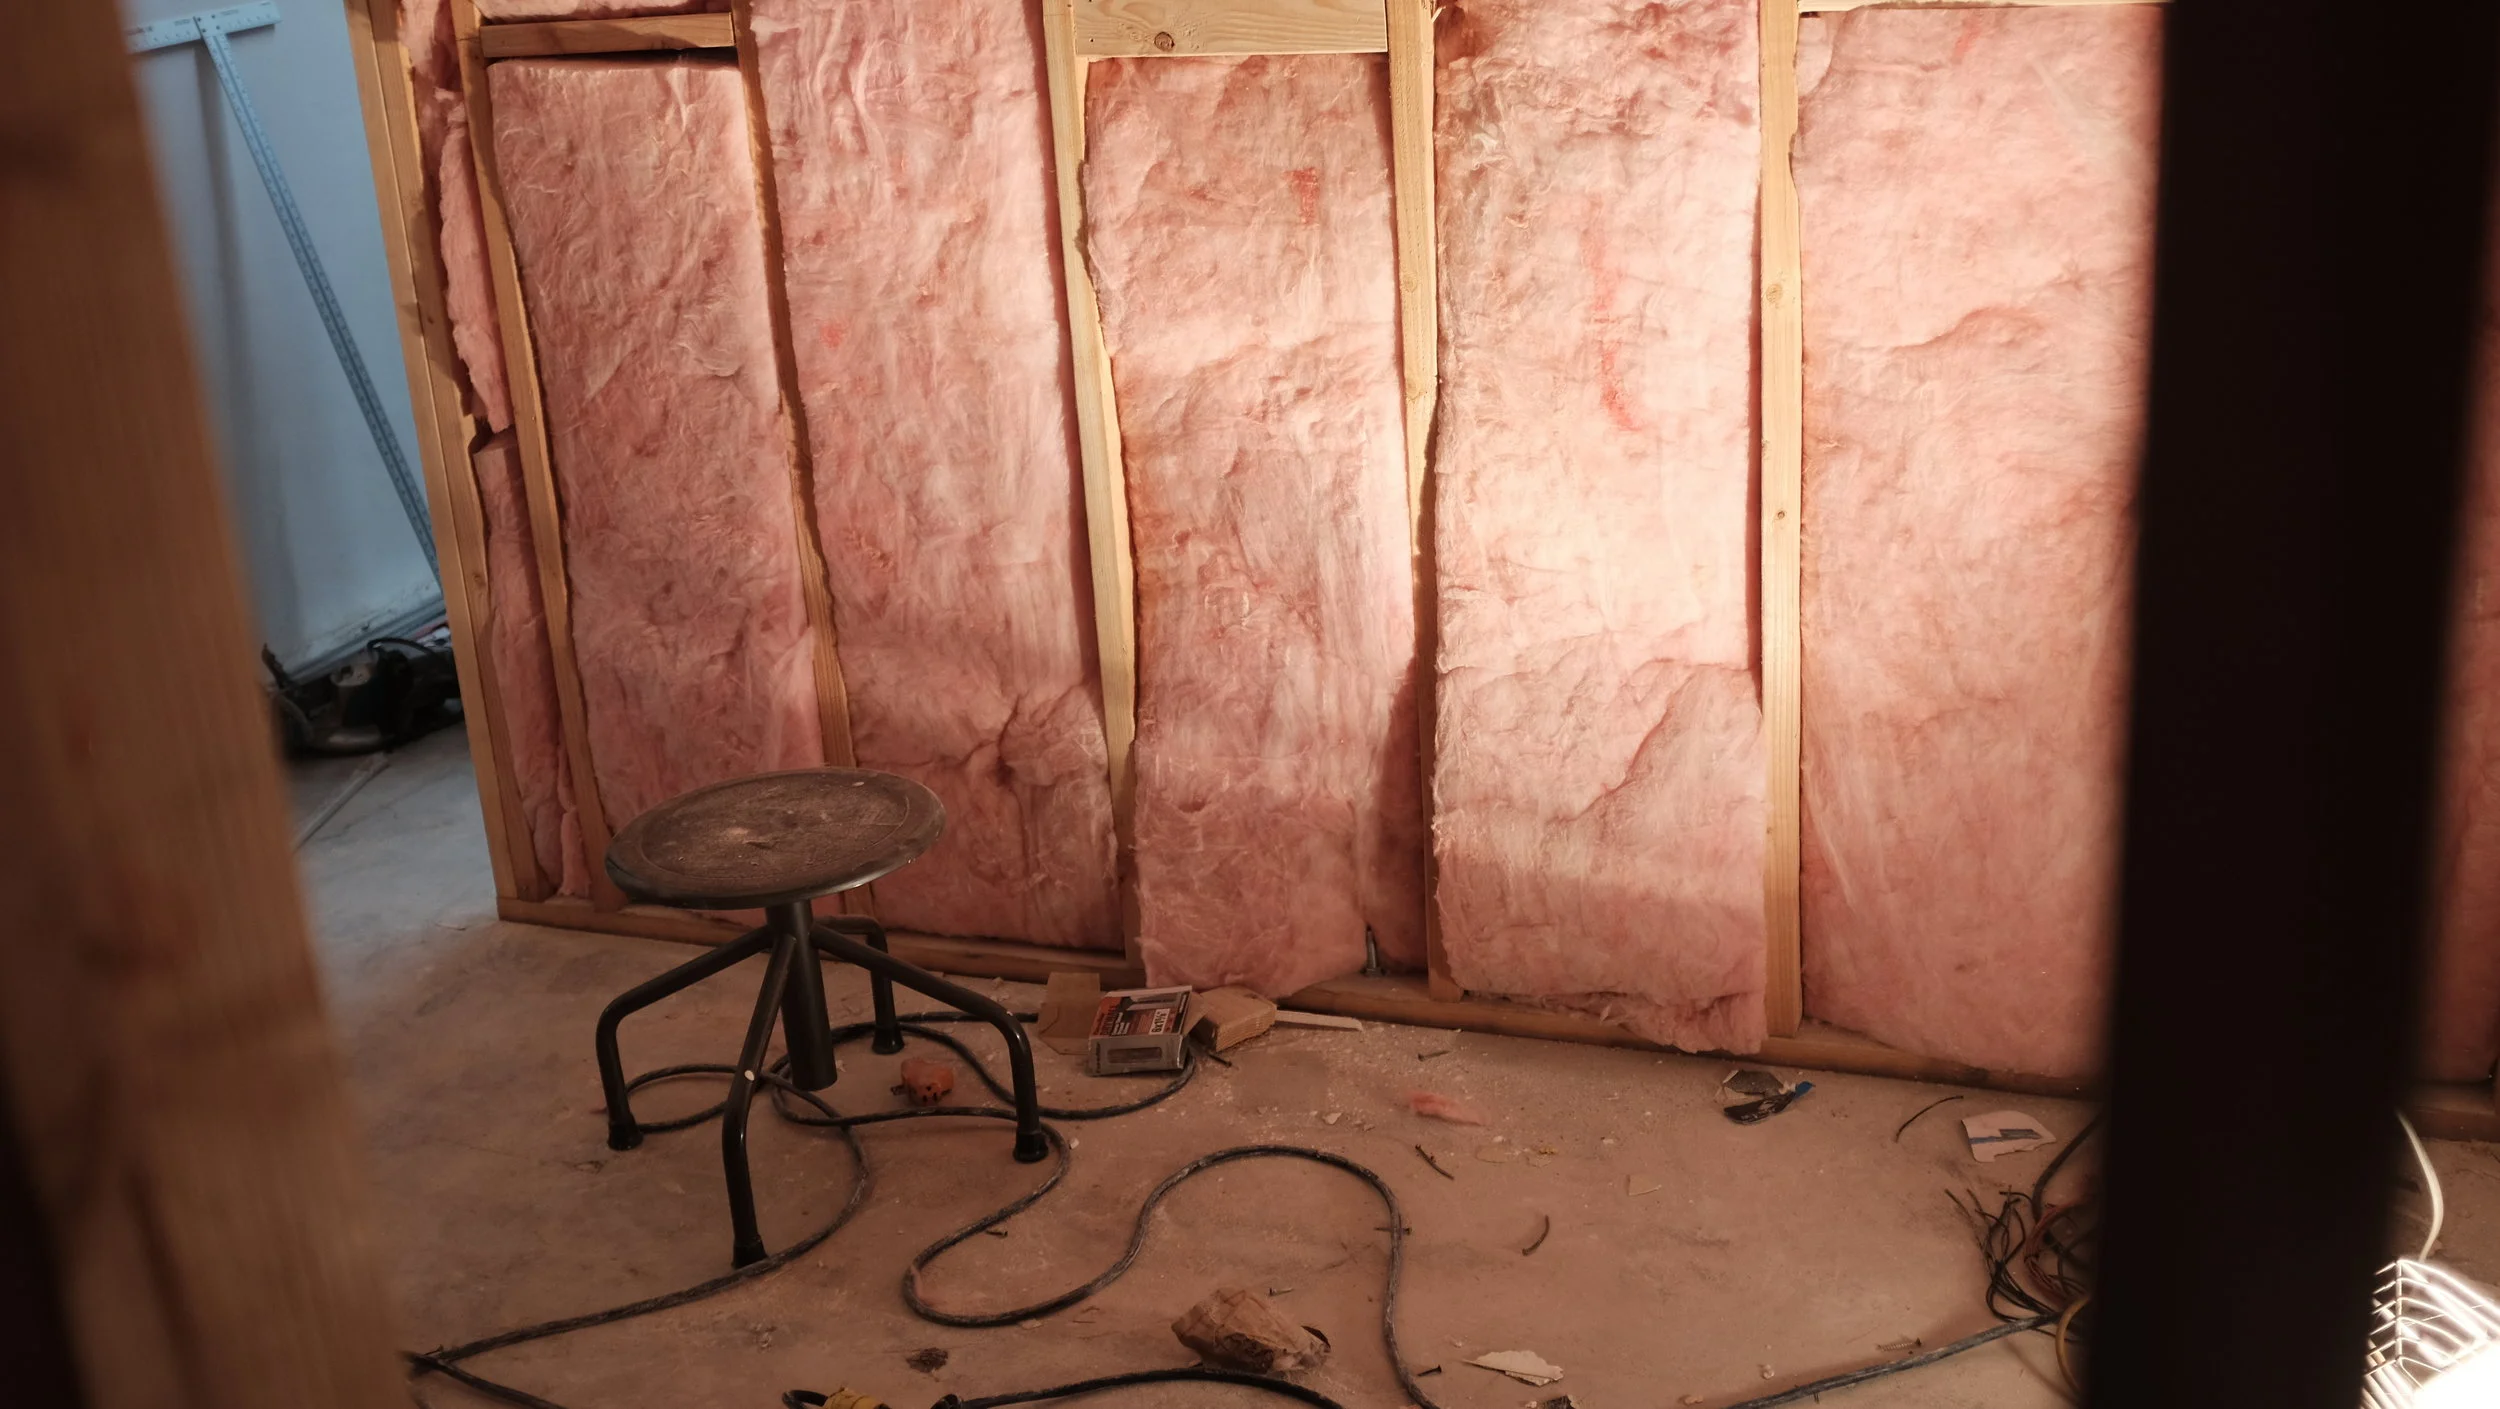
resilient channels installed over the insulation directly on the framing
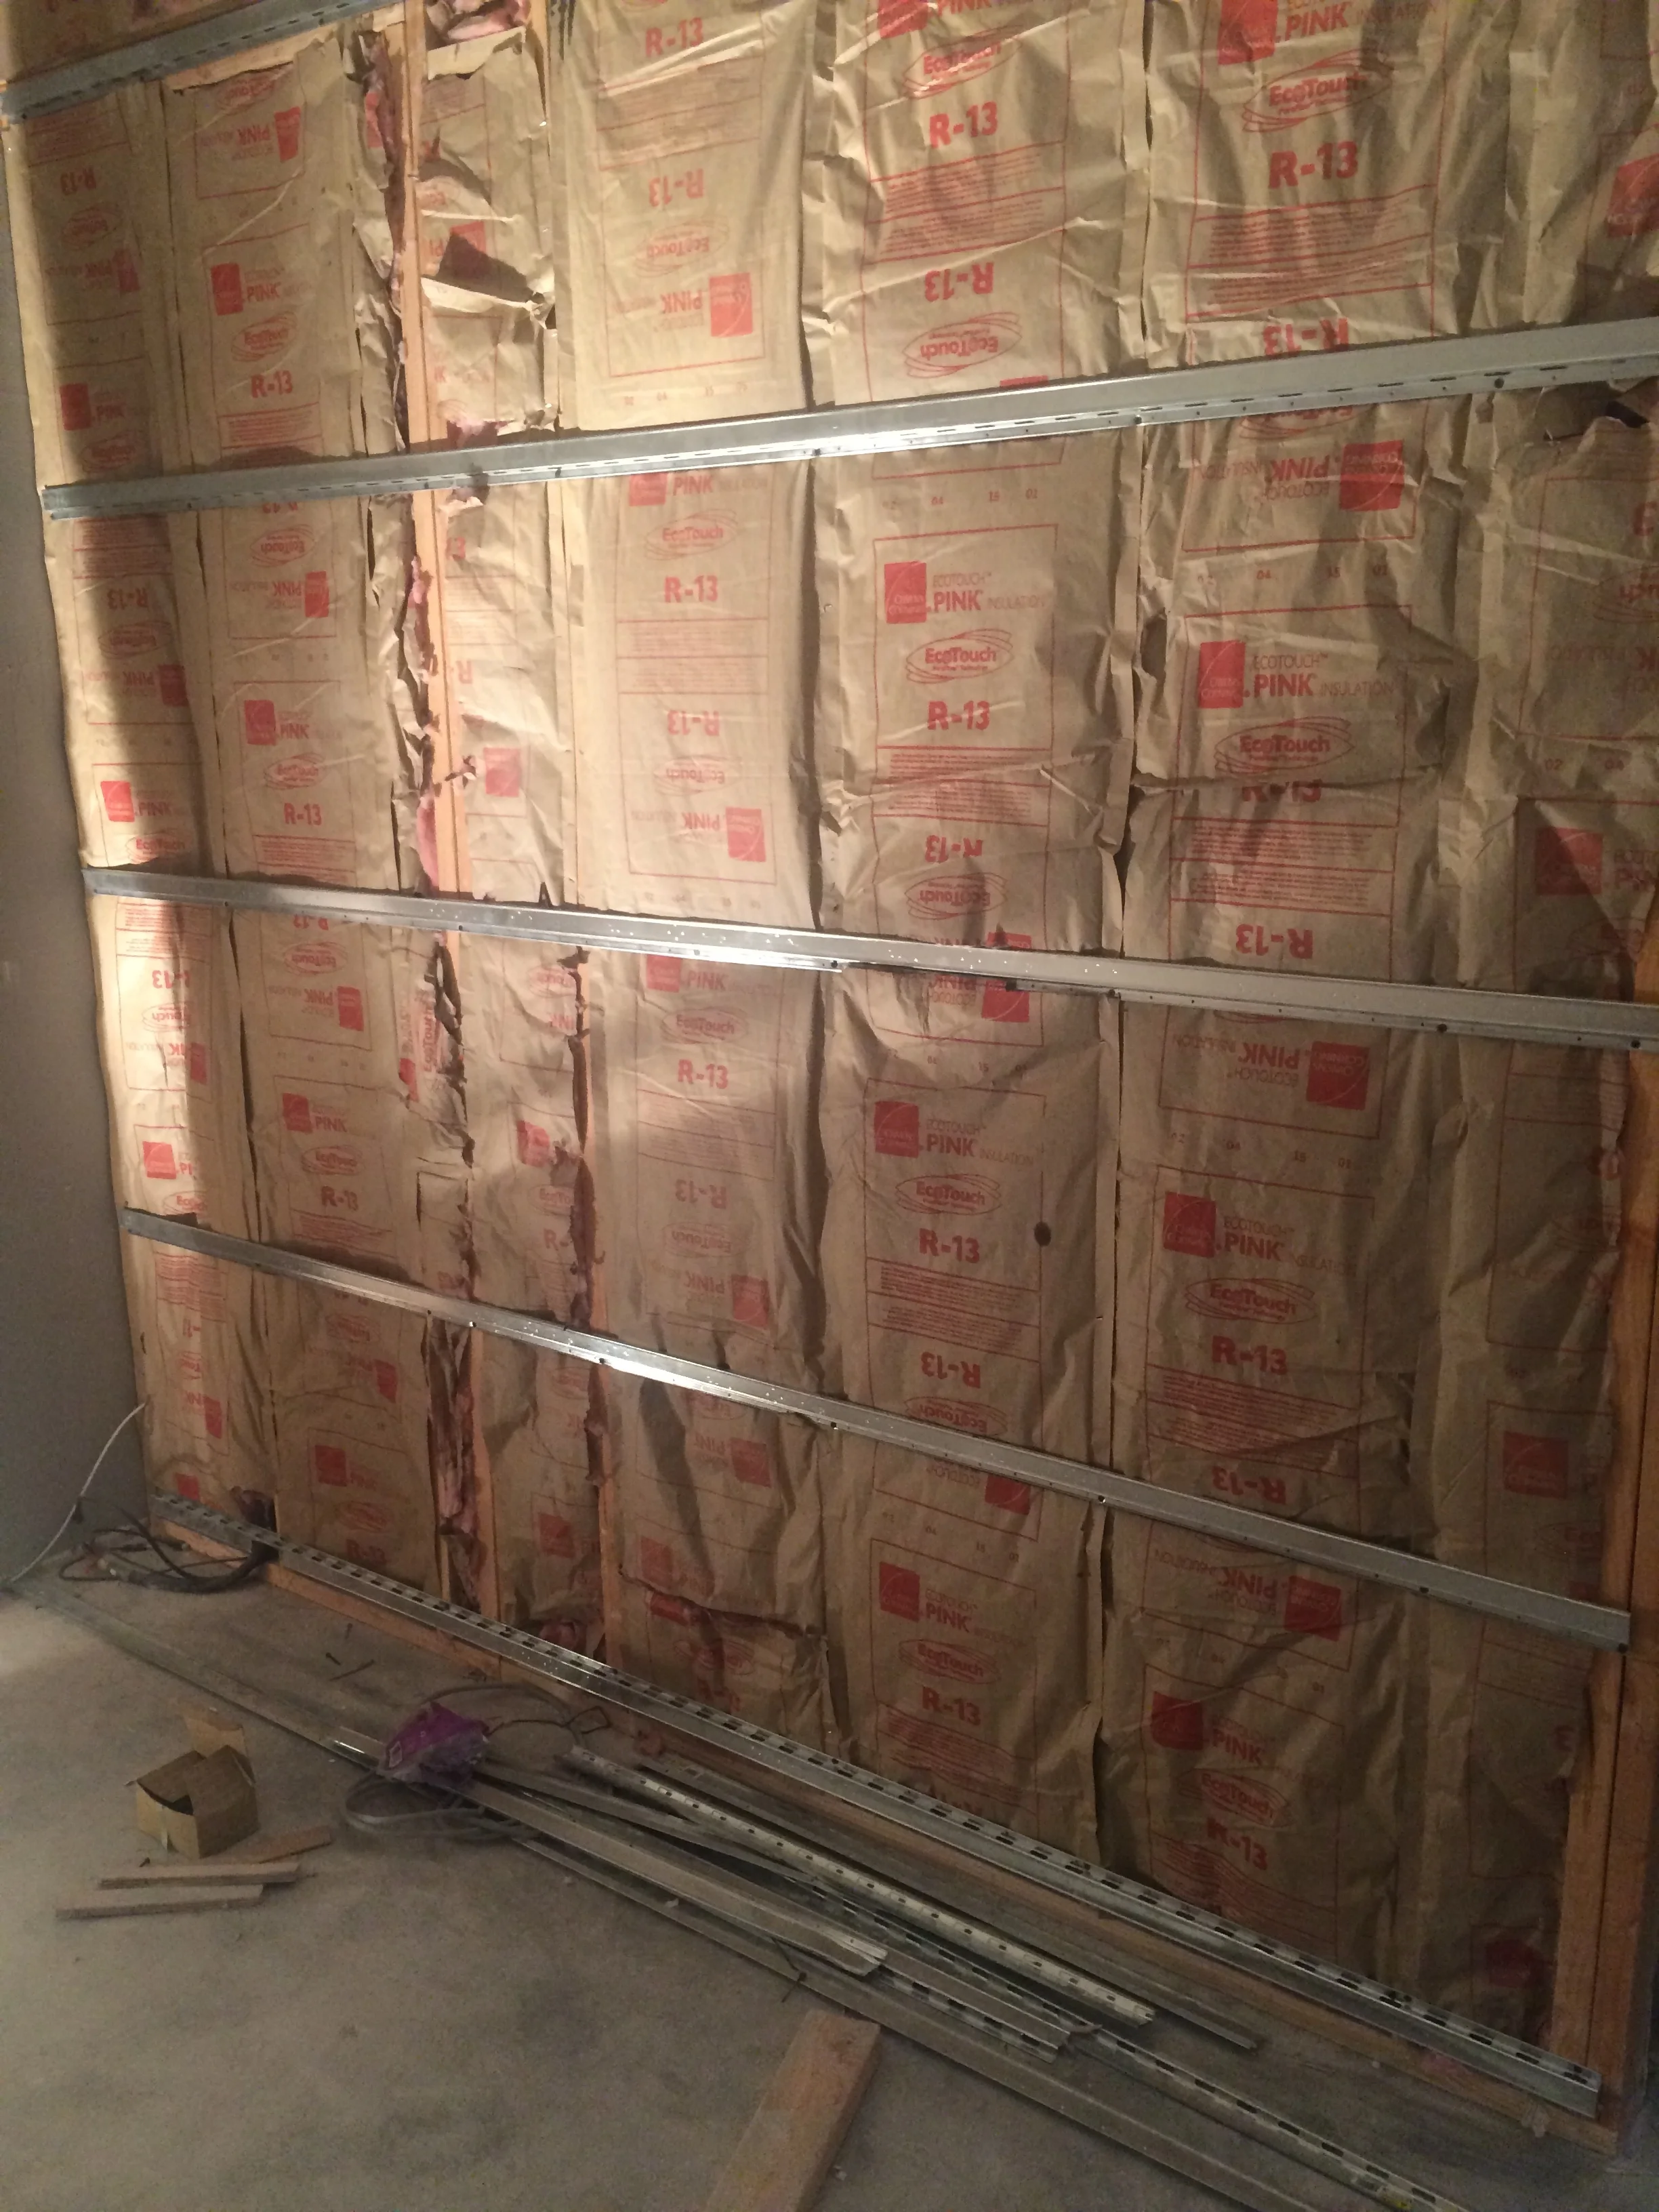
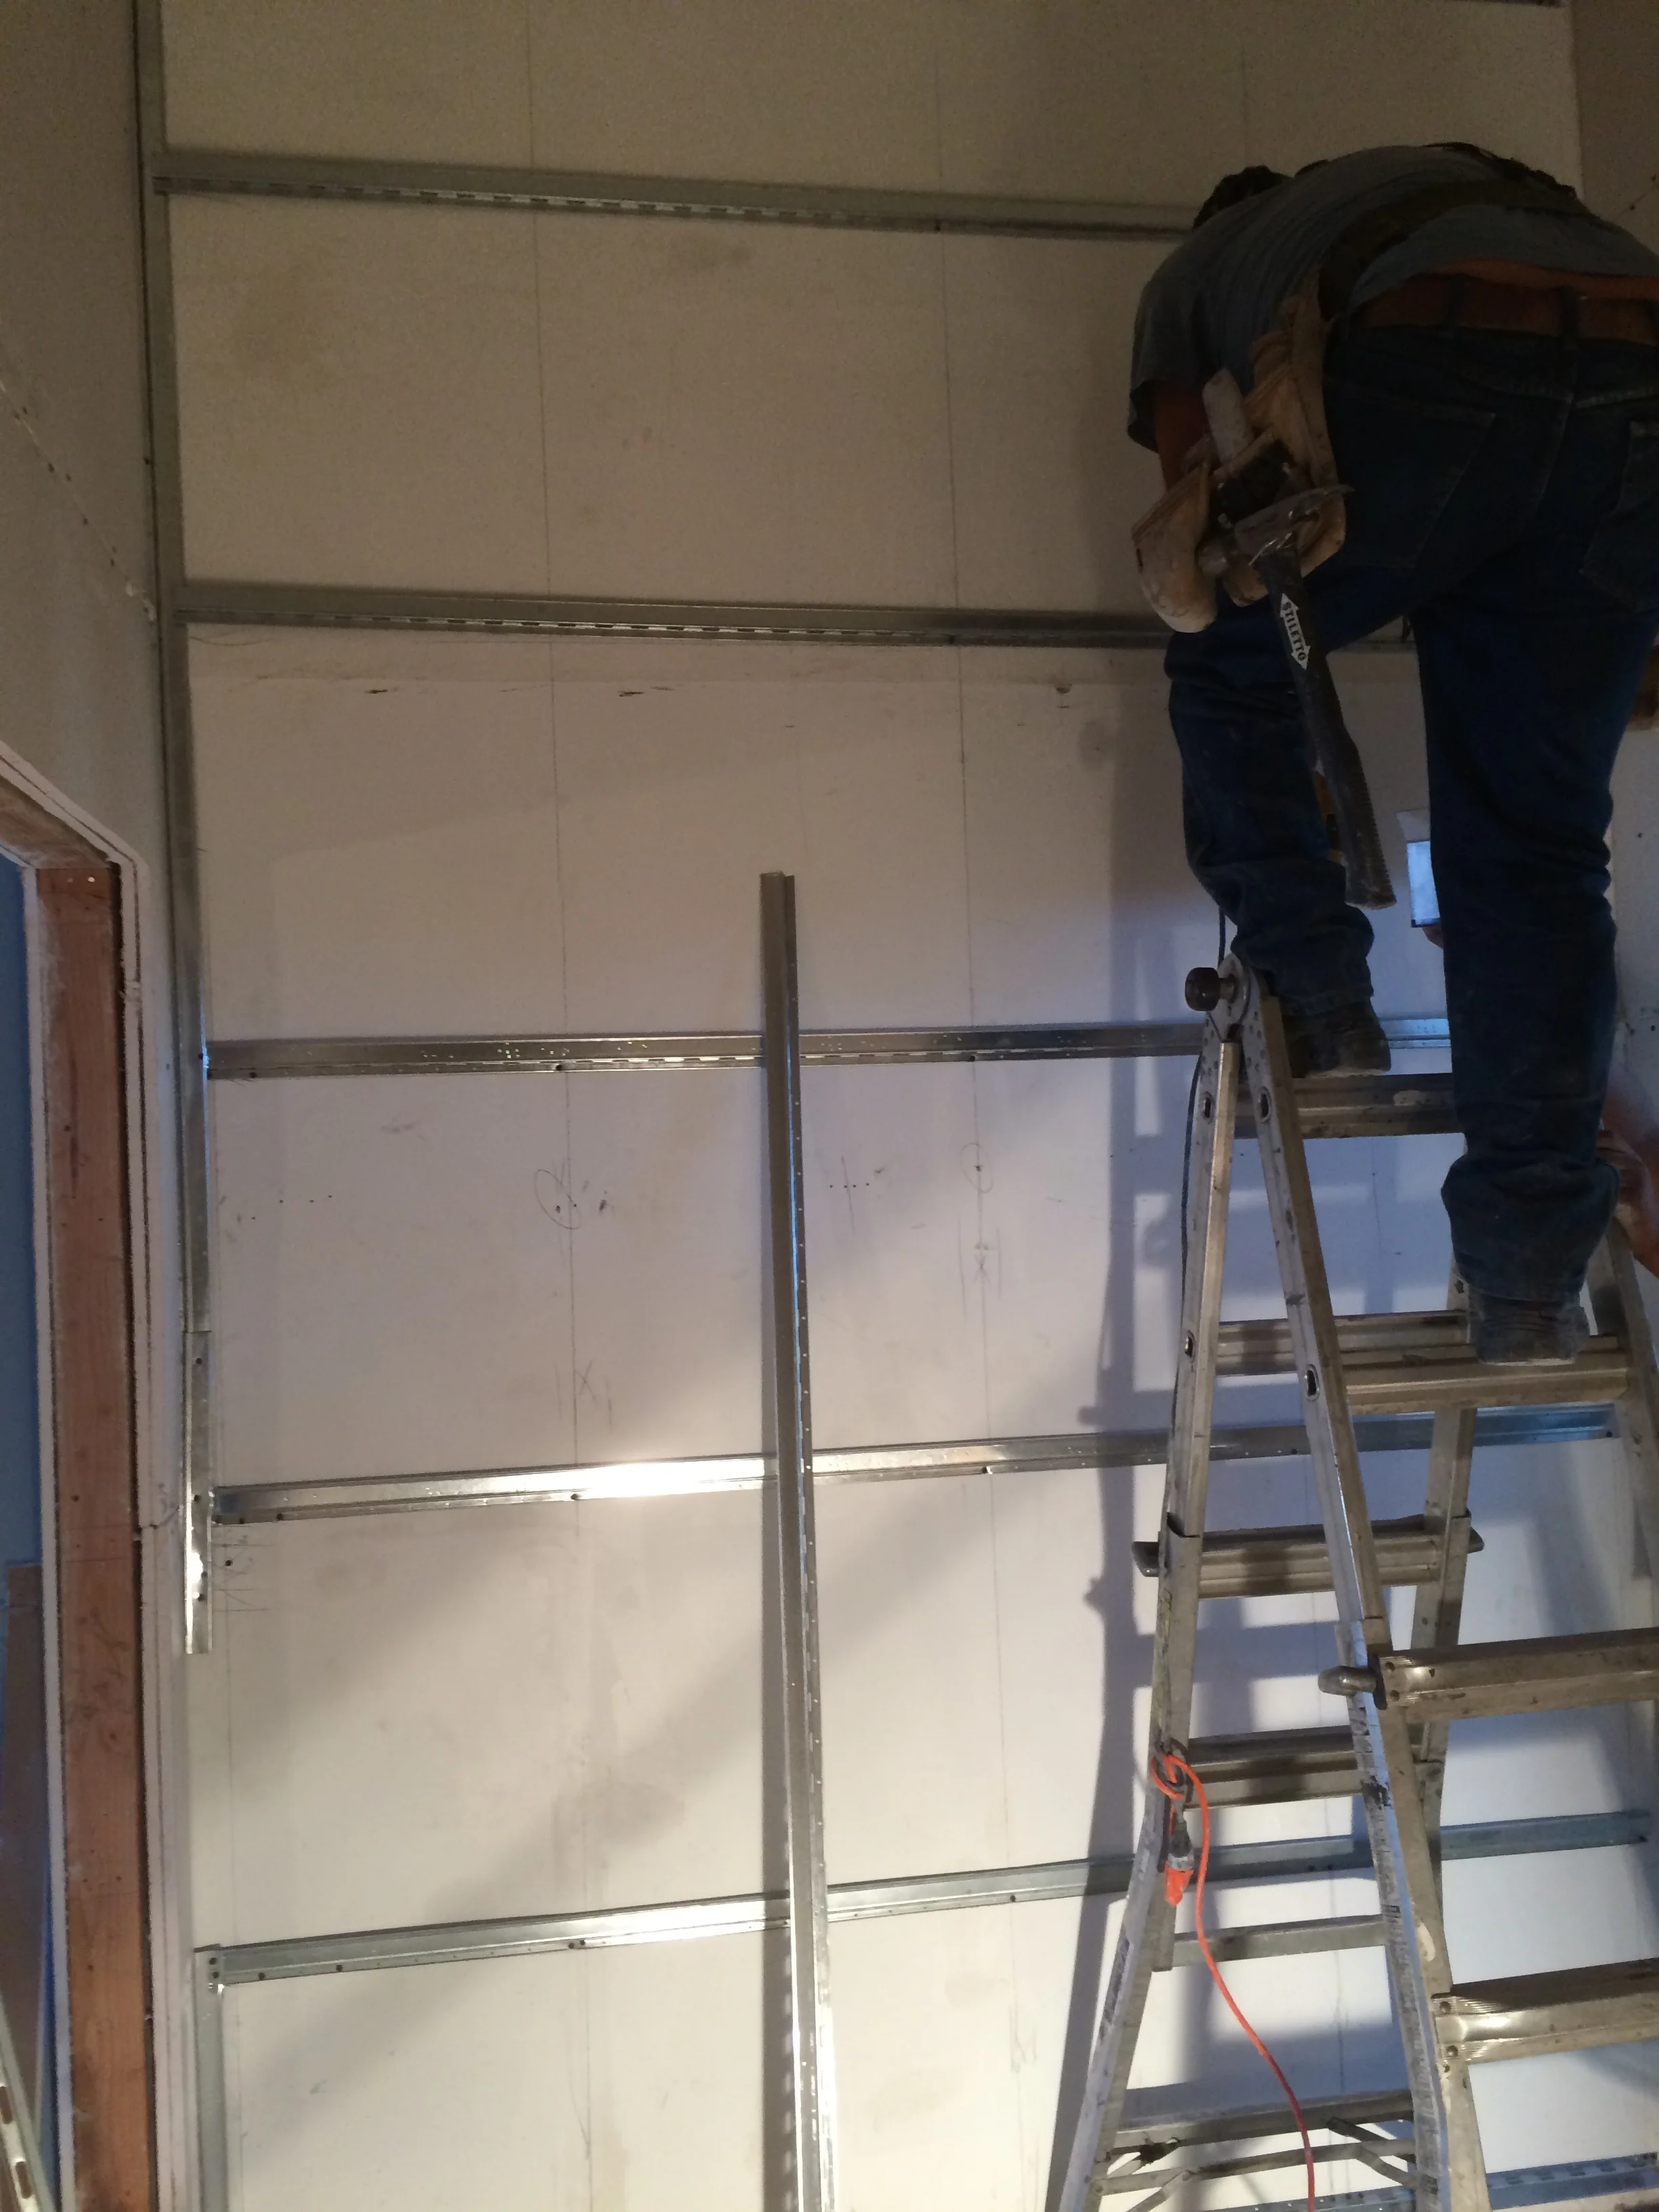
drywall mounted on top of the resilient channels which decouples the walls from the frame which (in theory) should cut down on the transmission of low frequencies.

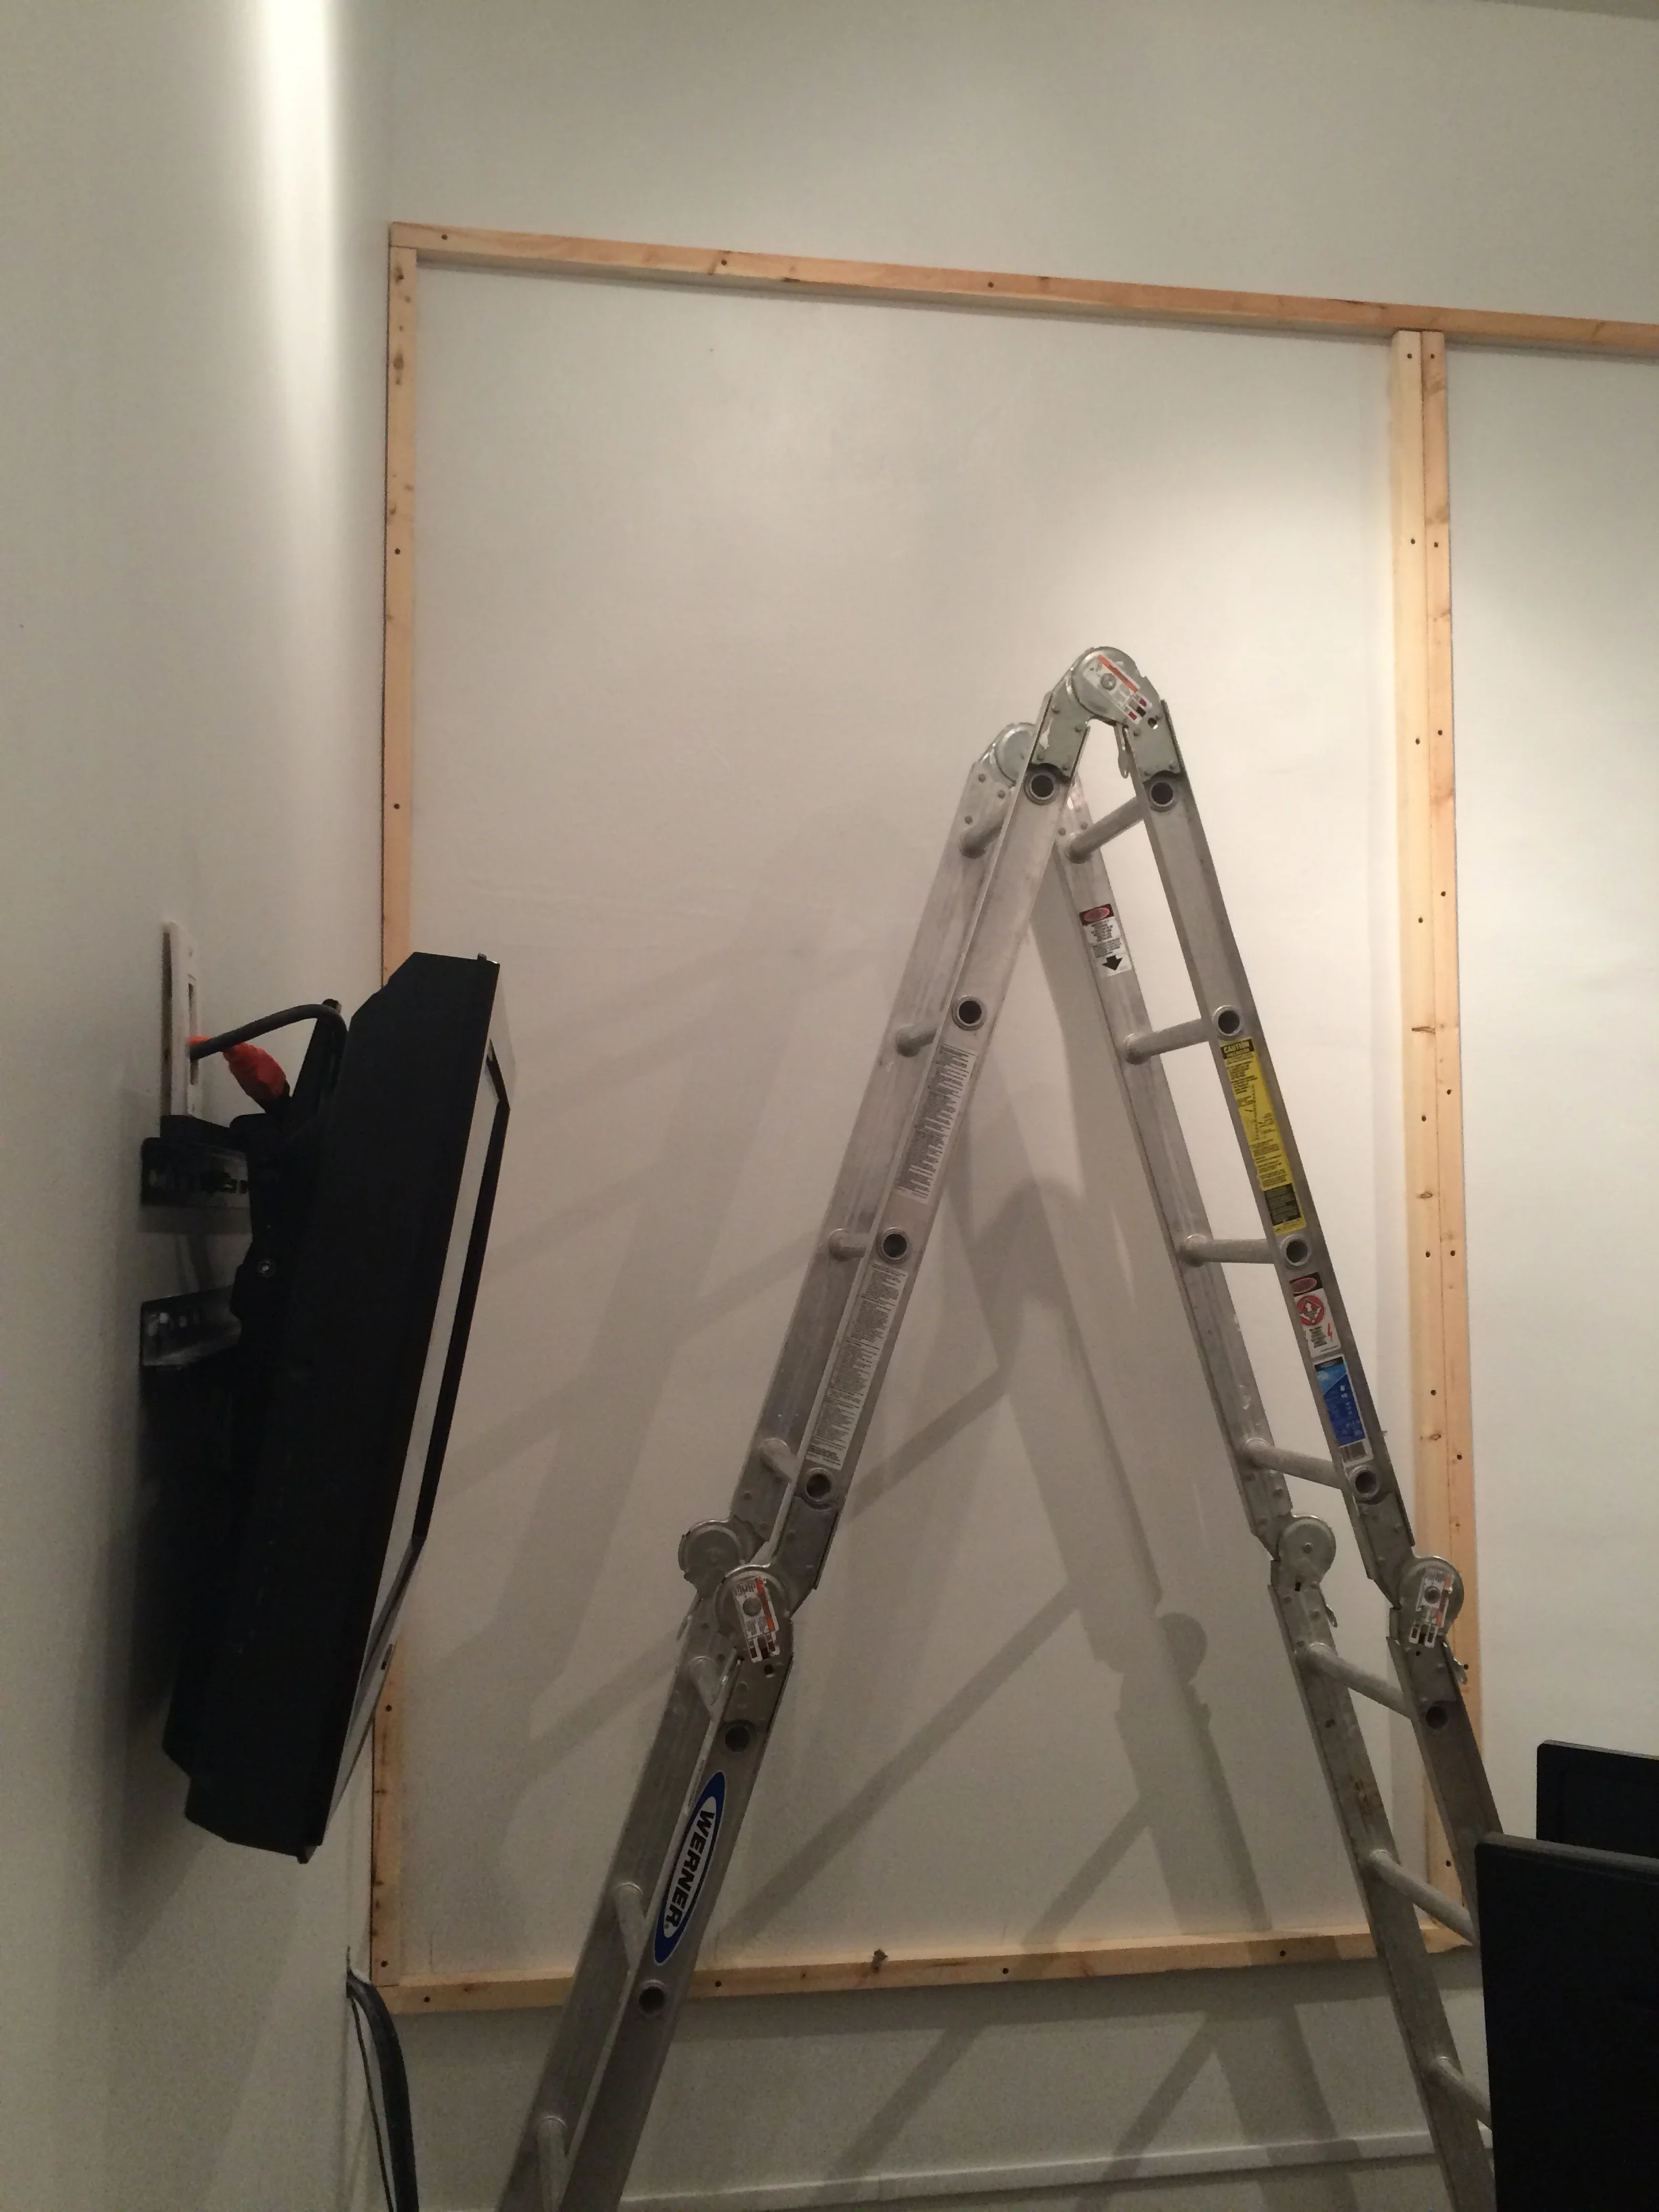
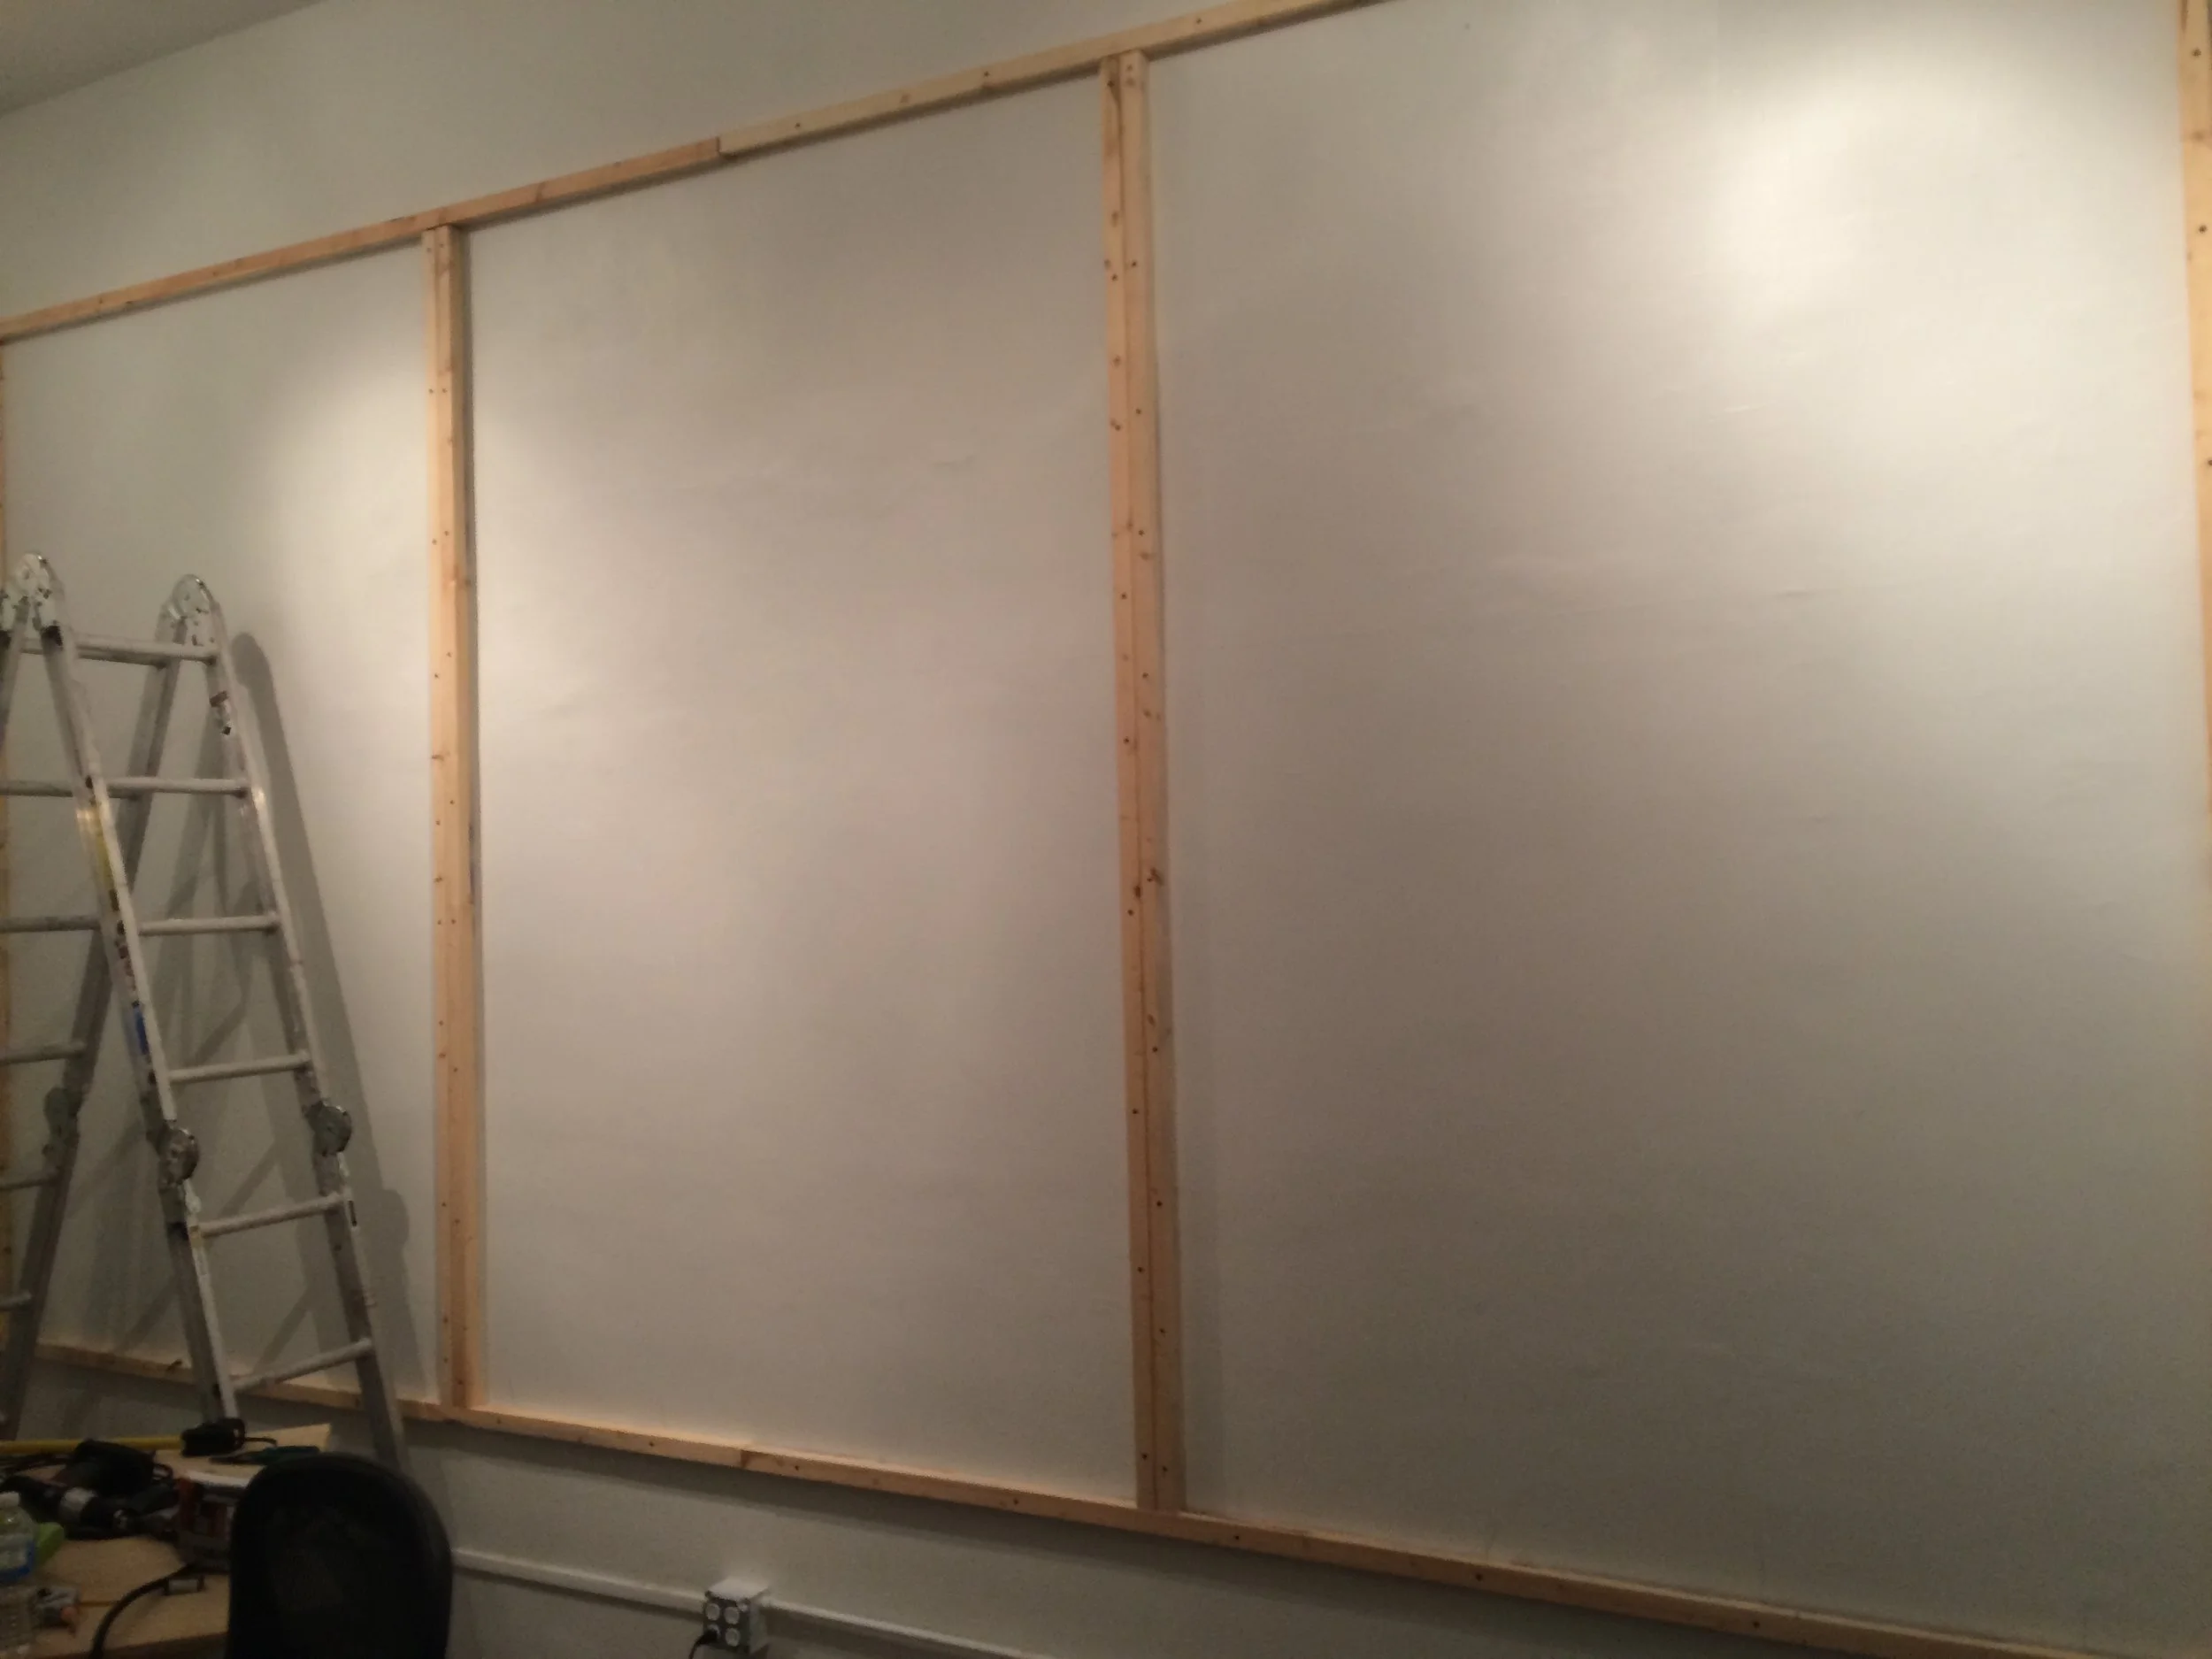
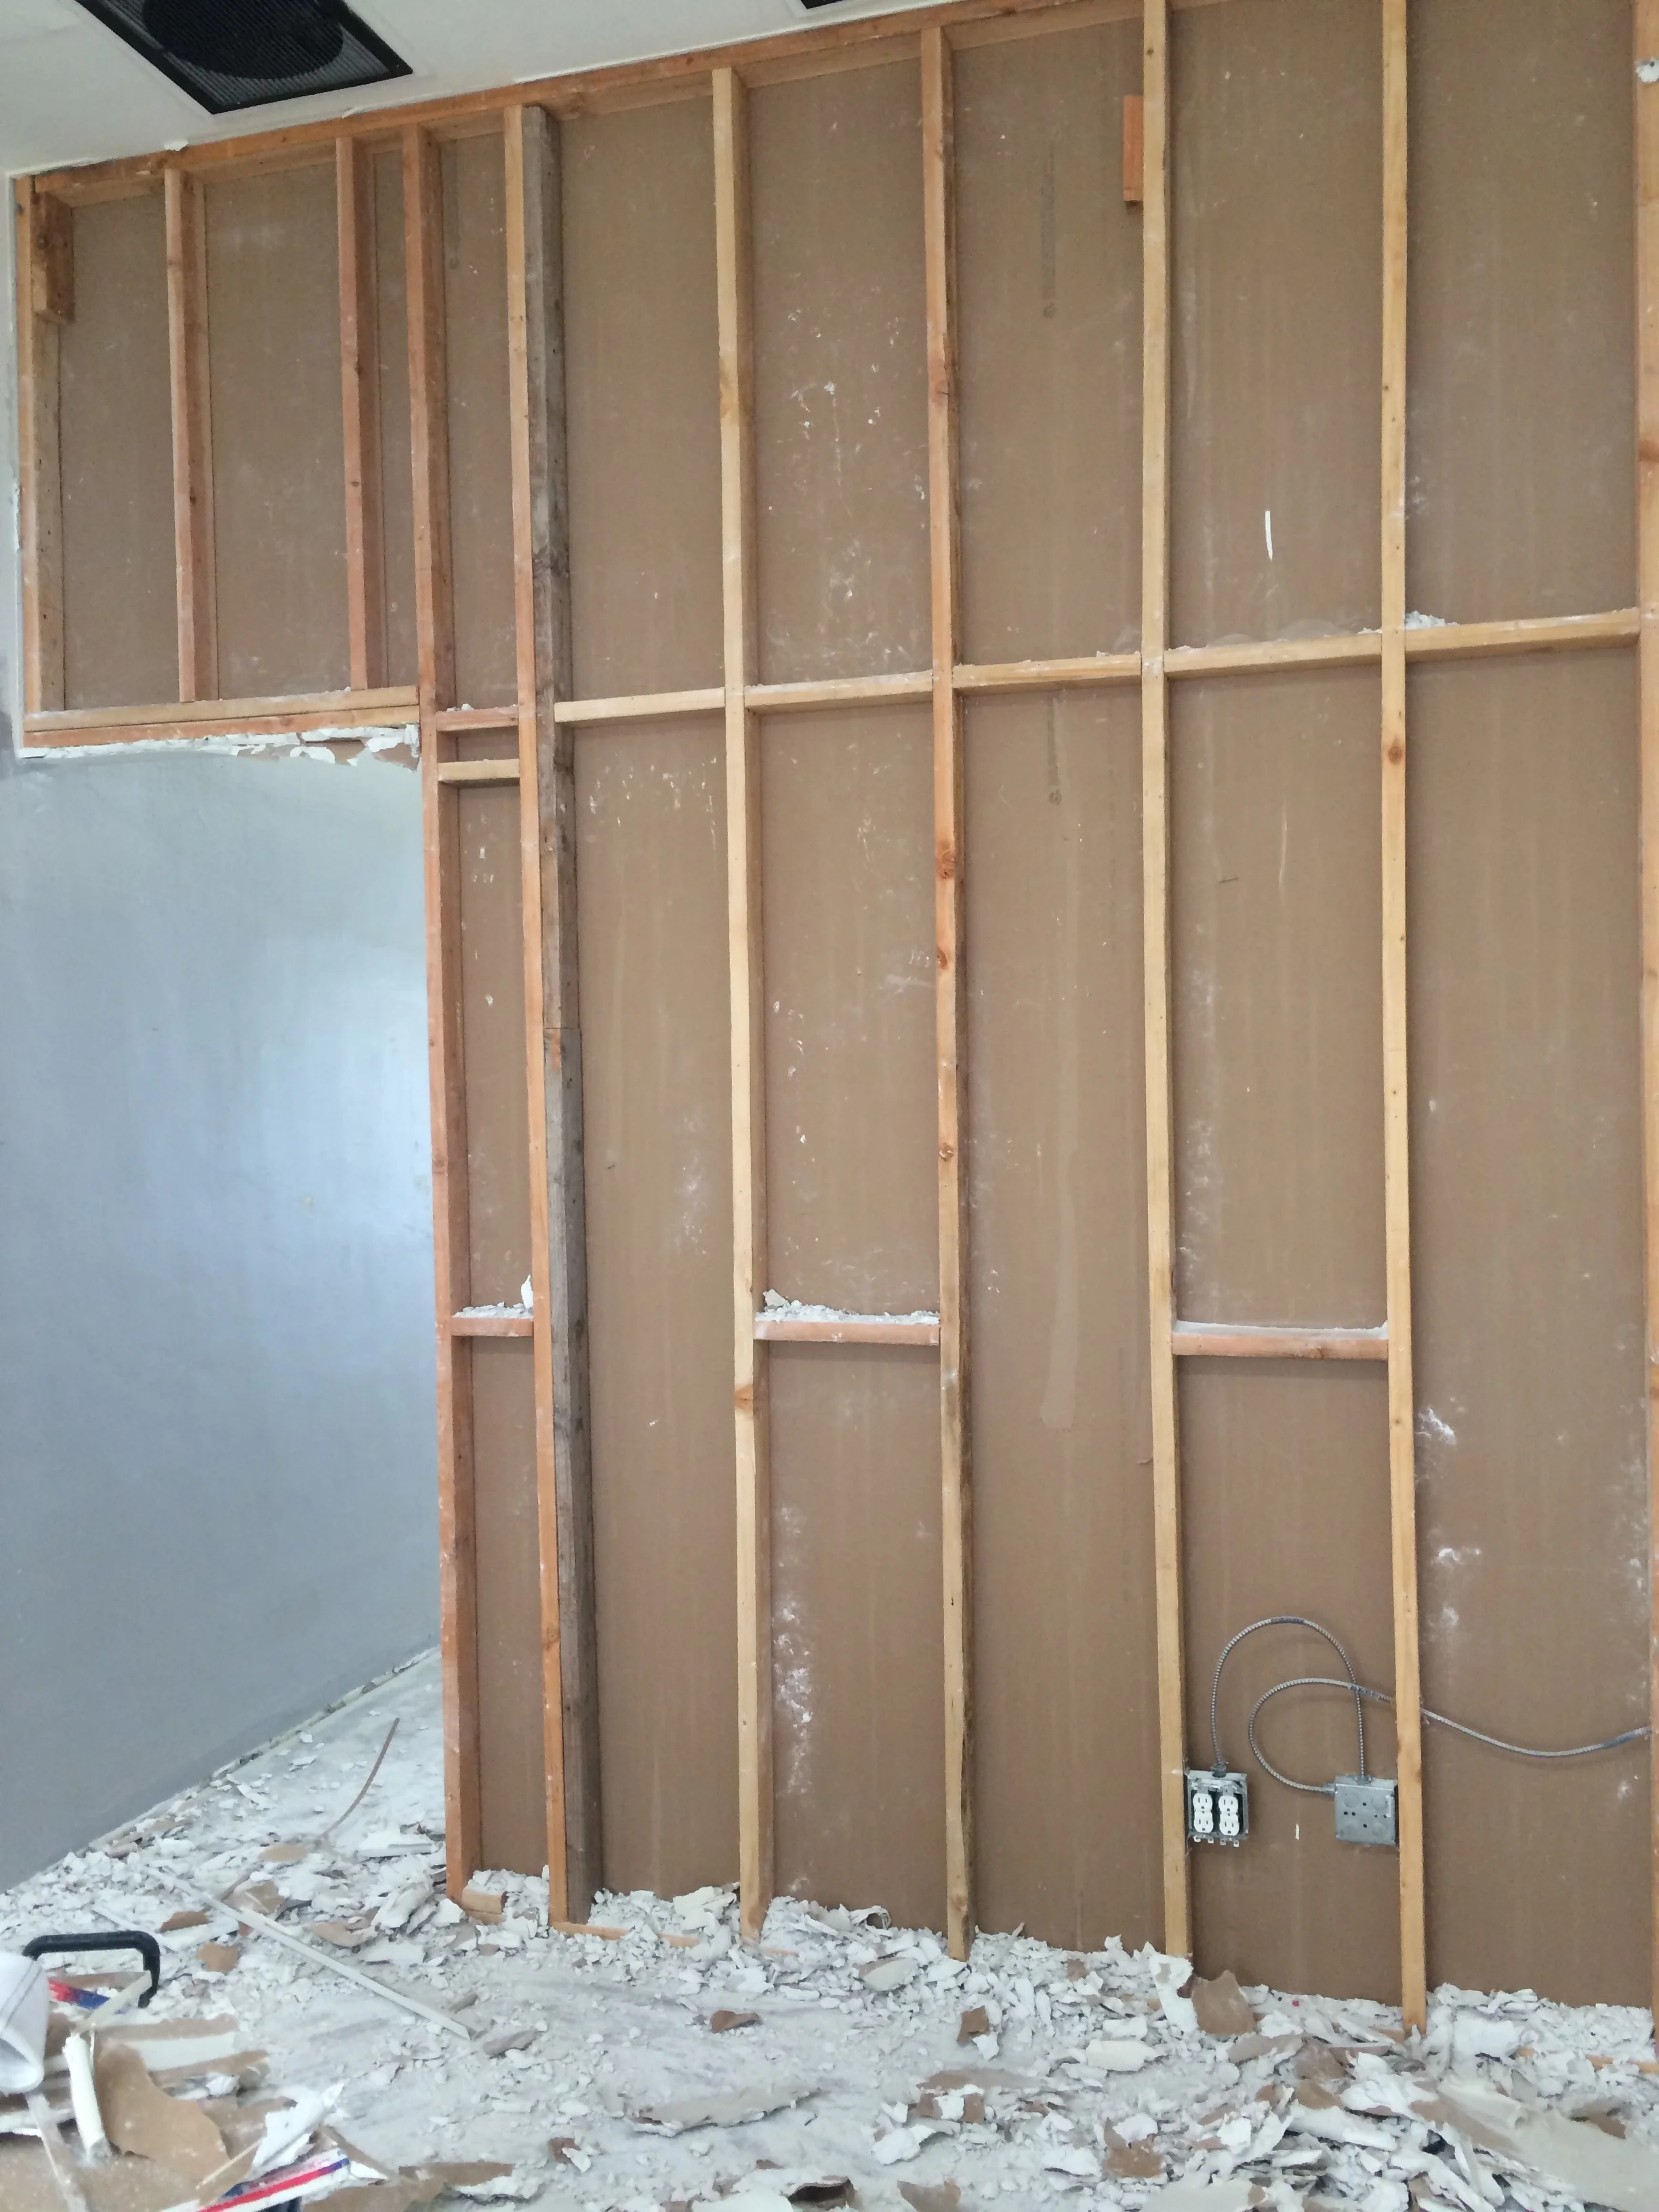
FRAMING
Now that we have a blank canvas, it's time to start getting these falls framed.

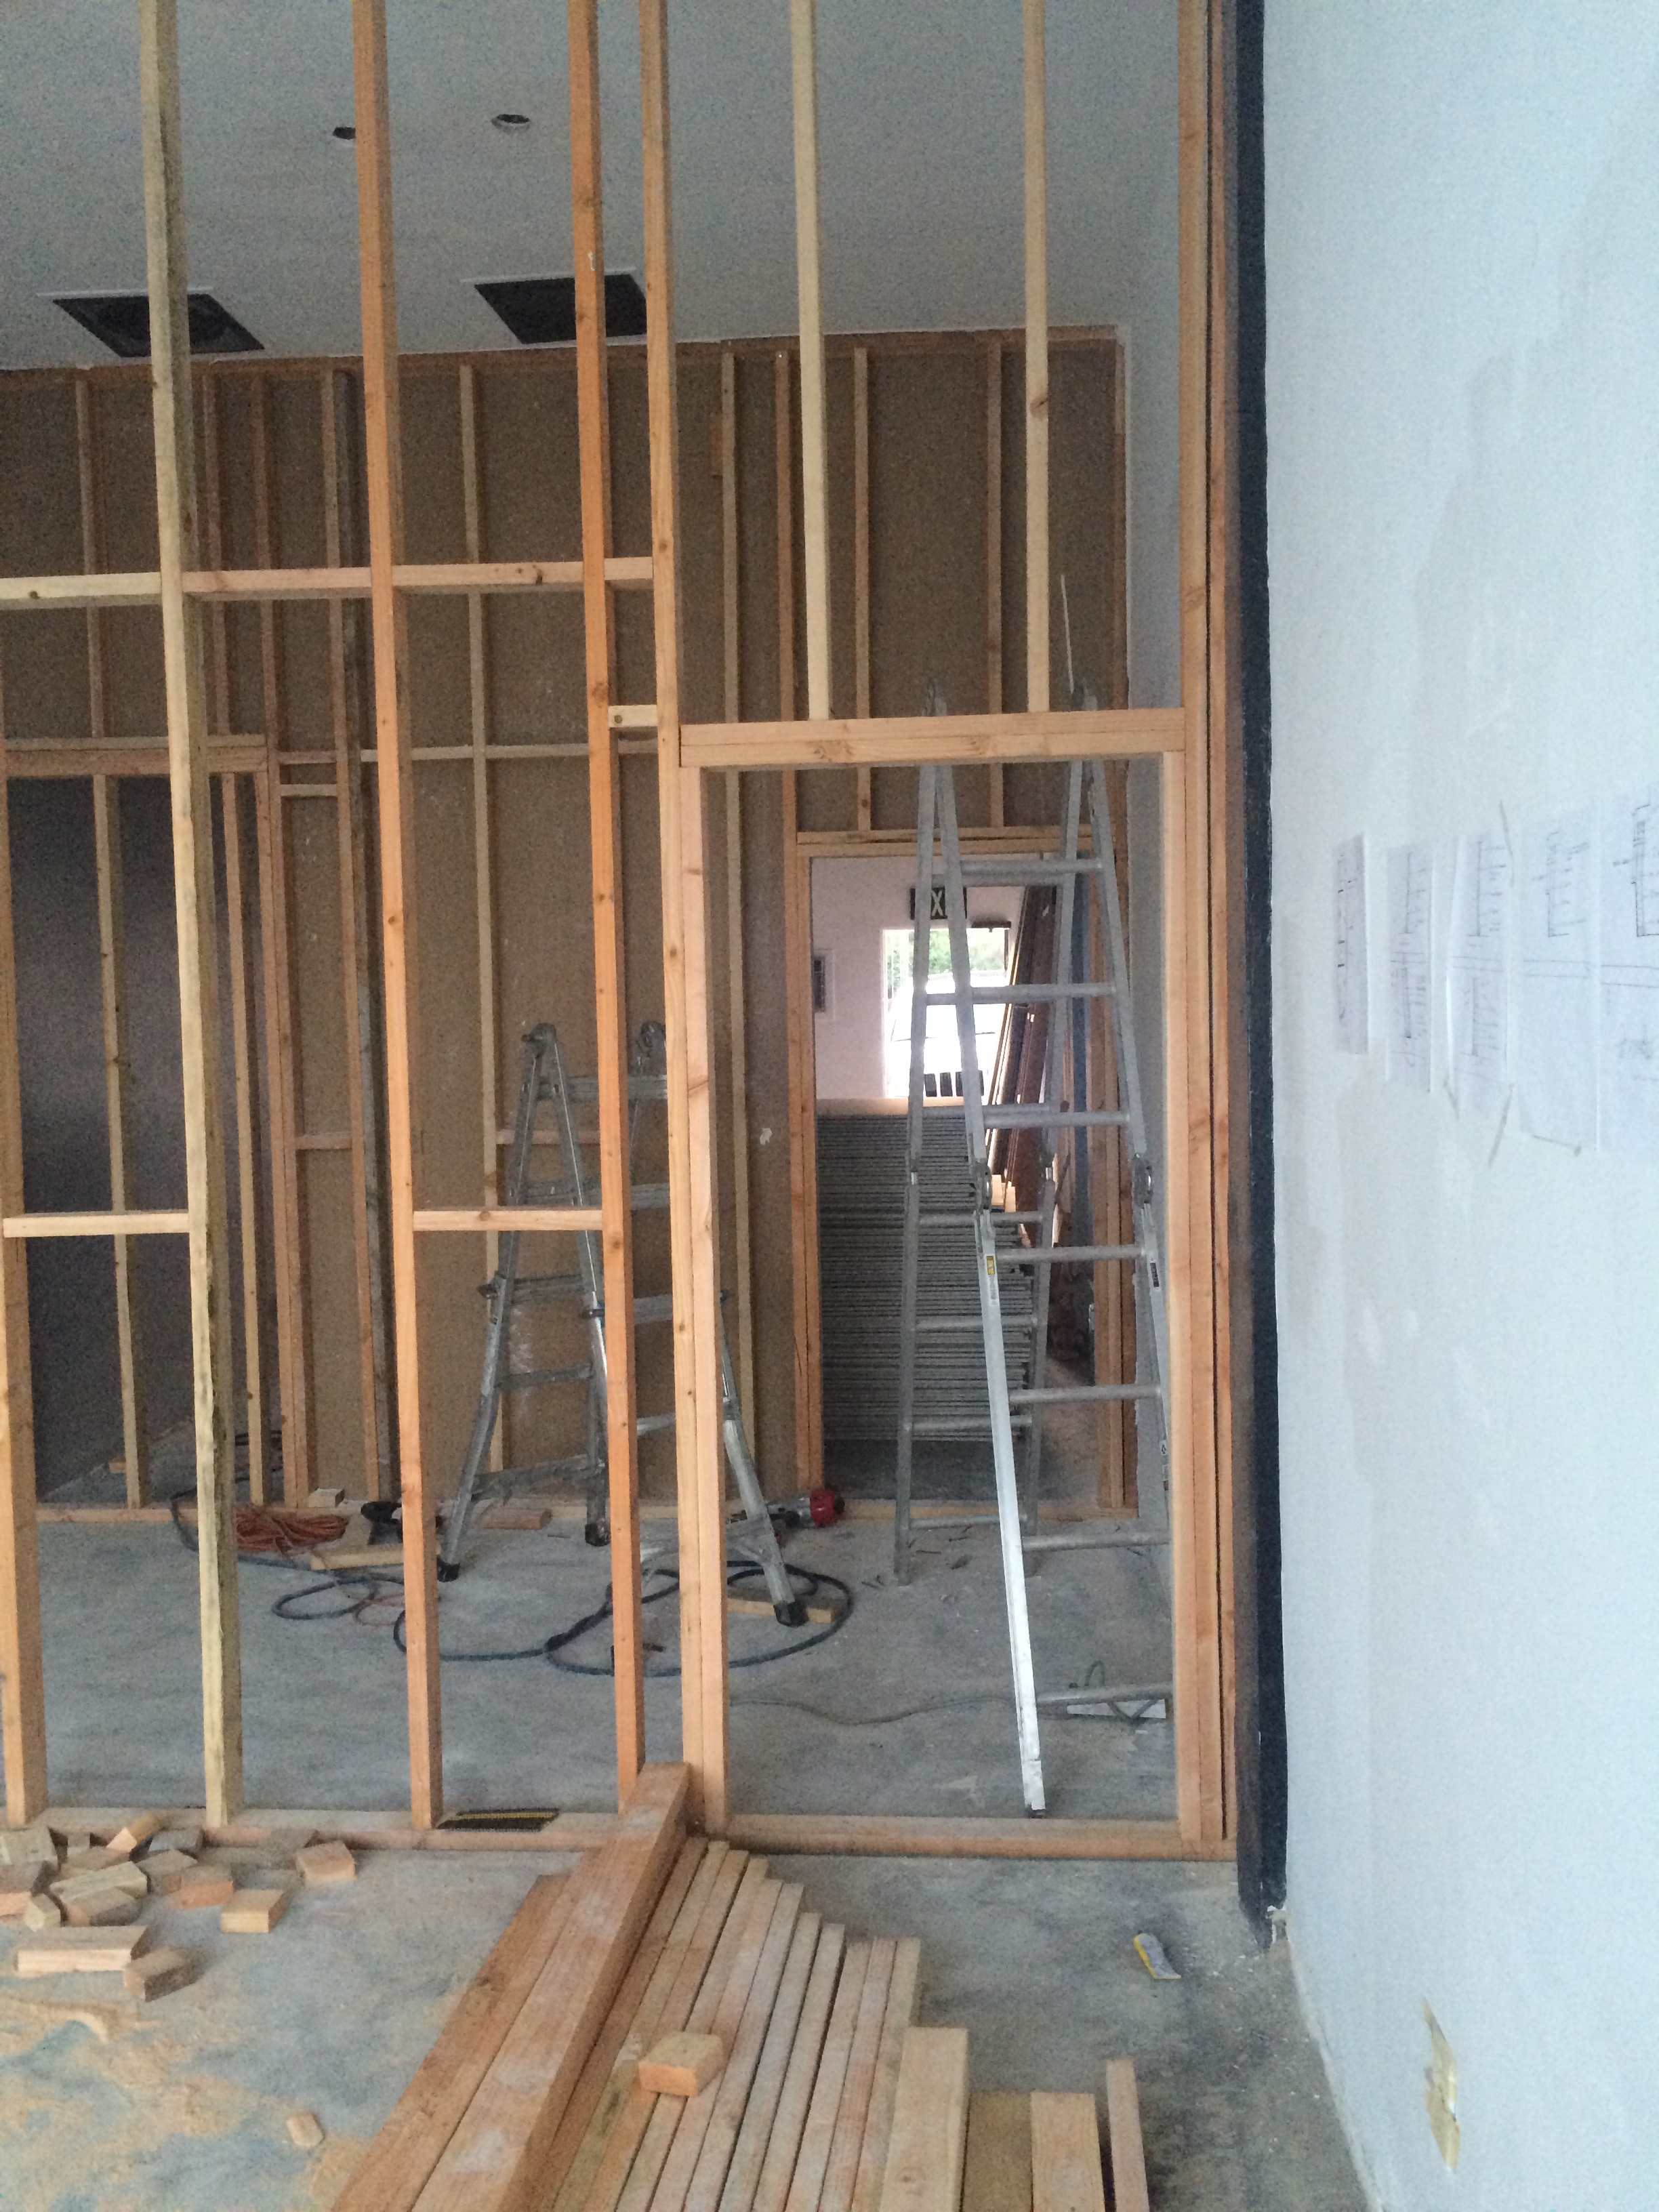

We built a wall that covered up 3/4's of the front window in hopes that this would significantly reduce exterior noise while still allowing in some natural light. We'll see if it works to our liking.


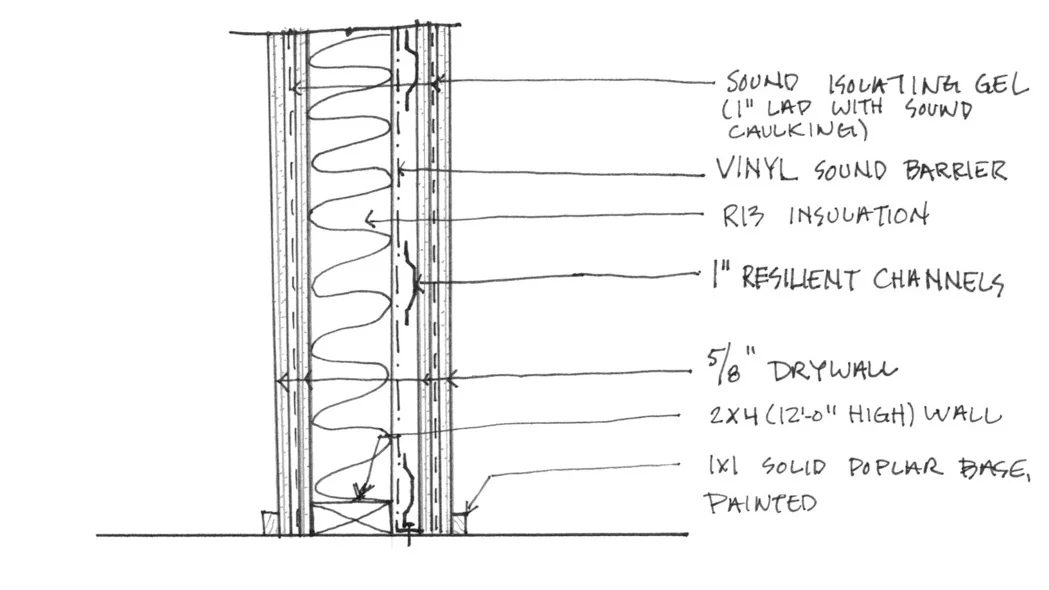
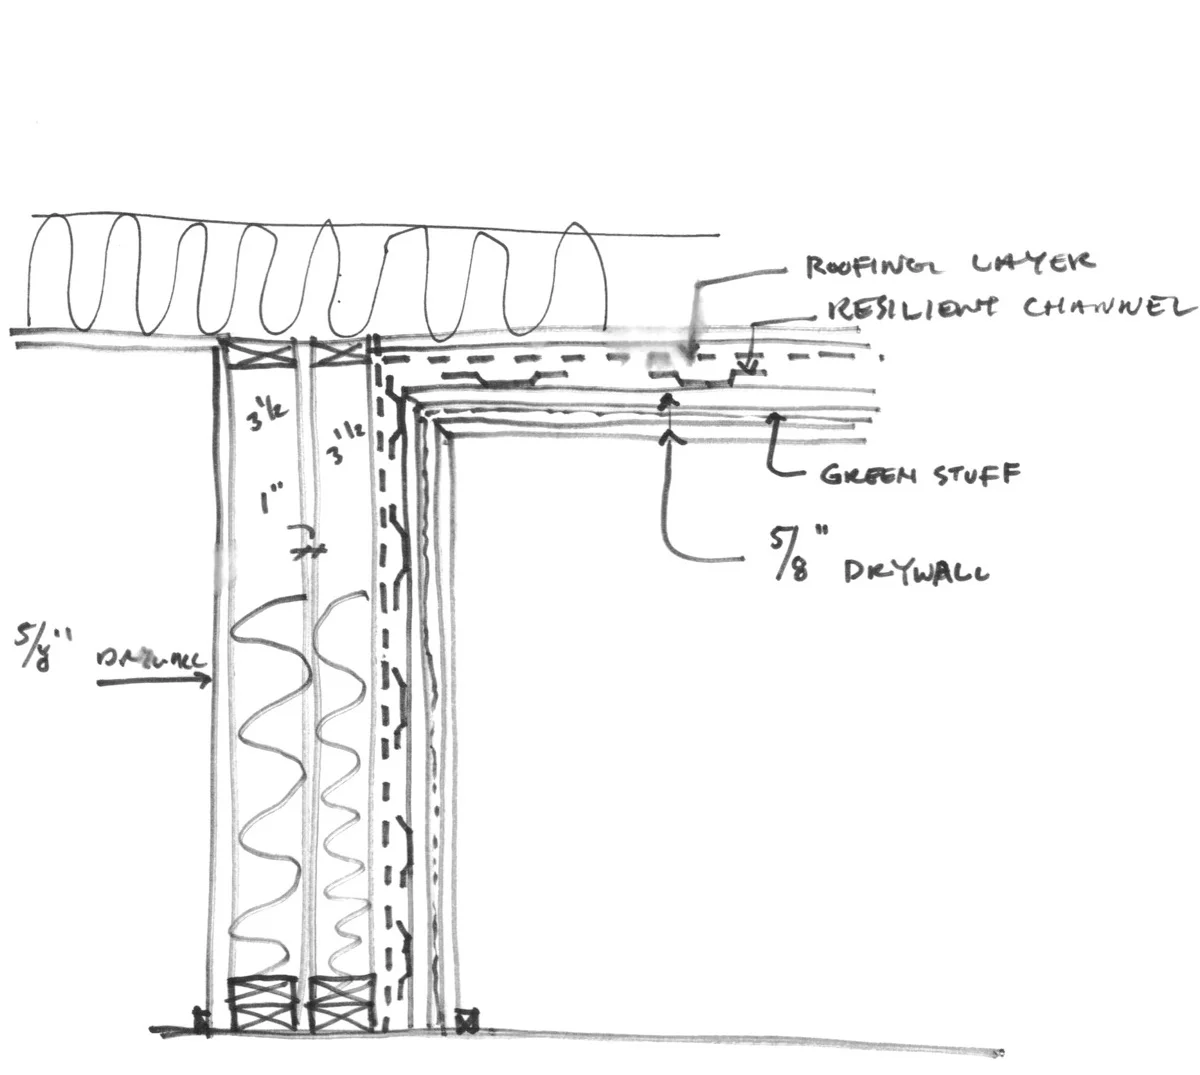
DESIGN
I should mention that my wife is an architect and everything in this section pertains to the design and wall assembly. For those who care about the nitty gritty, we decided on using two layers of 3/4" drywall with a layer of green glue in between, and this mounted on a resilient channel. This, hypothetically, would decouple the walls from the frame and should stop the transmission of low frequency through the walls.
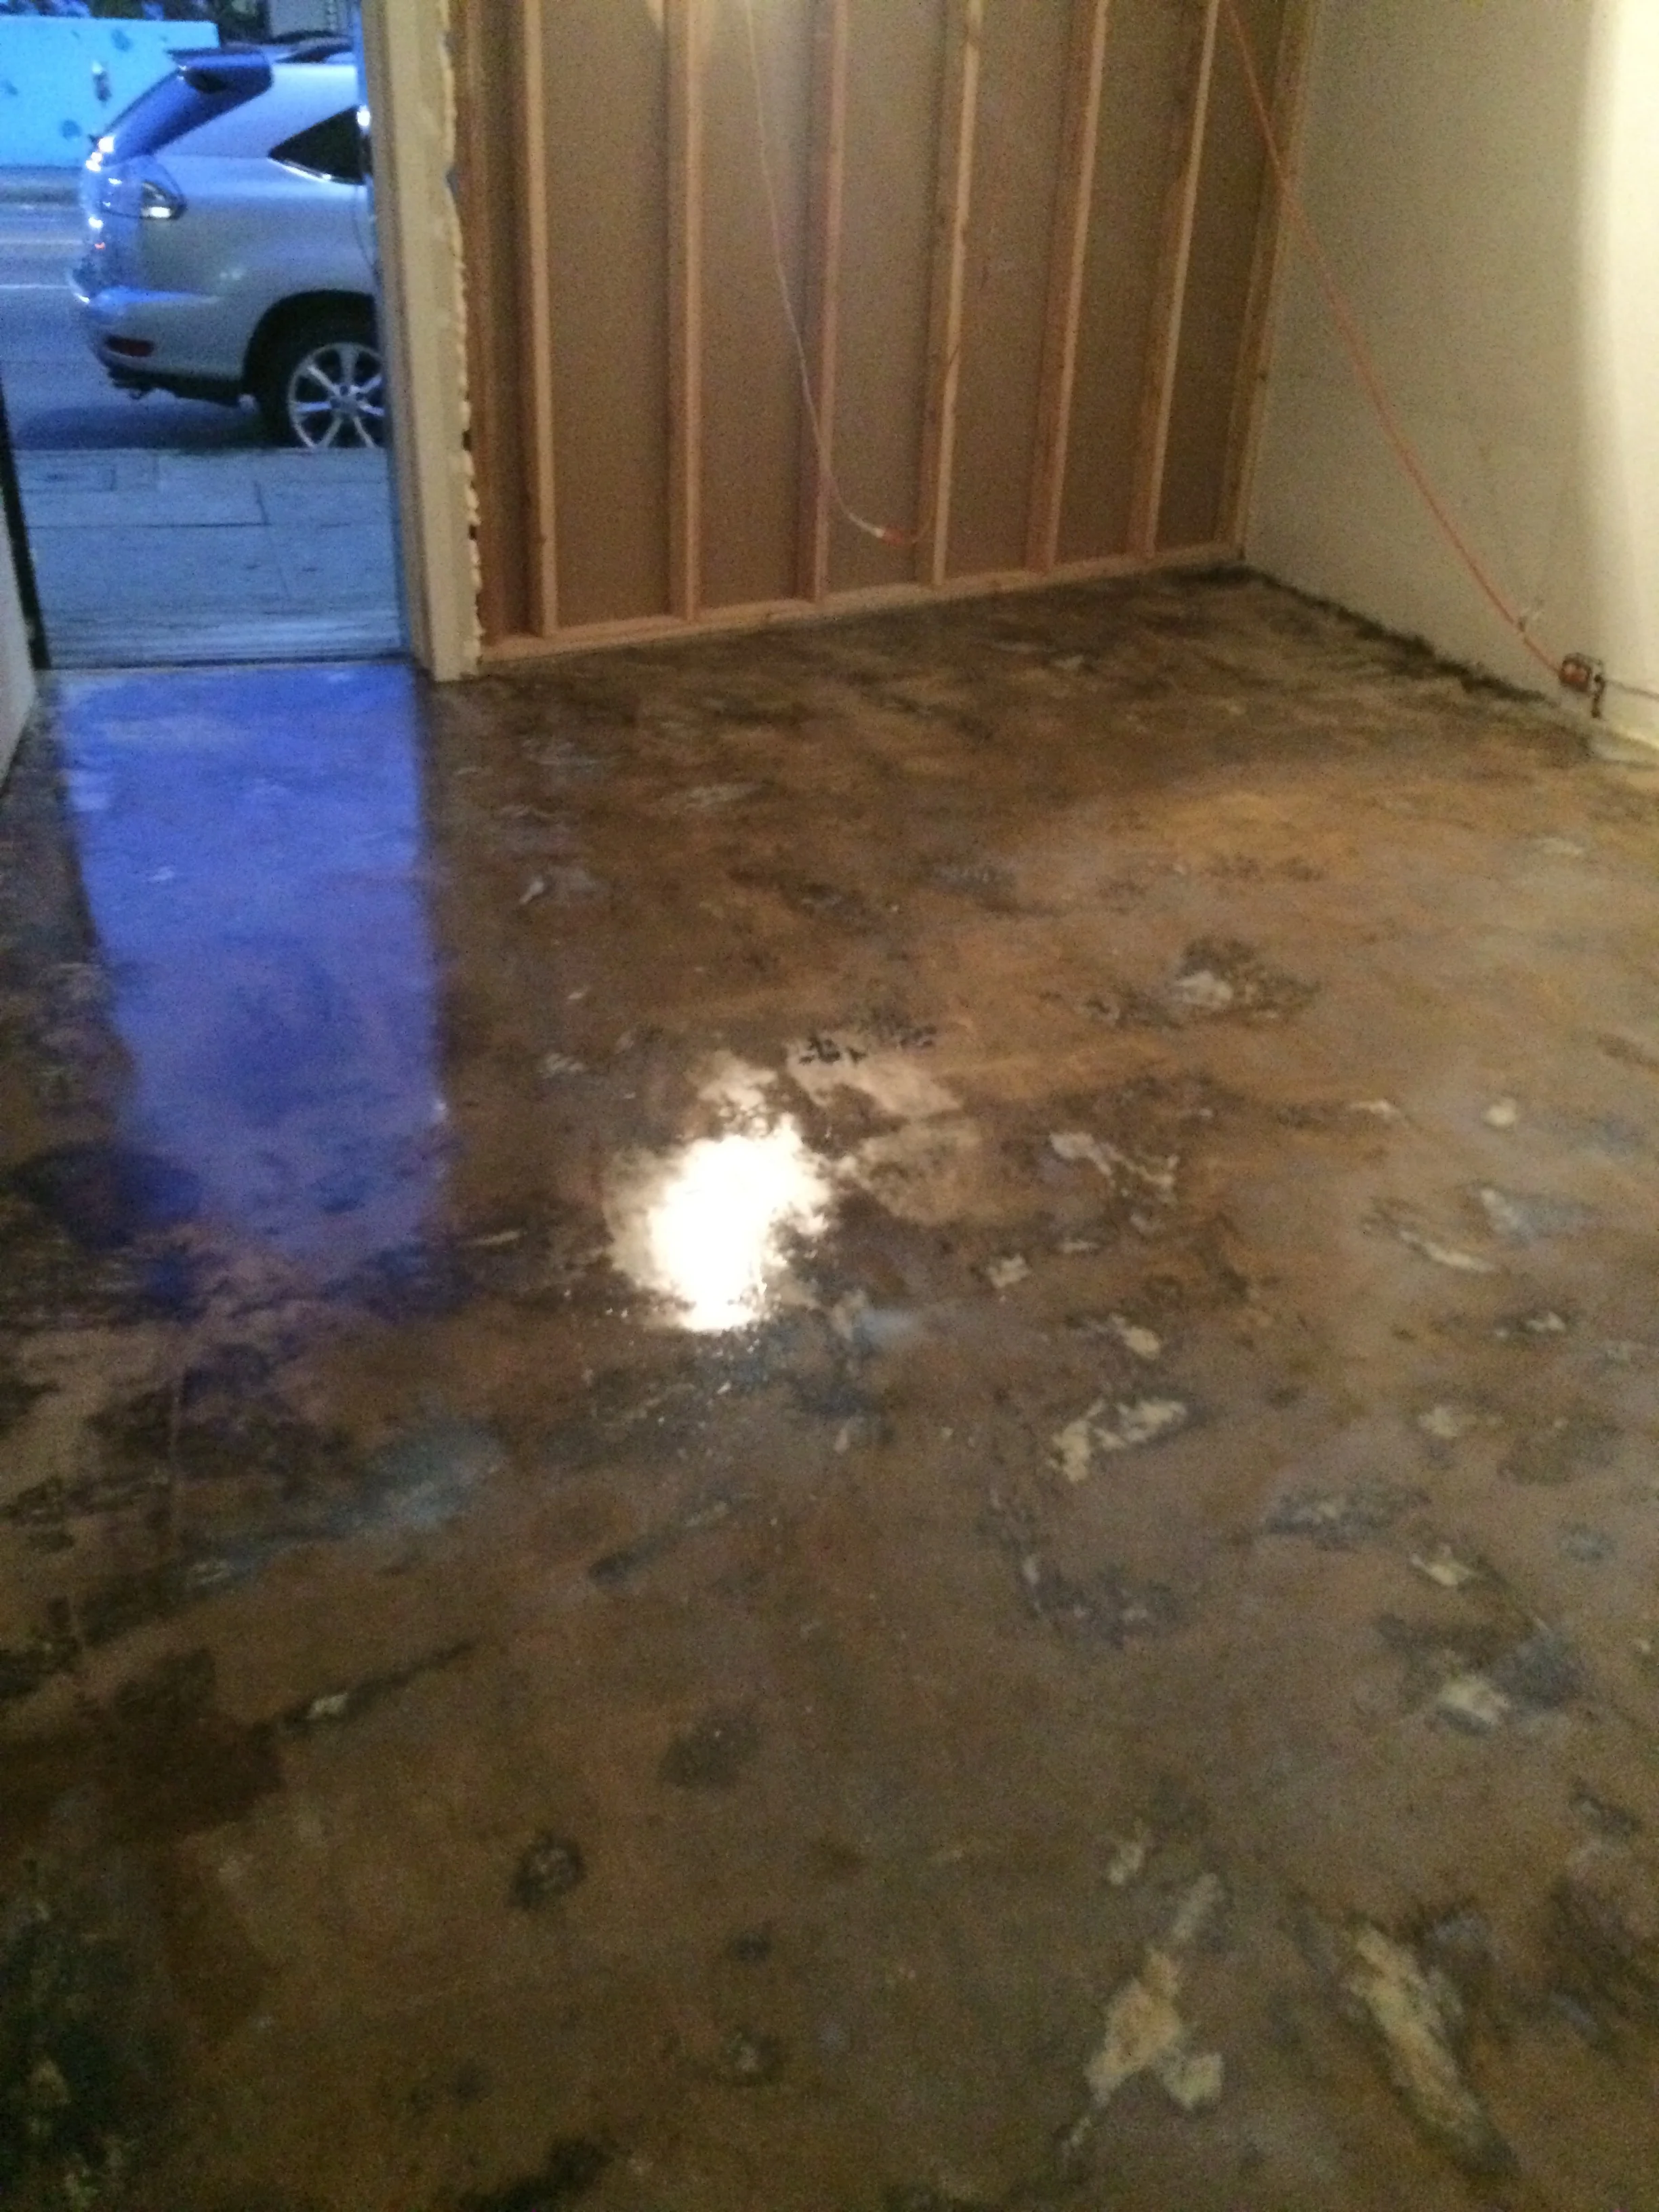
DEMOLITION!
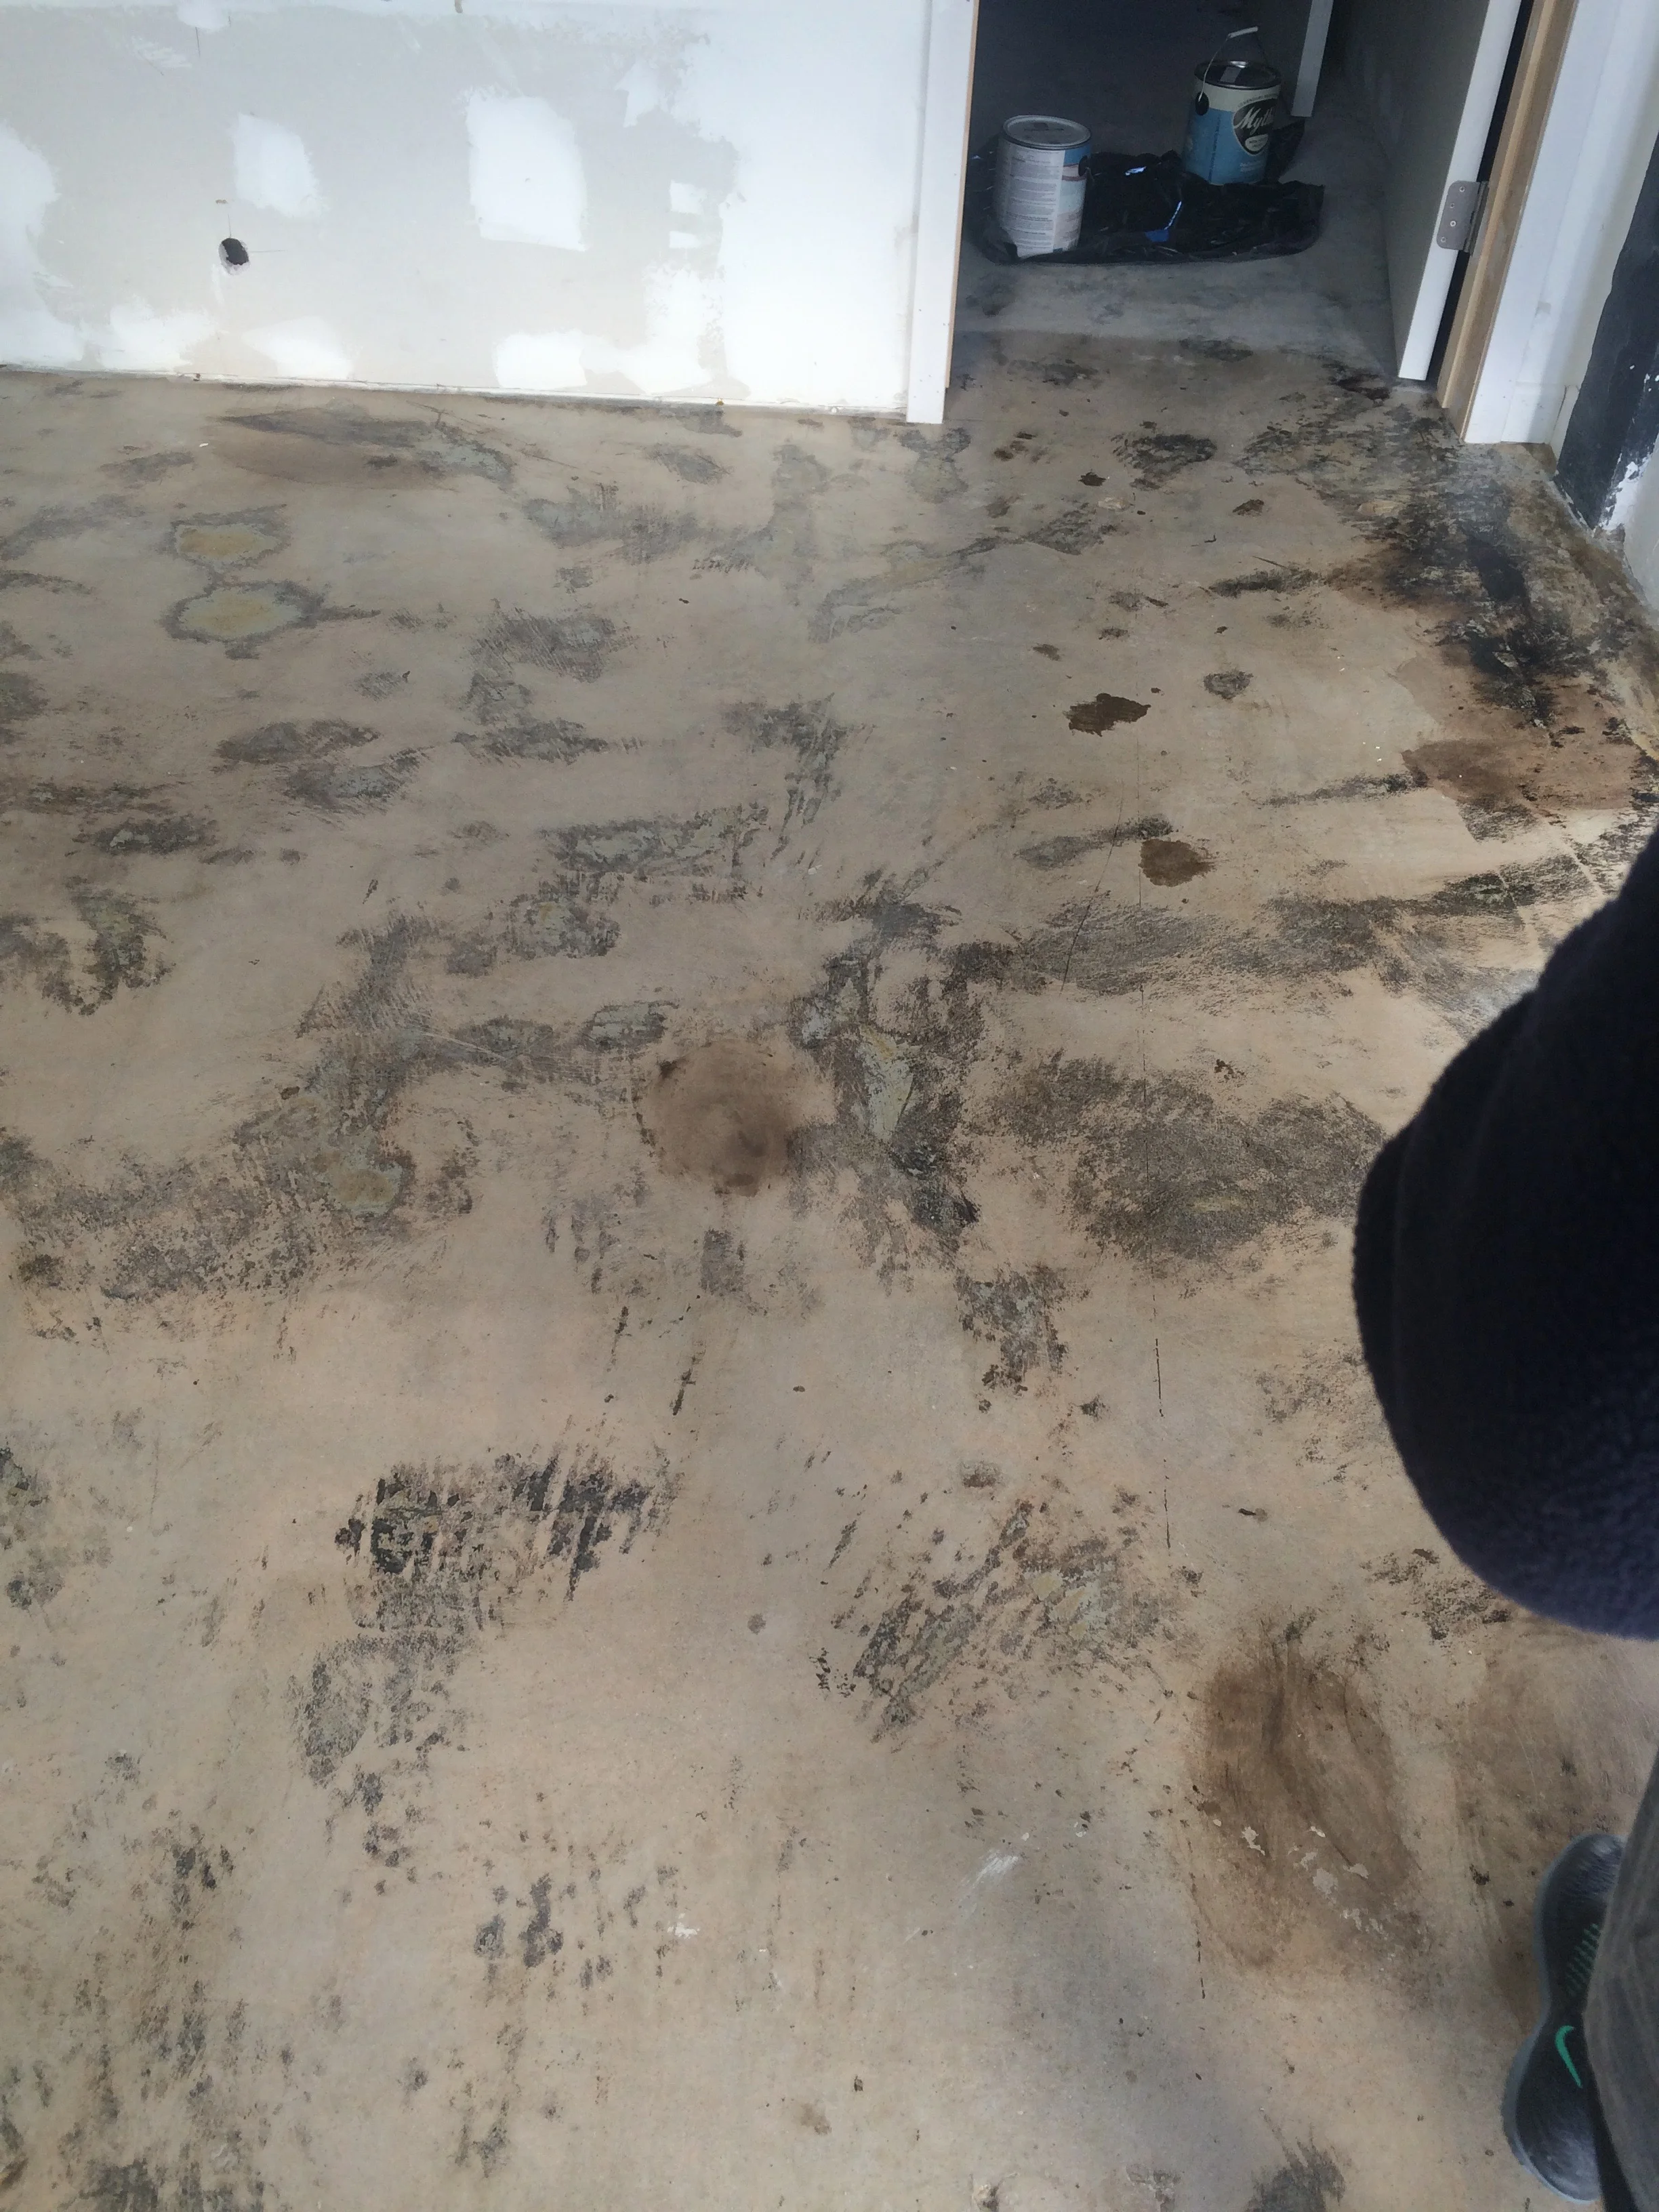
The 1st task was to get rid of that nasty old carpet and get rid of the existing wall. Easy enough right?! Turns out removing the carpet was quick and simple but getting rid of the glue that adhered the carpet to the concrete was both difficult and messy. Here's what it looked like just after we got rid of the carpet and demoed the walls.
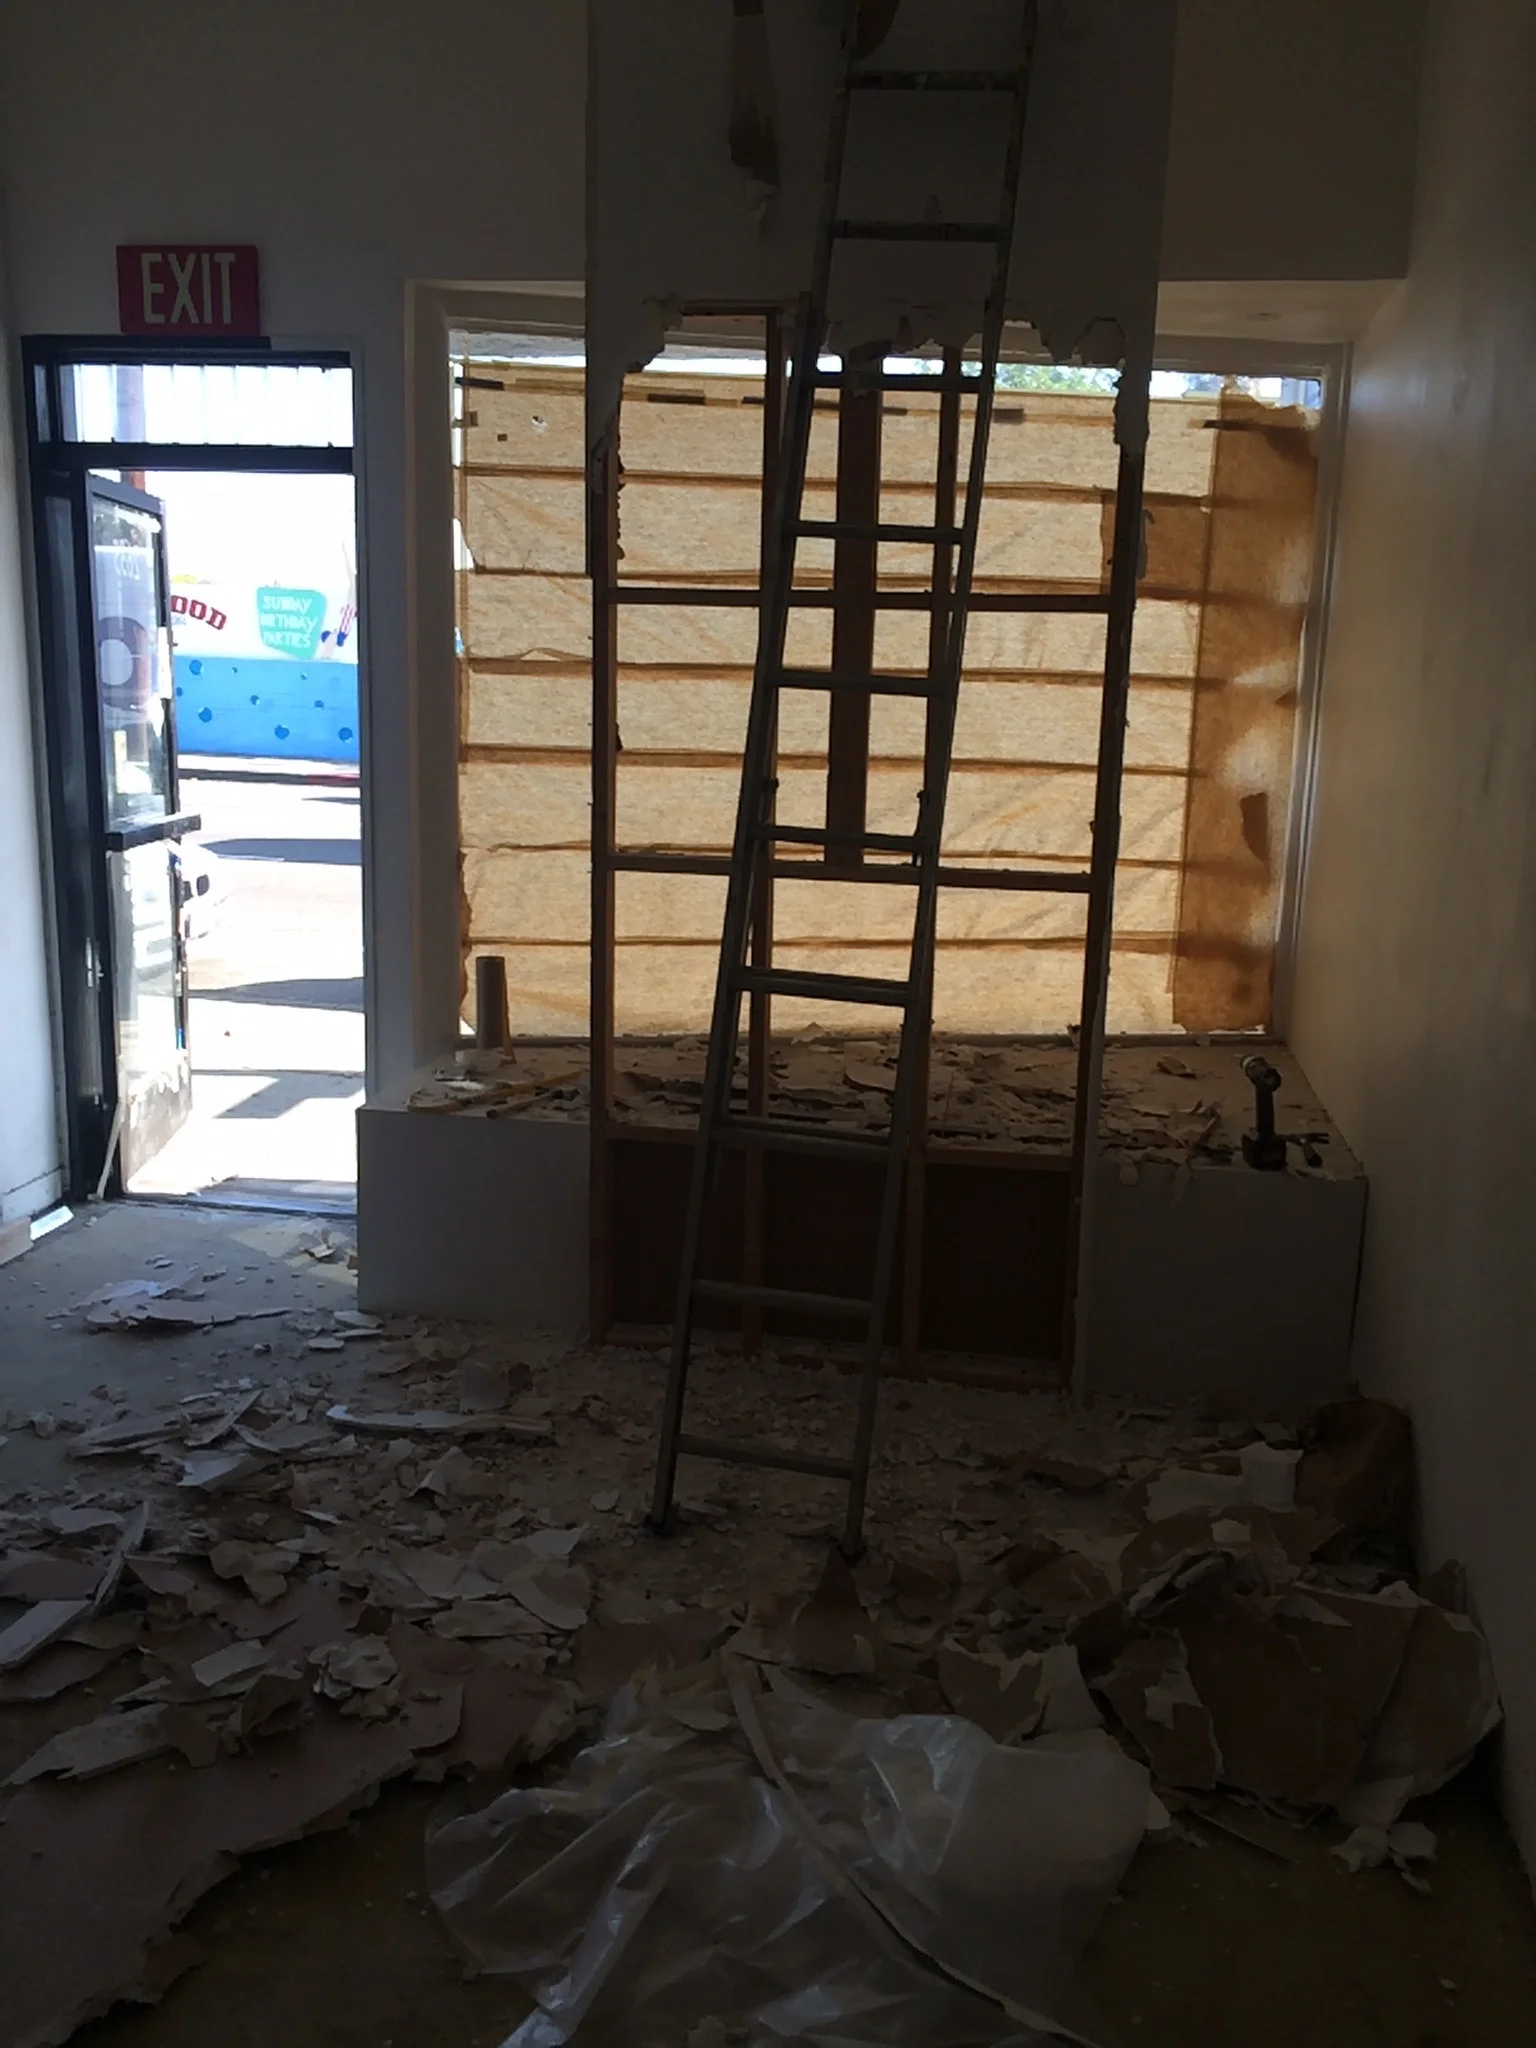
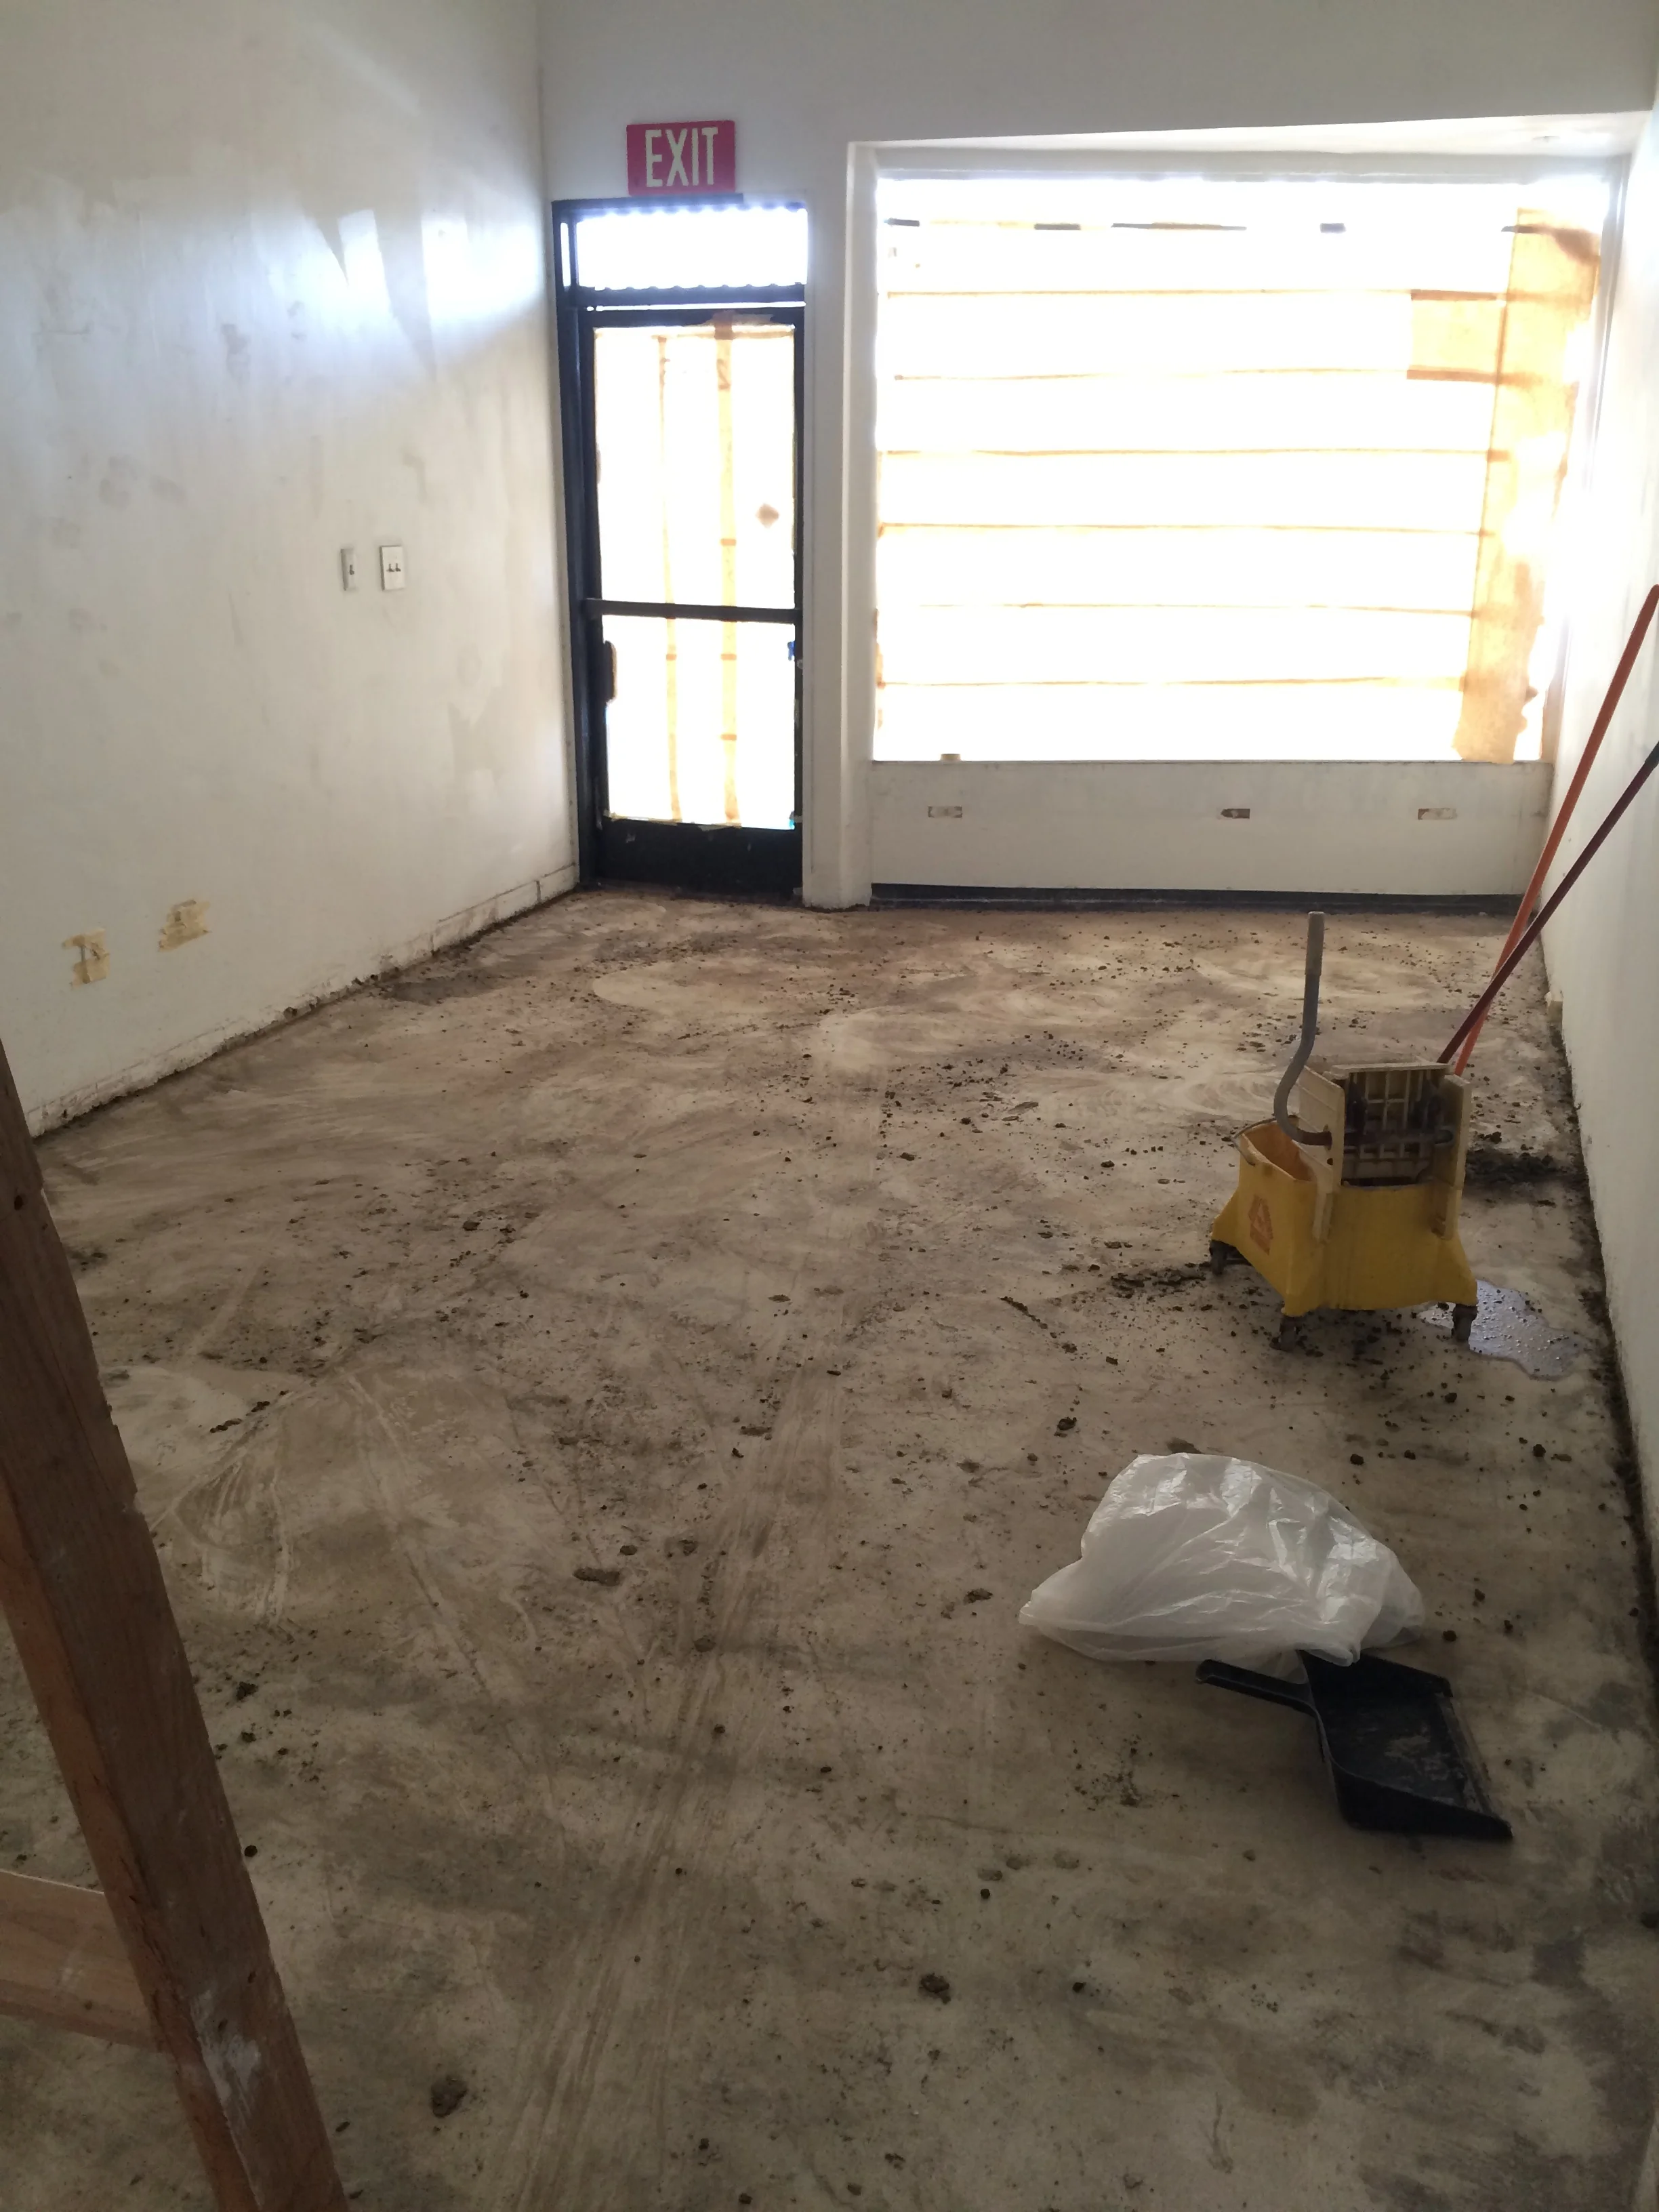
That last one is what it looks like after you take off decades of layers of mastic and glue. Nasty process.
BUILDING A NEW STUDIO
After months and months of looking at countless commercial locations all over Los Angeles for a space to build a new studio in, Dario Forzato and I finally found a place that met all of our criteria. The following is my attempt to chronicle the process of converting a bare bones commercial space into a recording studio.
DESIGN GOALS
Our goal is to have a couple production/writing rooms, a shared live room that each writing room can interface into, and an overall environment where we can be as loud as we want at any hour of the day and not disturb anyone. All of this without entirely breaking the bank.
Here's what the space looked like when we got it.
This video was taken at the initial walkthrough. This is coming in through the front entrance and is about a 3rd of the total space. The previous tenant, an upholsterer, still hadn't removed any of his things.
One of the reasons we chose this location was the 12 ft ceilings. Also, there was only one existing interior wall. So demolishing everything and getting ready for construction was somewhat easy.
DAY ONE Premiere
DAY ONE had it's premiere at AFI. I'm so proud of this film and score and can't wait to see what happens with it. Picture with director, Henry Hughes and myself.

DAY ONE Trailer
Here's a first look at the trailer to Day One. Excited for everyone to see it!
Day One
Omar composes the score to DAY ONE, directed by Henry Hughes and produced by Michael Steiner.
In the Image
Omar scores Judith Montell & Emmy Scharlatt's documentary, In the Image. Here's a preview of the score:
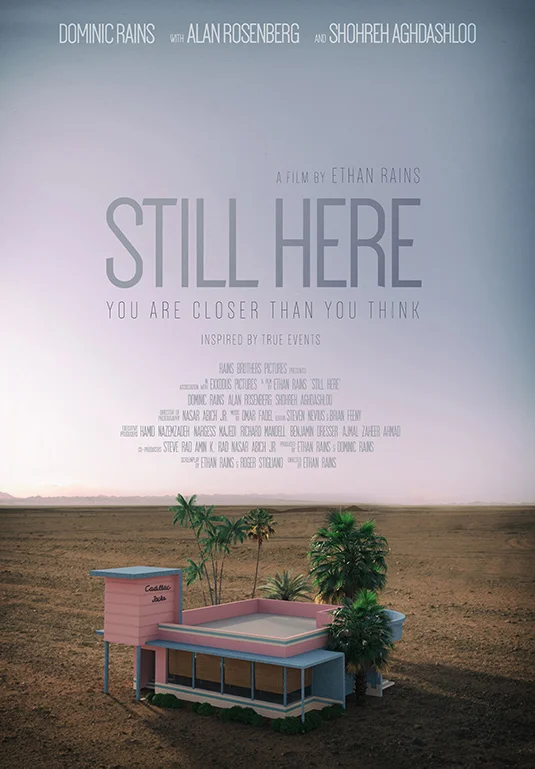
Still Here
Omar scores Dominic and Ethan Rains' short, Still Here.
Assassin's Creed IV: Black Flag
Omar works with Brian Tyler arranging and composing music for the upcoming Assassin's Creed Black Flag.
Sundance Institute Fellowship for Film Music
Omar is selected as a fellow for the 2013 Sundance Institute Music and Sound Design Labs.

photo by Todd Reynolds
Watch The United in 84 countries starting in July
Starting in July, The United will be broadcast in 84+ countries around the world.
Just Like Us on Starz
Just Like Us is moving to Starz beginning June 6.